This tutorial will guide you on how to properly connect your IONOS (aka 1&1) domain to your Carrot site. Follow the steps below! Want us to do it for you? Please scroll to the end of this tutorial and complete the form to get started.
*If you have a custom email, this process will likely disconnect the email. Please be sure to check with your registrar to ensure it continues to work after this update.
ℹ️ NOTE: When connecting a domain, it can often take up to 24-48 hours for the changes to take effect. This can vary depending on your domain registrar and the DNS settings. If you’ve followed our instructions below and it’s been longer than 48 hours, feel free to reach out to us!
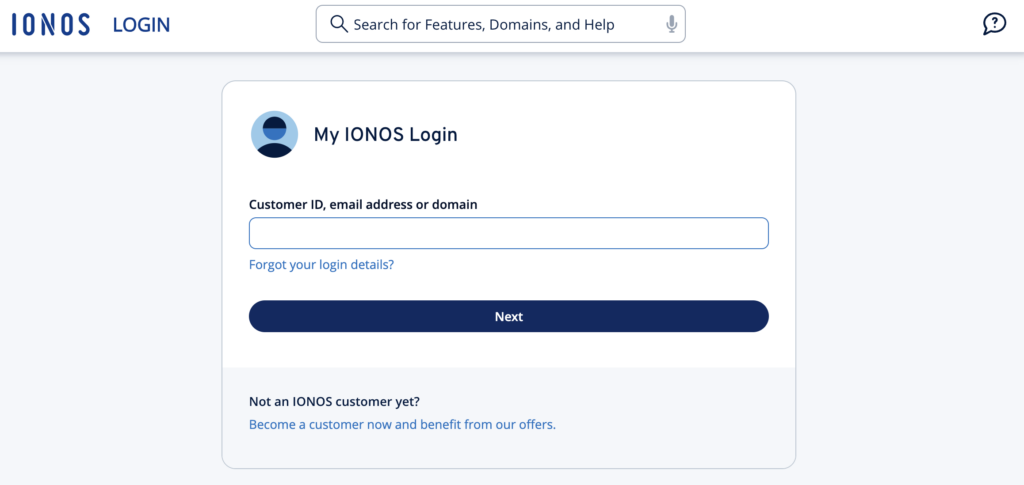
Step 1: Login to IONOS, aka 1&1
Step 2: Add a Subdomain for Your Site
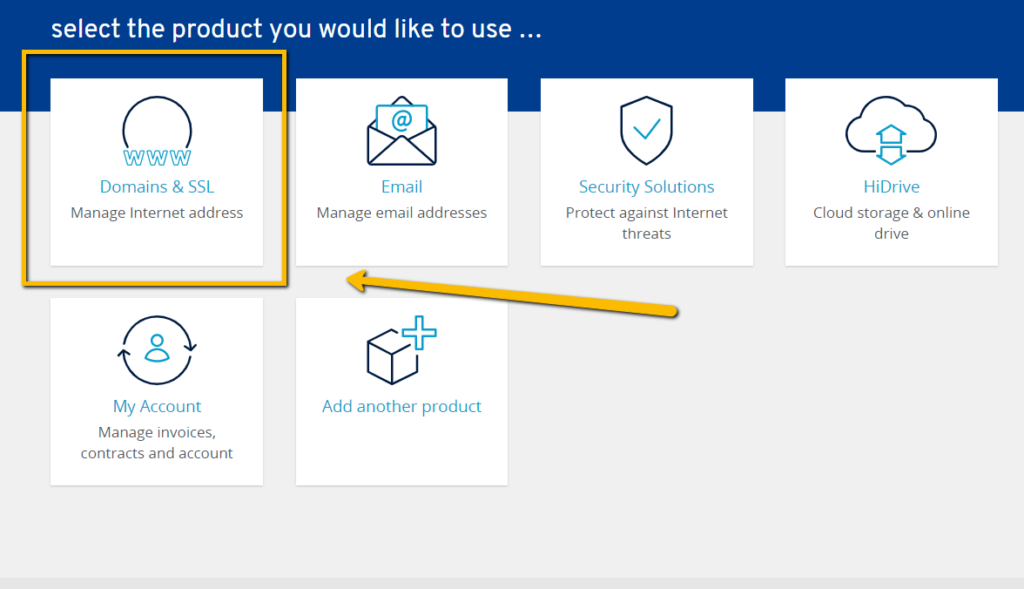
First, navigate to “Domains & SSL”:
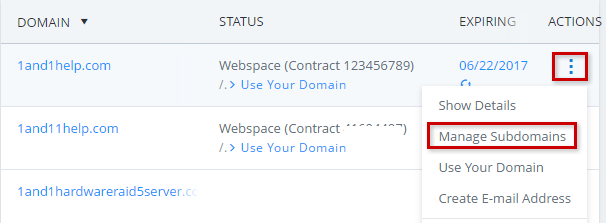
Click “Manage Subdomain”
You can find this for the site to connect by clicking the gear icon on the right-side of the domain’s options.
Click “Add Subdomain”
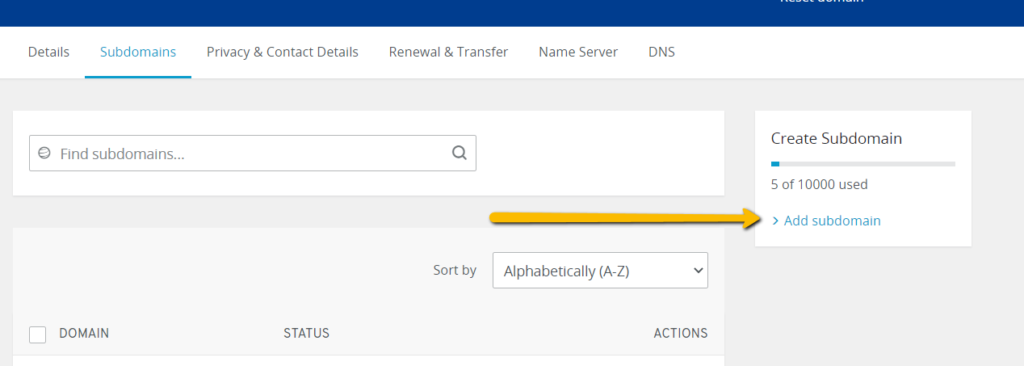
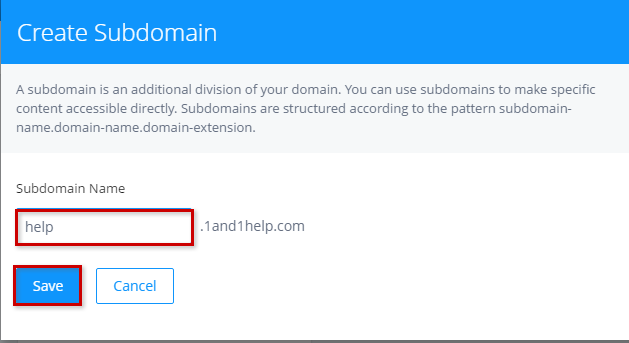
Create Subdomain
Create the subdomain by adding “www” (no quotations) into the “Subdoman Name” entry box. We use help in the image below.
Step 3: Add a CName Alias
Manage Subdomain
Now that you have your subdomain set up, you can set up your CNAME. Navigate back to your domains menu and click “Manage Subdomains” using the gear icon’s options.
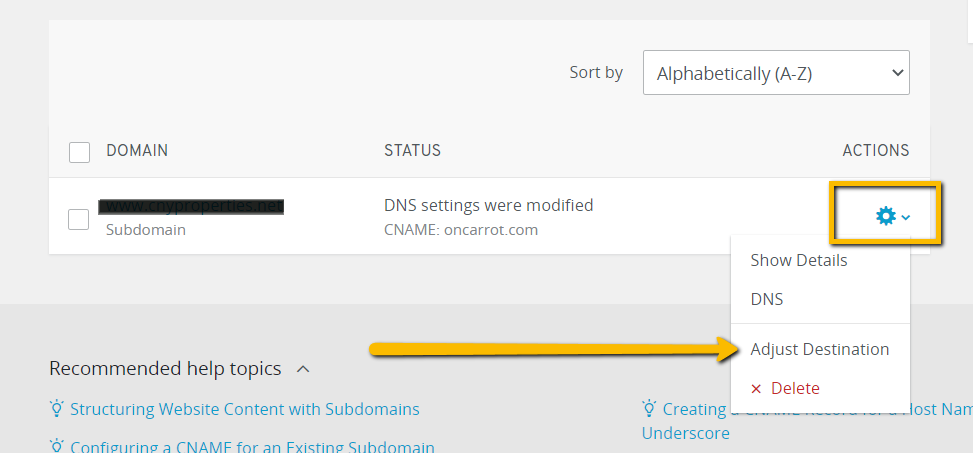
Click “Adjust Destination”
This option is accessed by clicking the gear icon on the right and selecting “Adjust Destination” from the drop-down.
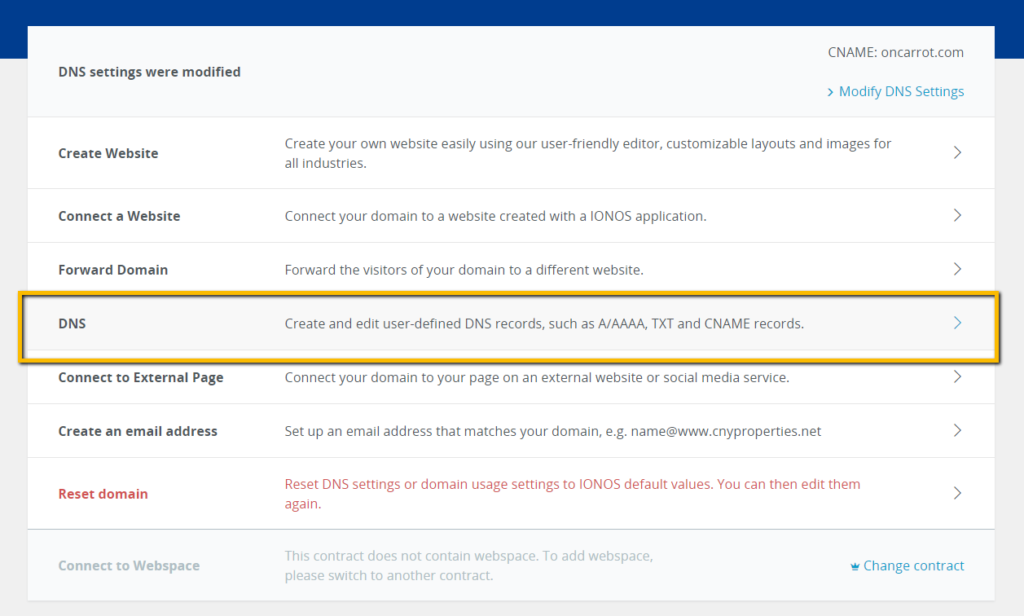
Click “DNS”
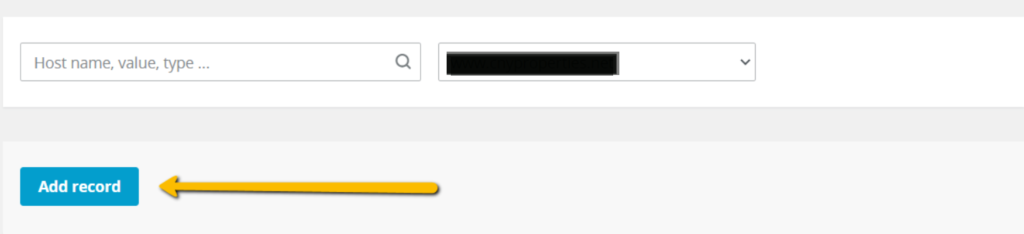
“Add record”
Choose “CNAME” and Create the Alias
The next screen gives you many options. Choose the option “CNAME” to create an alias. Use the image below to update the available options:
Please note, this is only possible for subdomains so be sure to complete the steps above to create a subdomain for “www.”
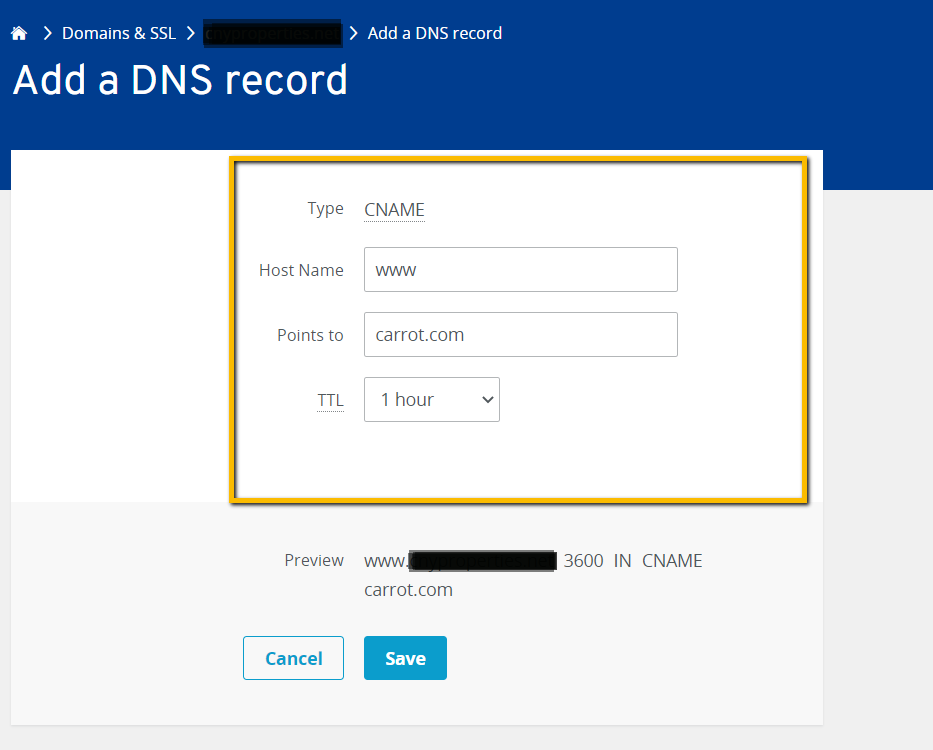
Click the blue “Save” button to complete this step.
Step 4: Edit your A record
- Locate your existing DNS records:
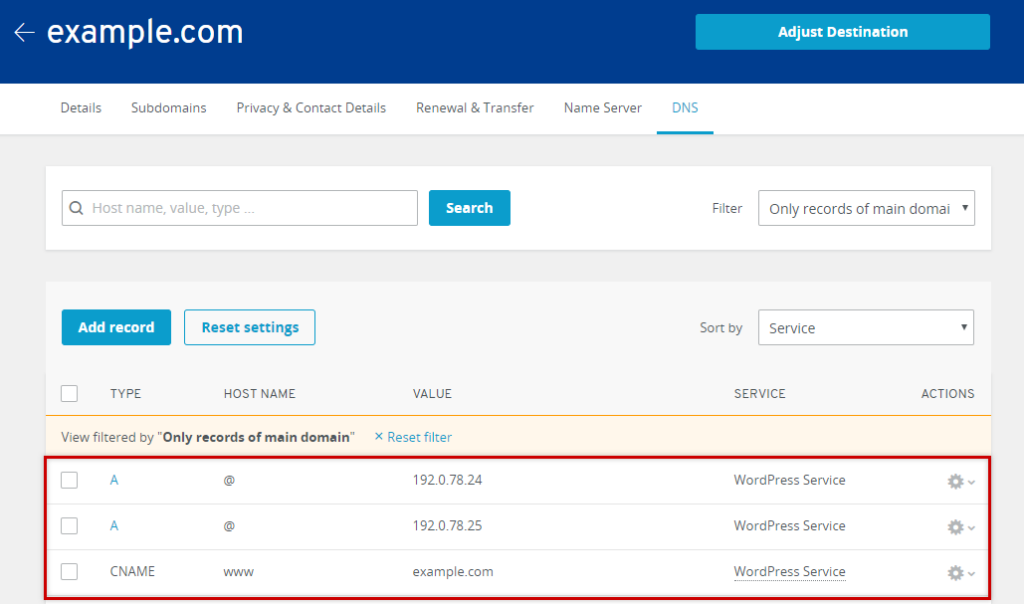
- Edit the A record for the
@Hostname - Update the value to the Carrot network IP address:
50.112.162.40 - Click SAVE.
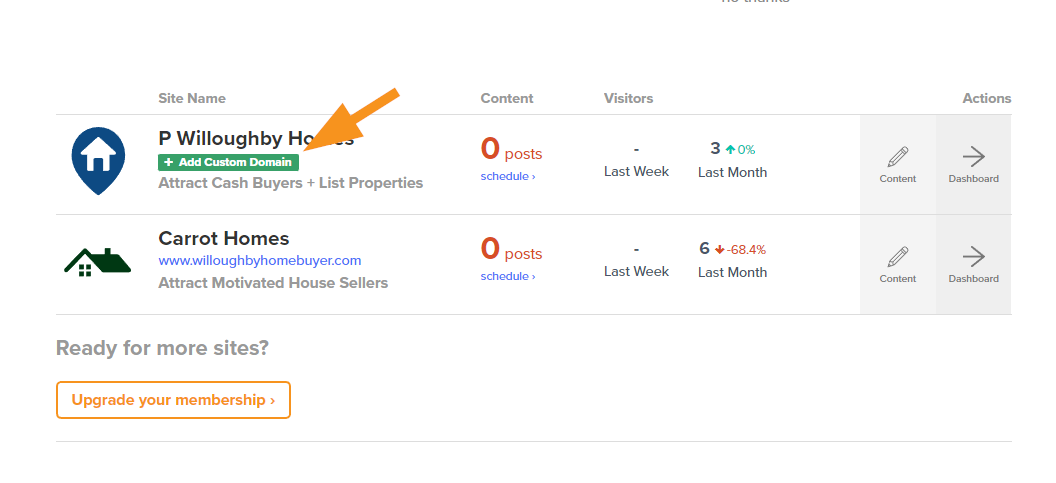
Now we are done with IONOS! Time to head over to your Carrot site!
- Sign into your Carrot Account page and underneath the site that you’d like to attach this new domain, click “add a custom domain.”
- Enter your domain name into the field under Step #1, then hit “Save Custom Domain” to save changes.

That’s it! Give it a few minutes for the changes to update.
If you have any trouble at all, hit up support via email or live chat for guidance. We will also gladly do it for ya if you provide Support with your IONOS login info.
Want us to do it for you?
We’re ready to support you any time
right here in your browser:
Unable to start a chat? Uh oh, send us an email here instead.
New to Carrot?
Welcome!

Here’s our full guide for what to do when getting started with your Carrot website:
Want Us to do Some
Editing for You?
You are busy doing what you do best, running your business. Leave the site work in Carrot’s hands.