This tutorial will guide you on how to properly connect your existing Hover domain to your Carrot site and how to also connect a new account with Carrot’s 10% discount applied. Don’t have a Hover account yet? Carrot is integrated with Hover, so you can automatically connect your Hover DNS with your Carrot site through this link.
*If you have a custom email, this process will likely disconnect the email. Please be sure to check with your registrar to ensure it continues to work after this update.
ℹ️ NOTE: When connecting a domain, it can often take up to 24-48 hours for the changes to take effect. This can vary depending on your domain registrar and the DNS settings. If you’ve followed our instructions below and it’s been longer than 48 hours, feel free to reach out to us!
Create and Connect a New Hover Domain
Step 1: Find an available domain through our Hover Connect link
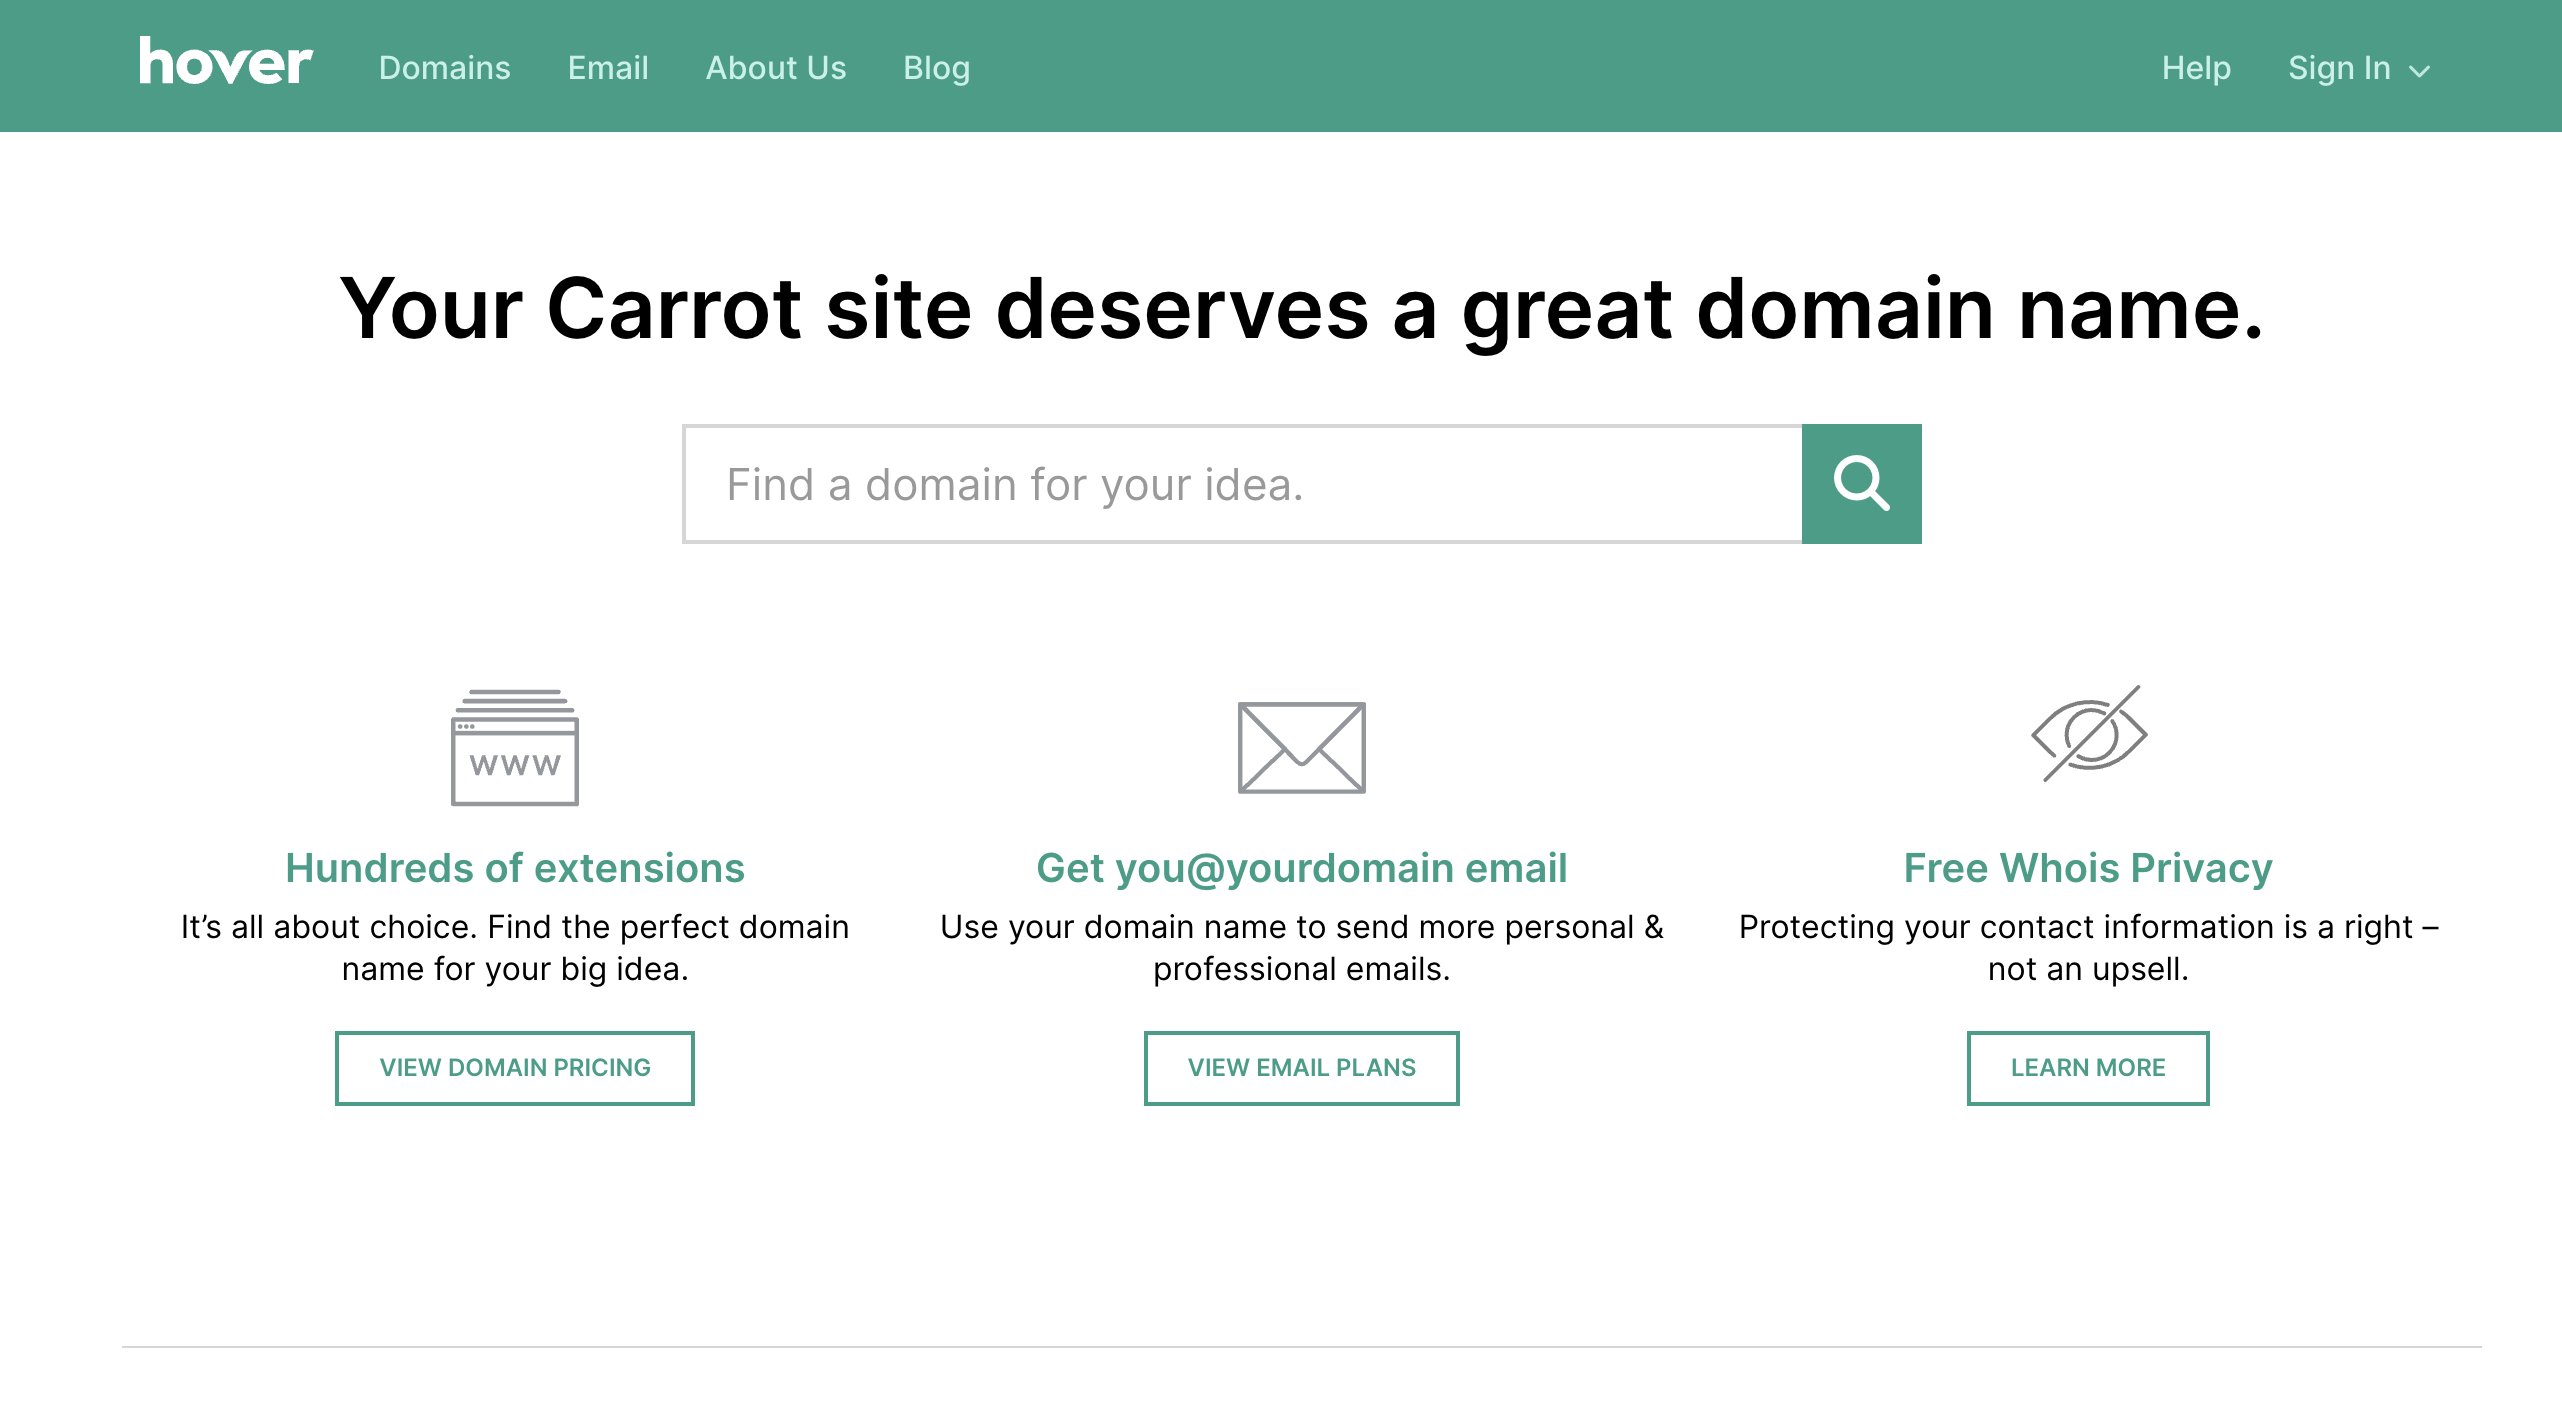
Step 2: Purchase your selected domain
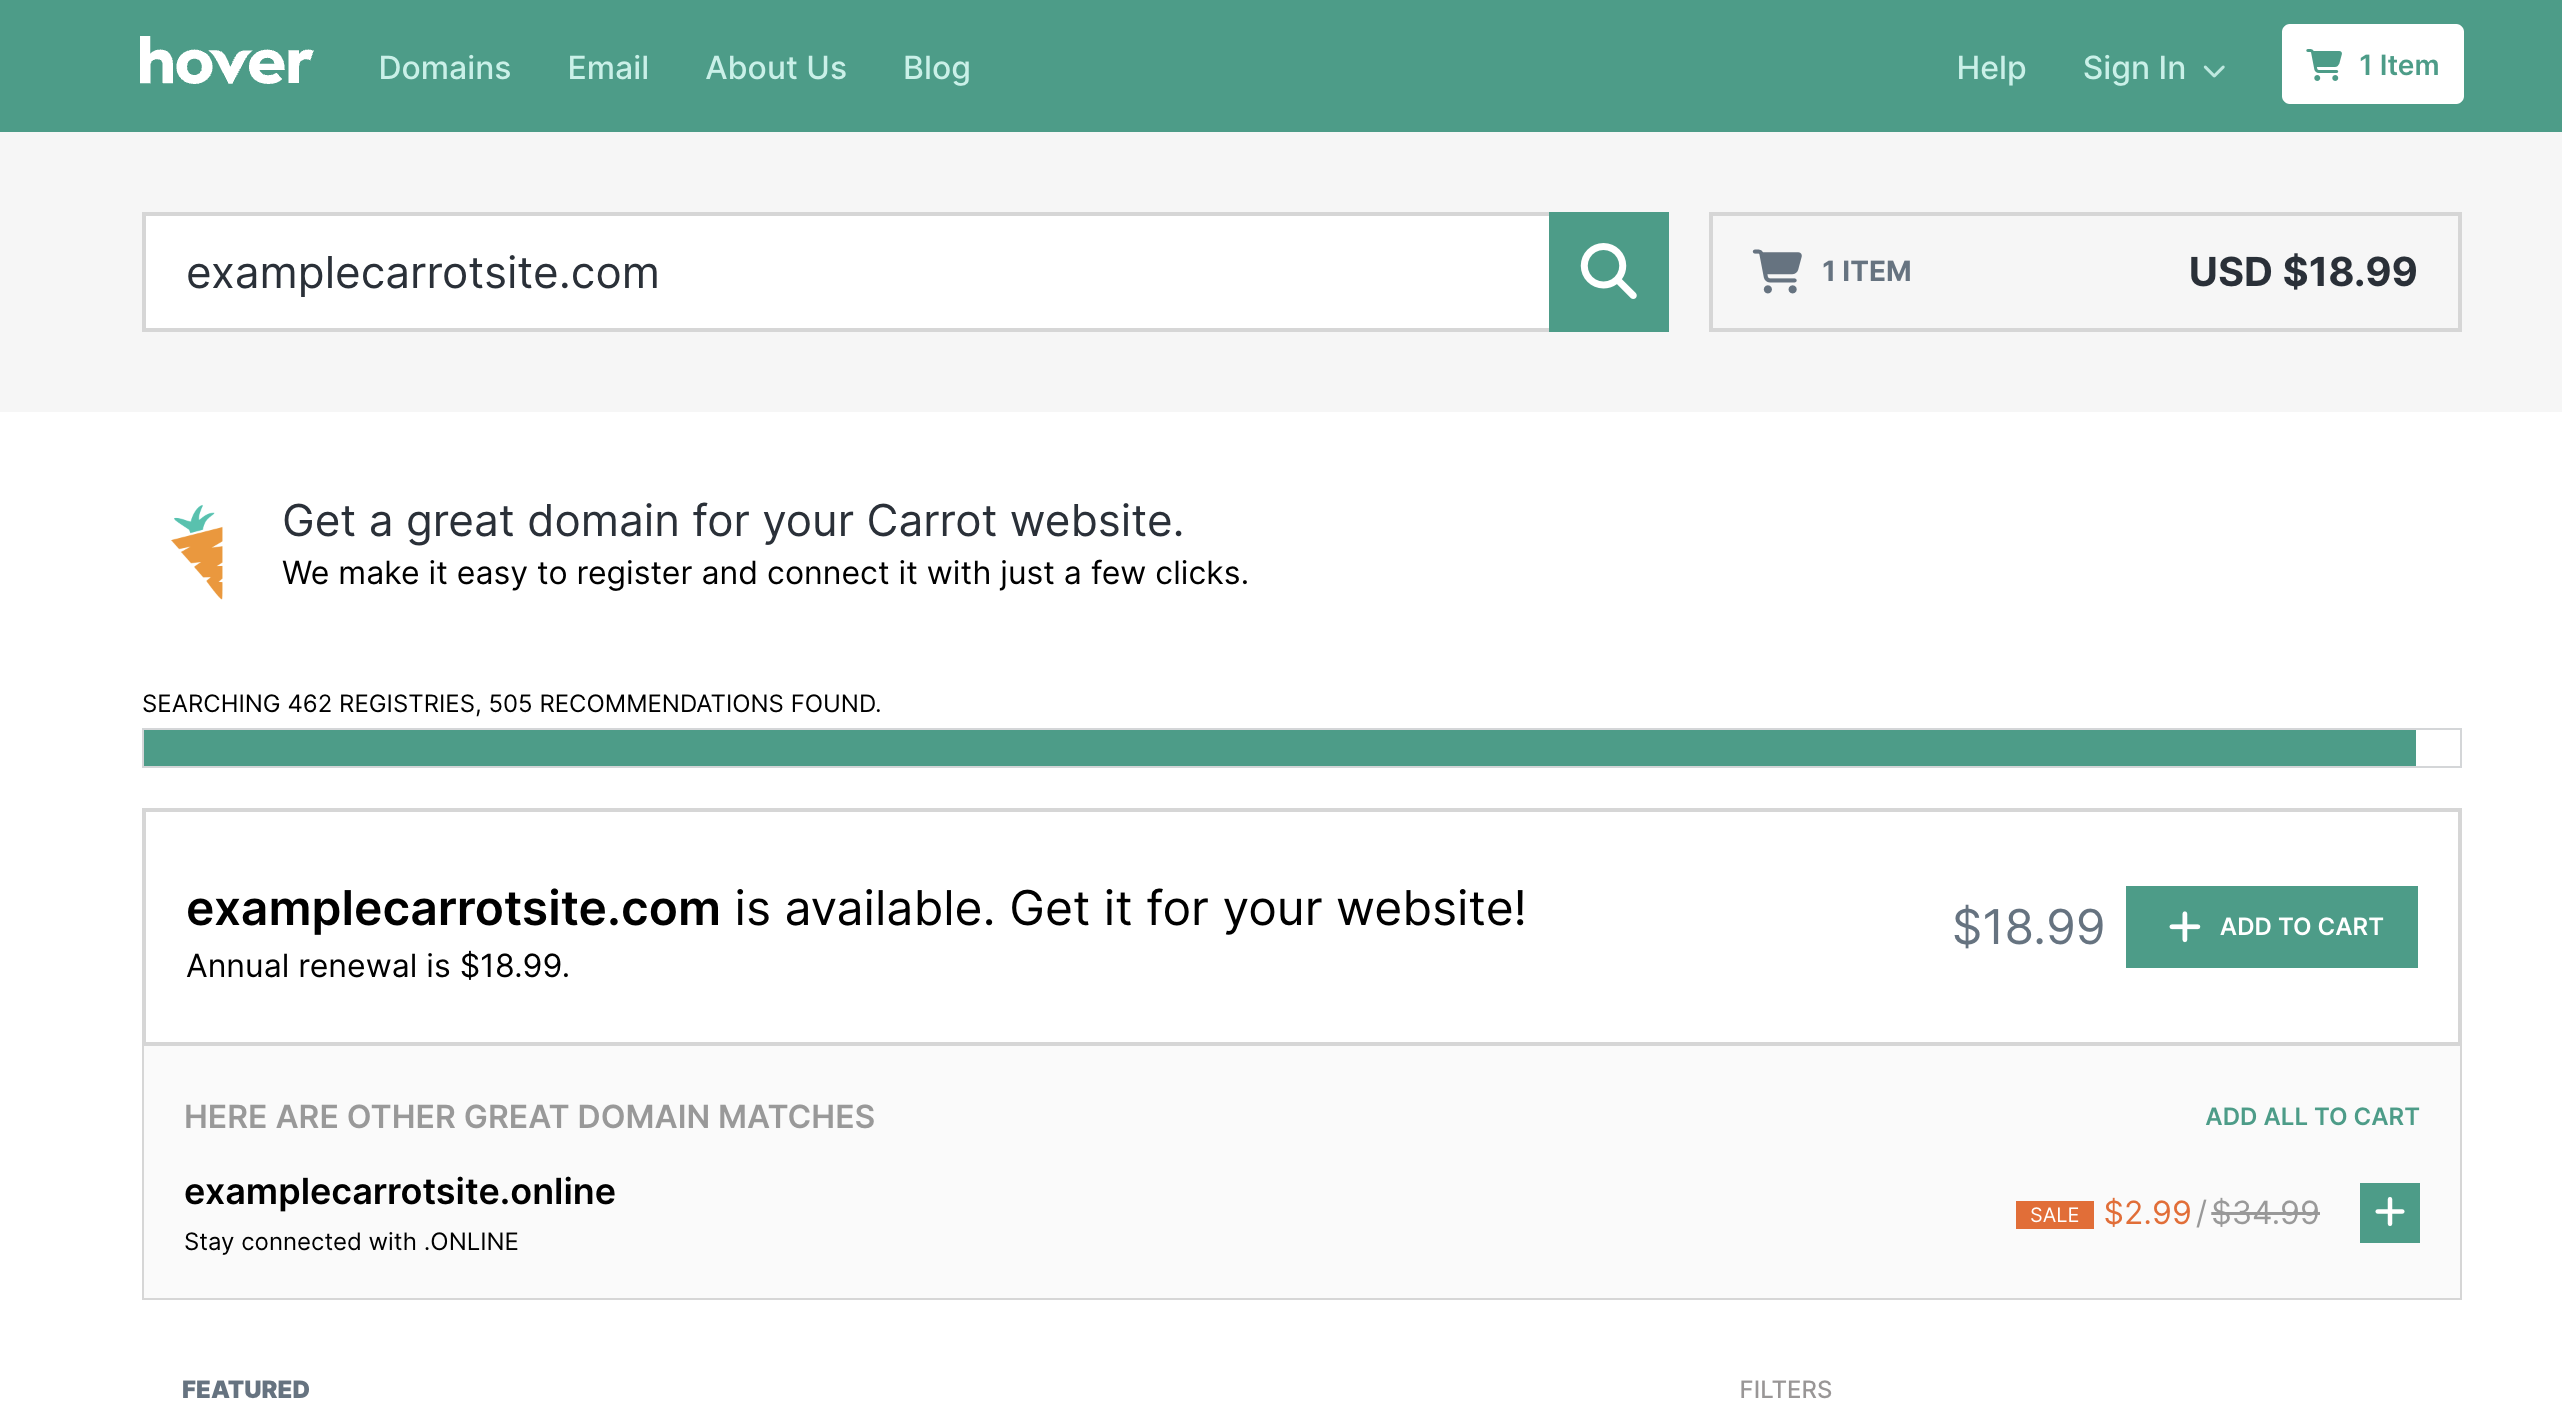
Add your preferred domain suffix and click on the shopping cart to proceed–your first order through this link comes with a 10% discount automatically applied at checkout!
Step 3: Complete DNS setup after purchase
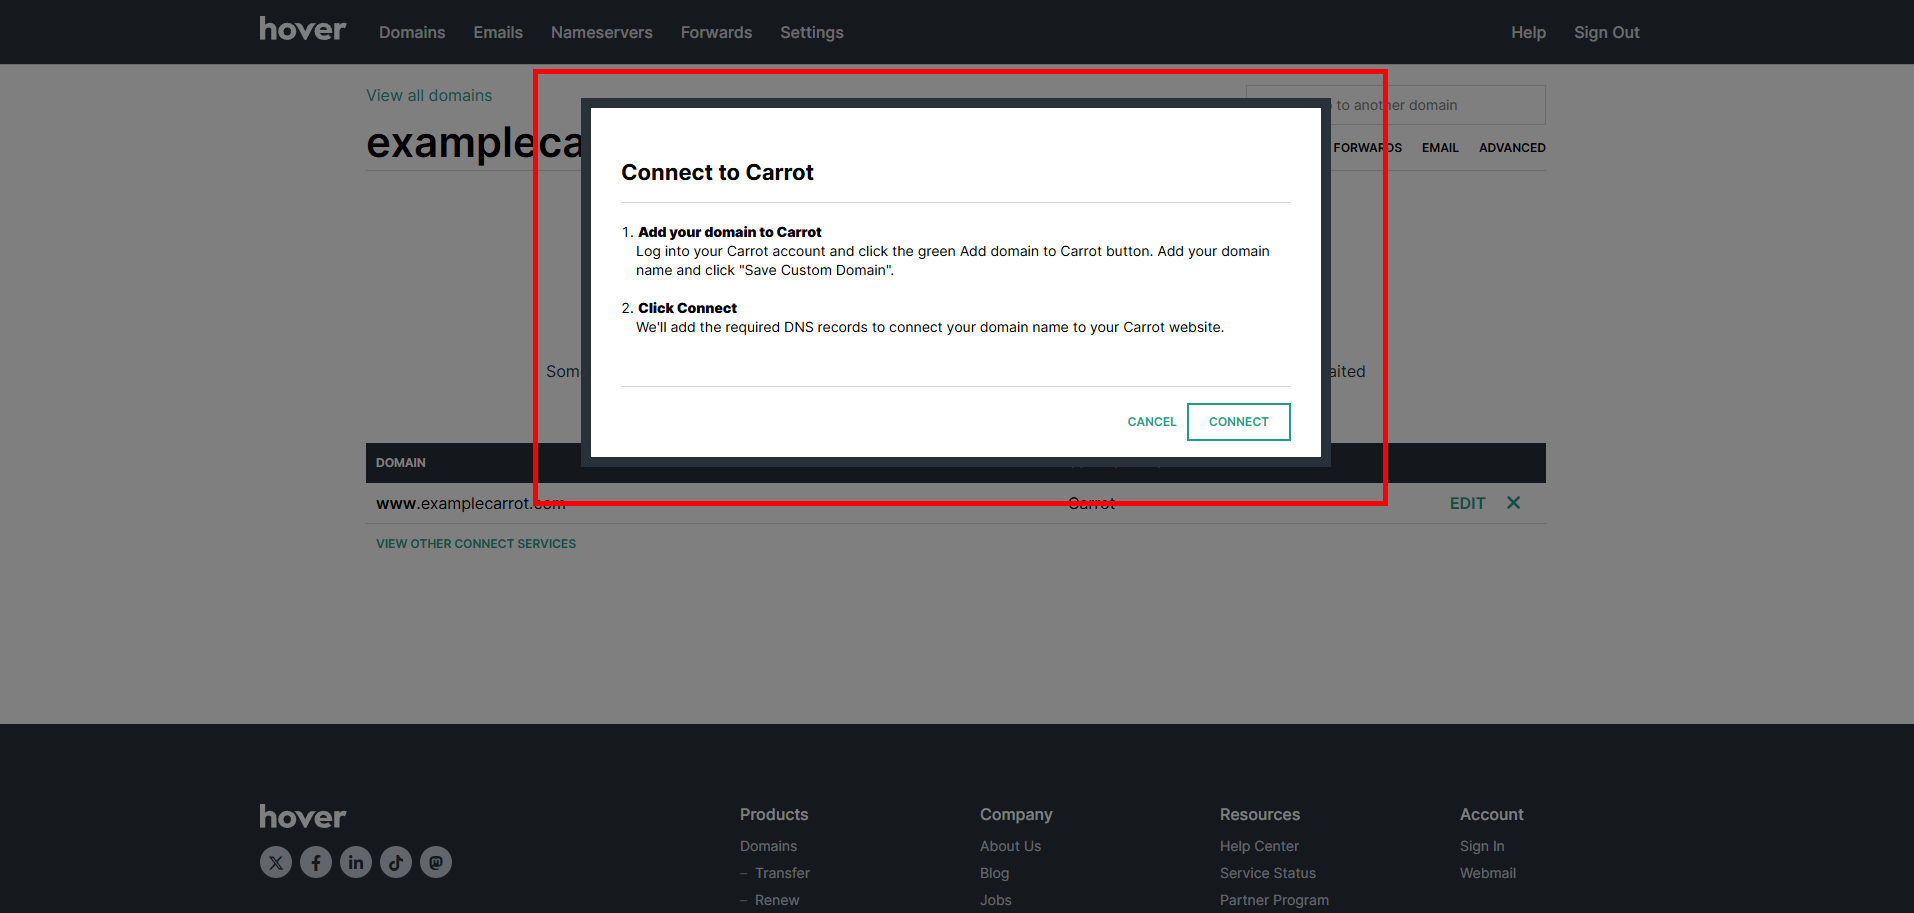
- Once the domain has been purchased, a pop-up window will ask you to first add your custom domain to your Carrot site. Start by by clicking on the green button from the account manager screen.

- Enter your domain name into the field under Step #1, then hit “Save Custom Domain” to save changes.
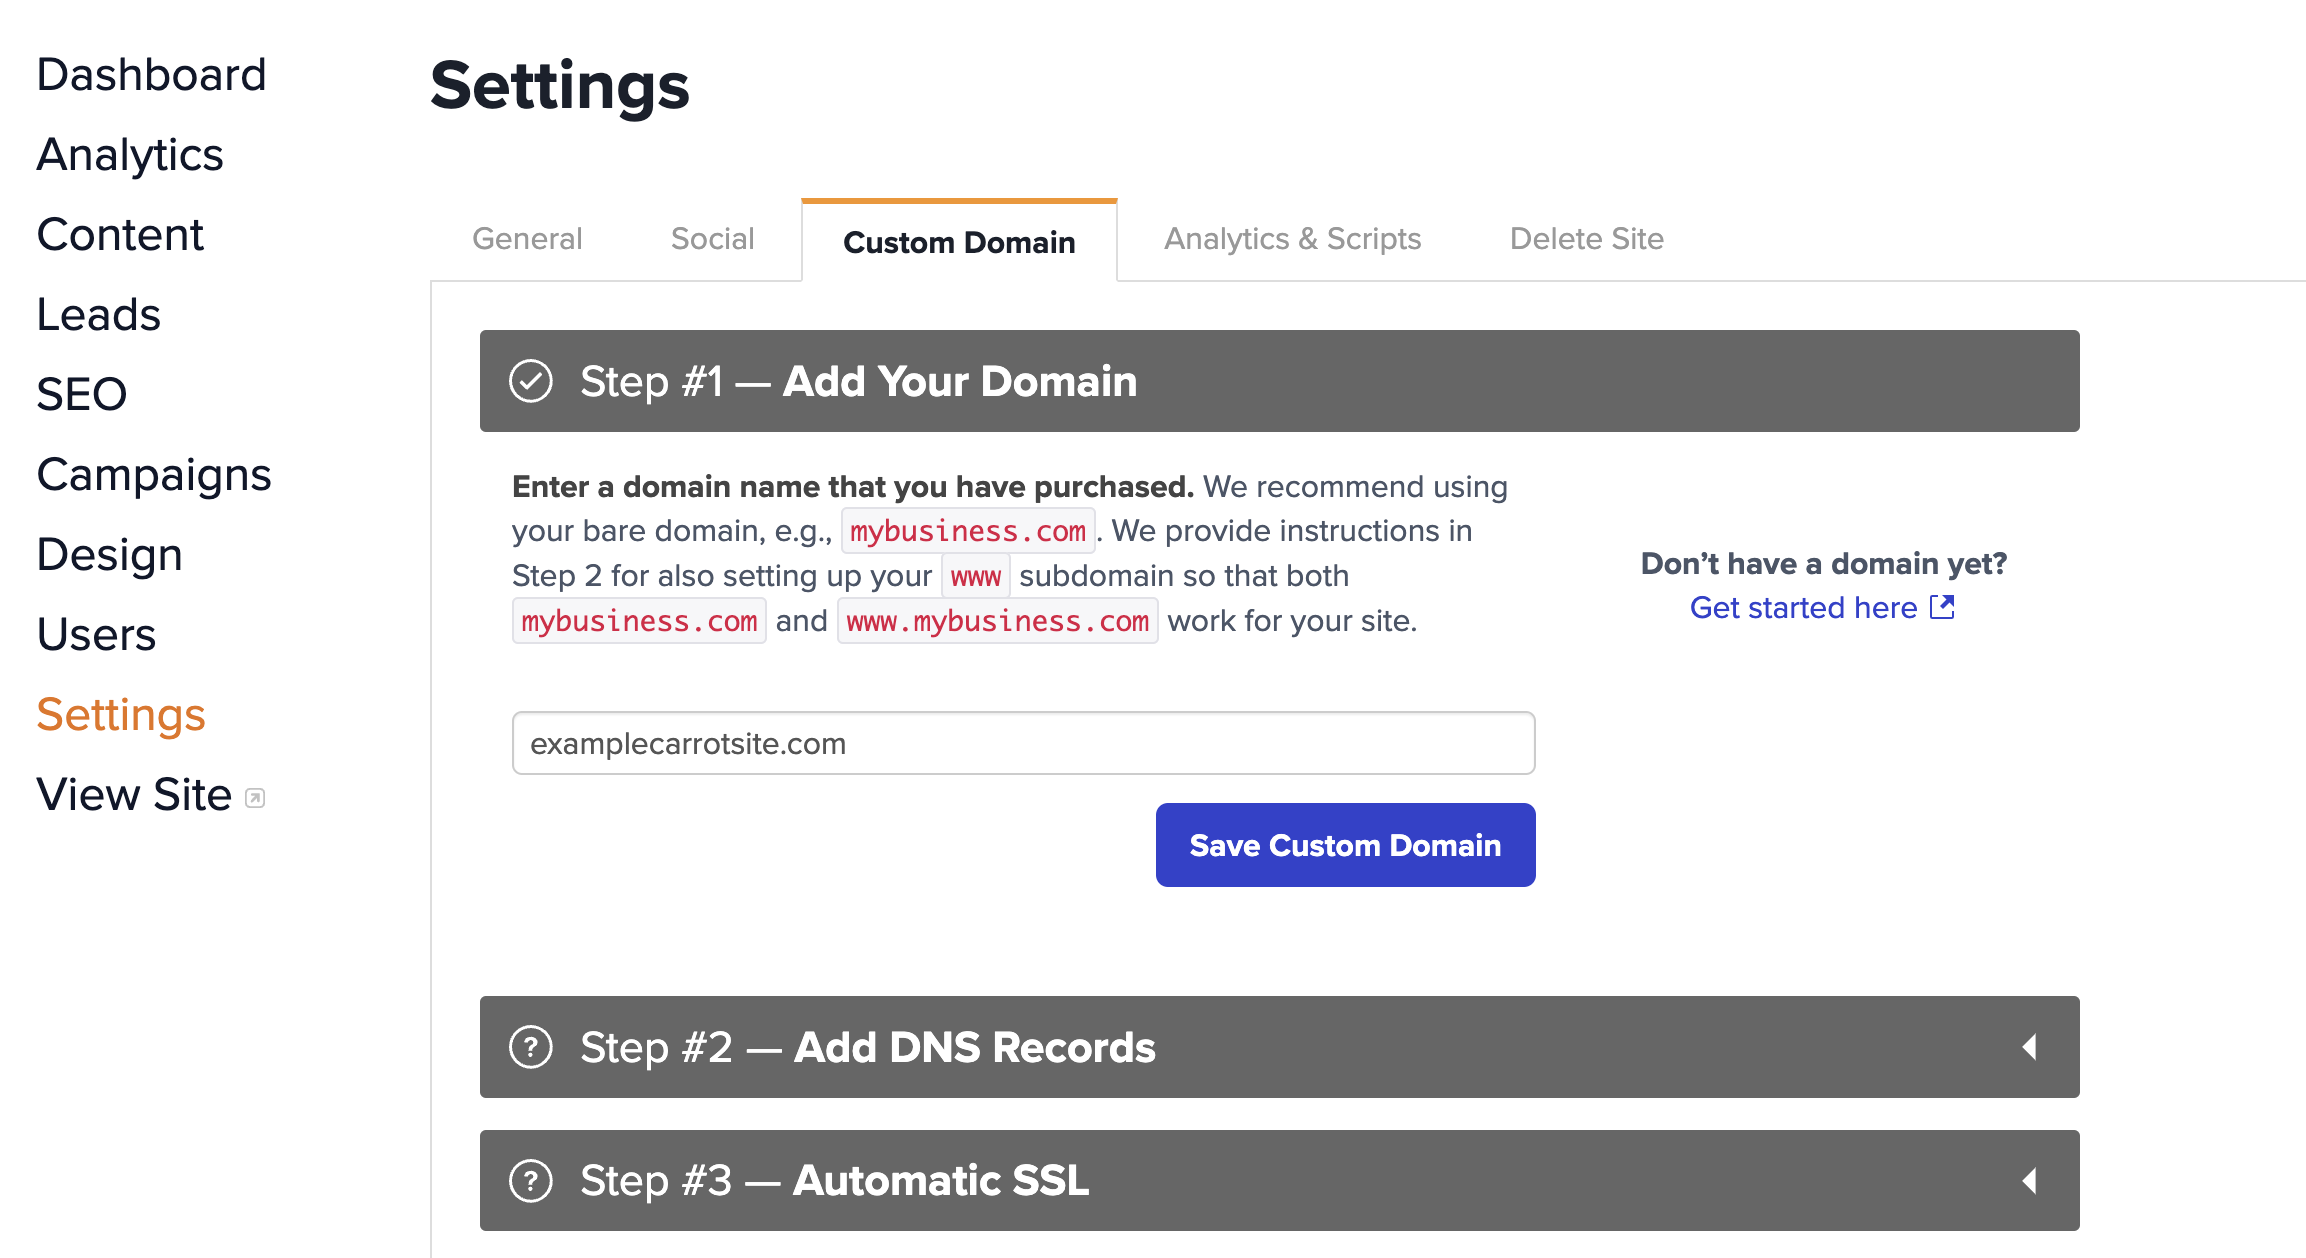
- Click “Connect” from the initial window in your Hover account.

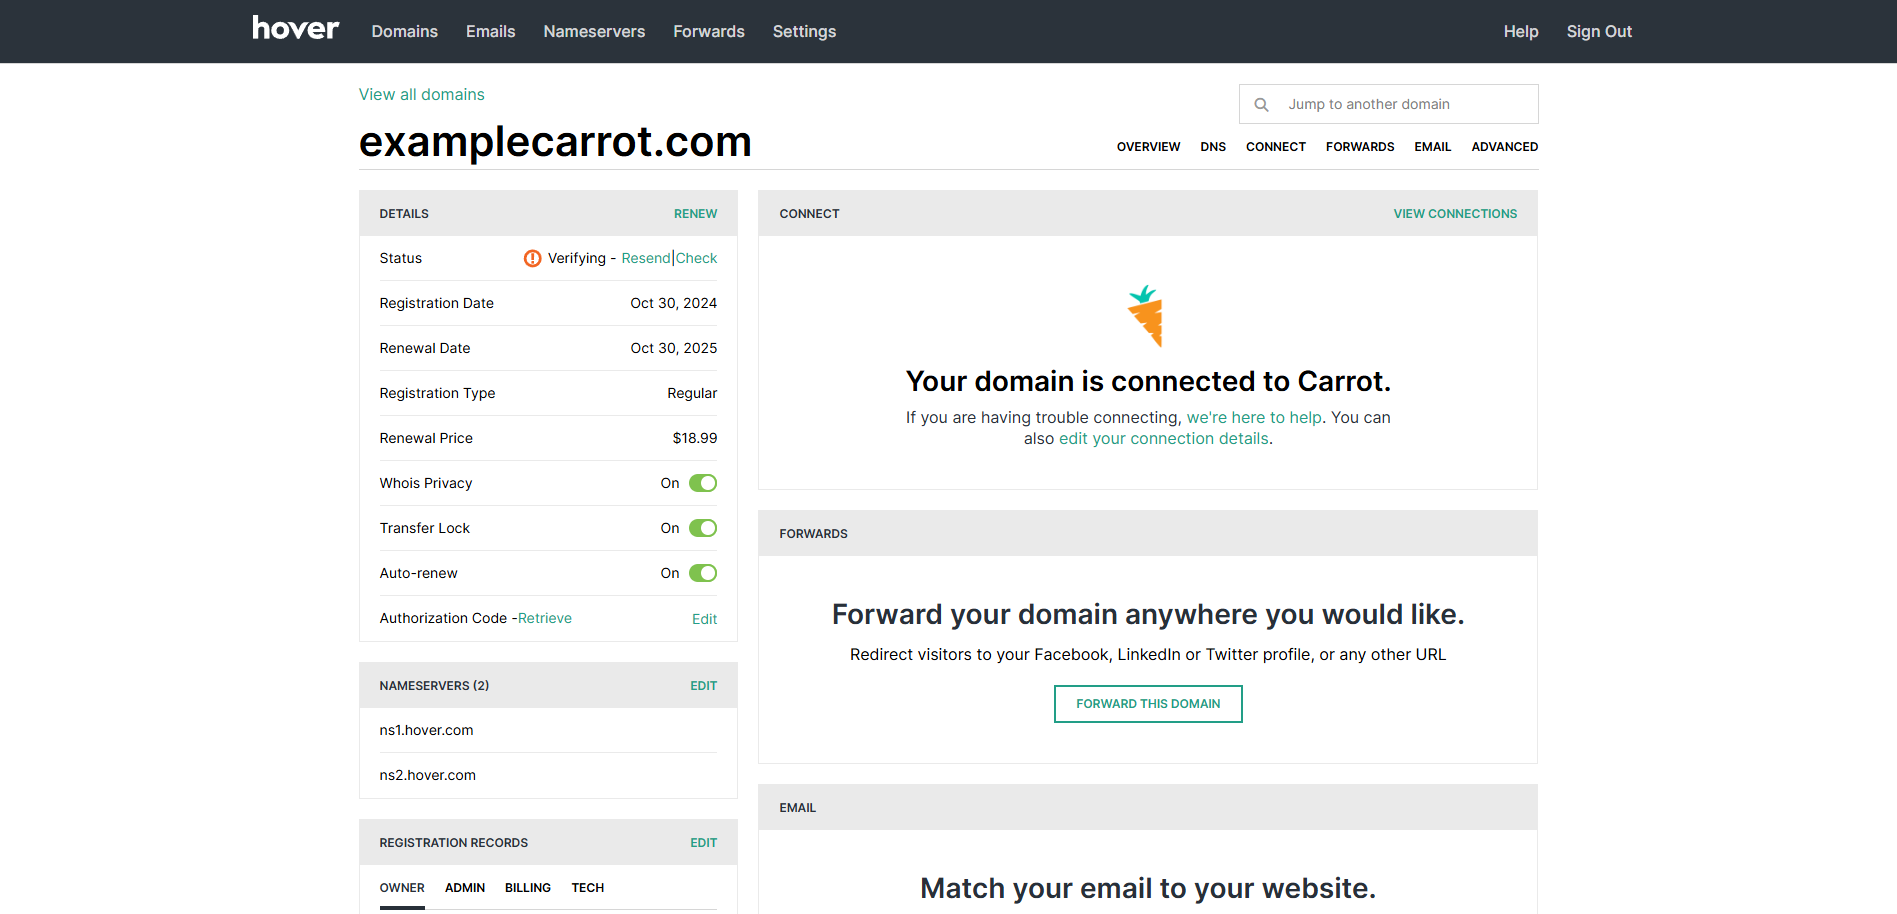
- A confirmation will appear in the following screen of your Hover dashboard.
Connect an Existing Hover Domain
Step 1: Log into your Hover Account

Step 2: Navigate to your Control Panel and Click on the “Connect” Tab
- Click on “Your Account” in the top right corner. From the drop-down menu, click on “Control Panel“.

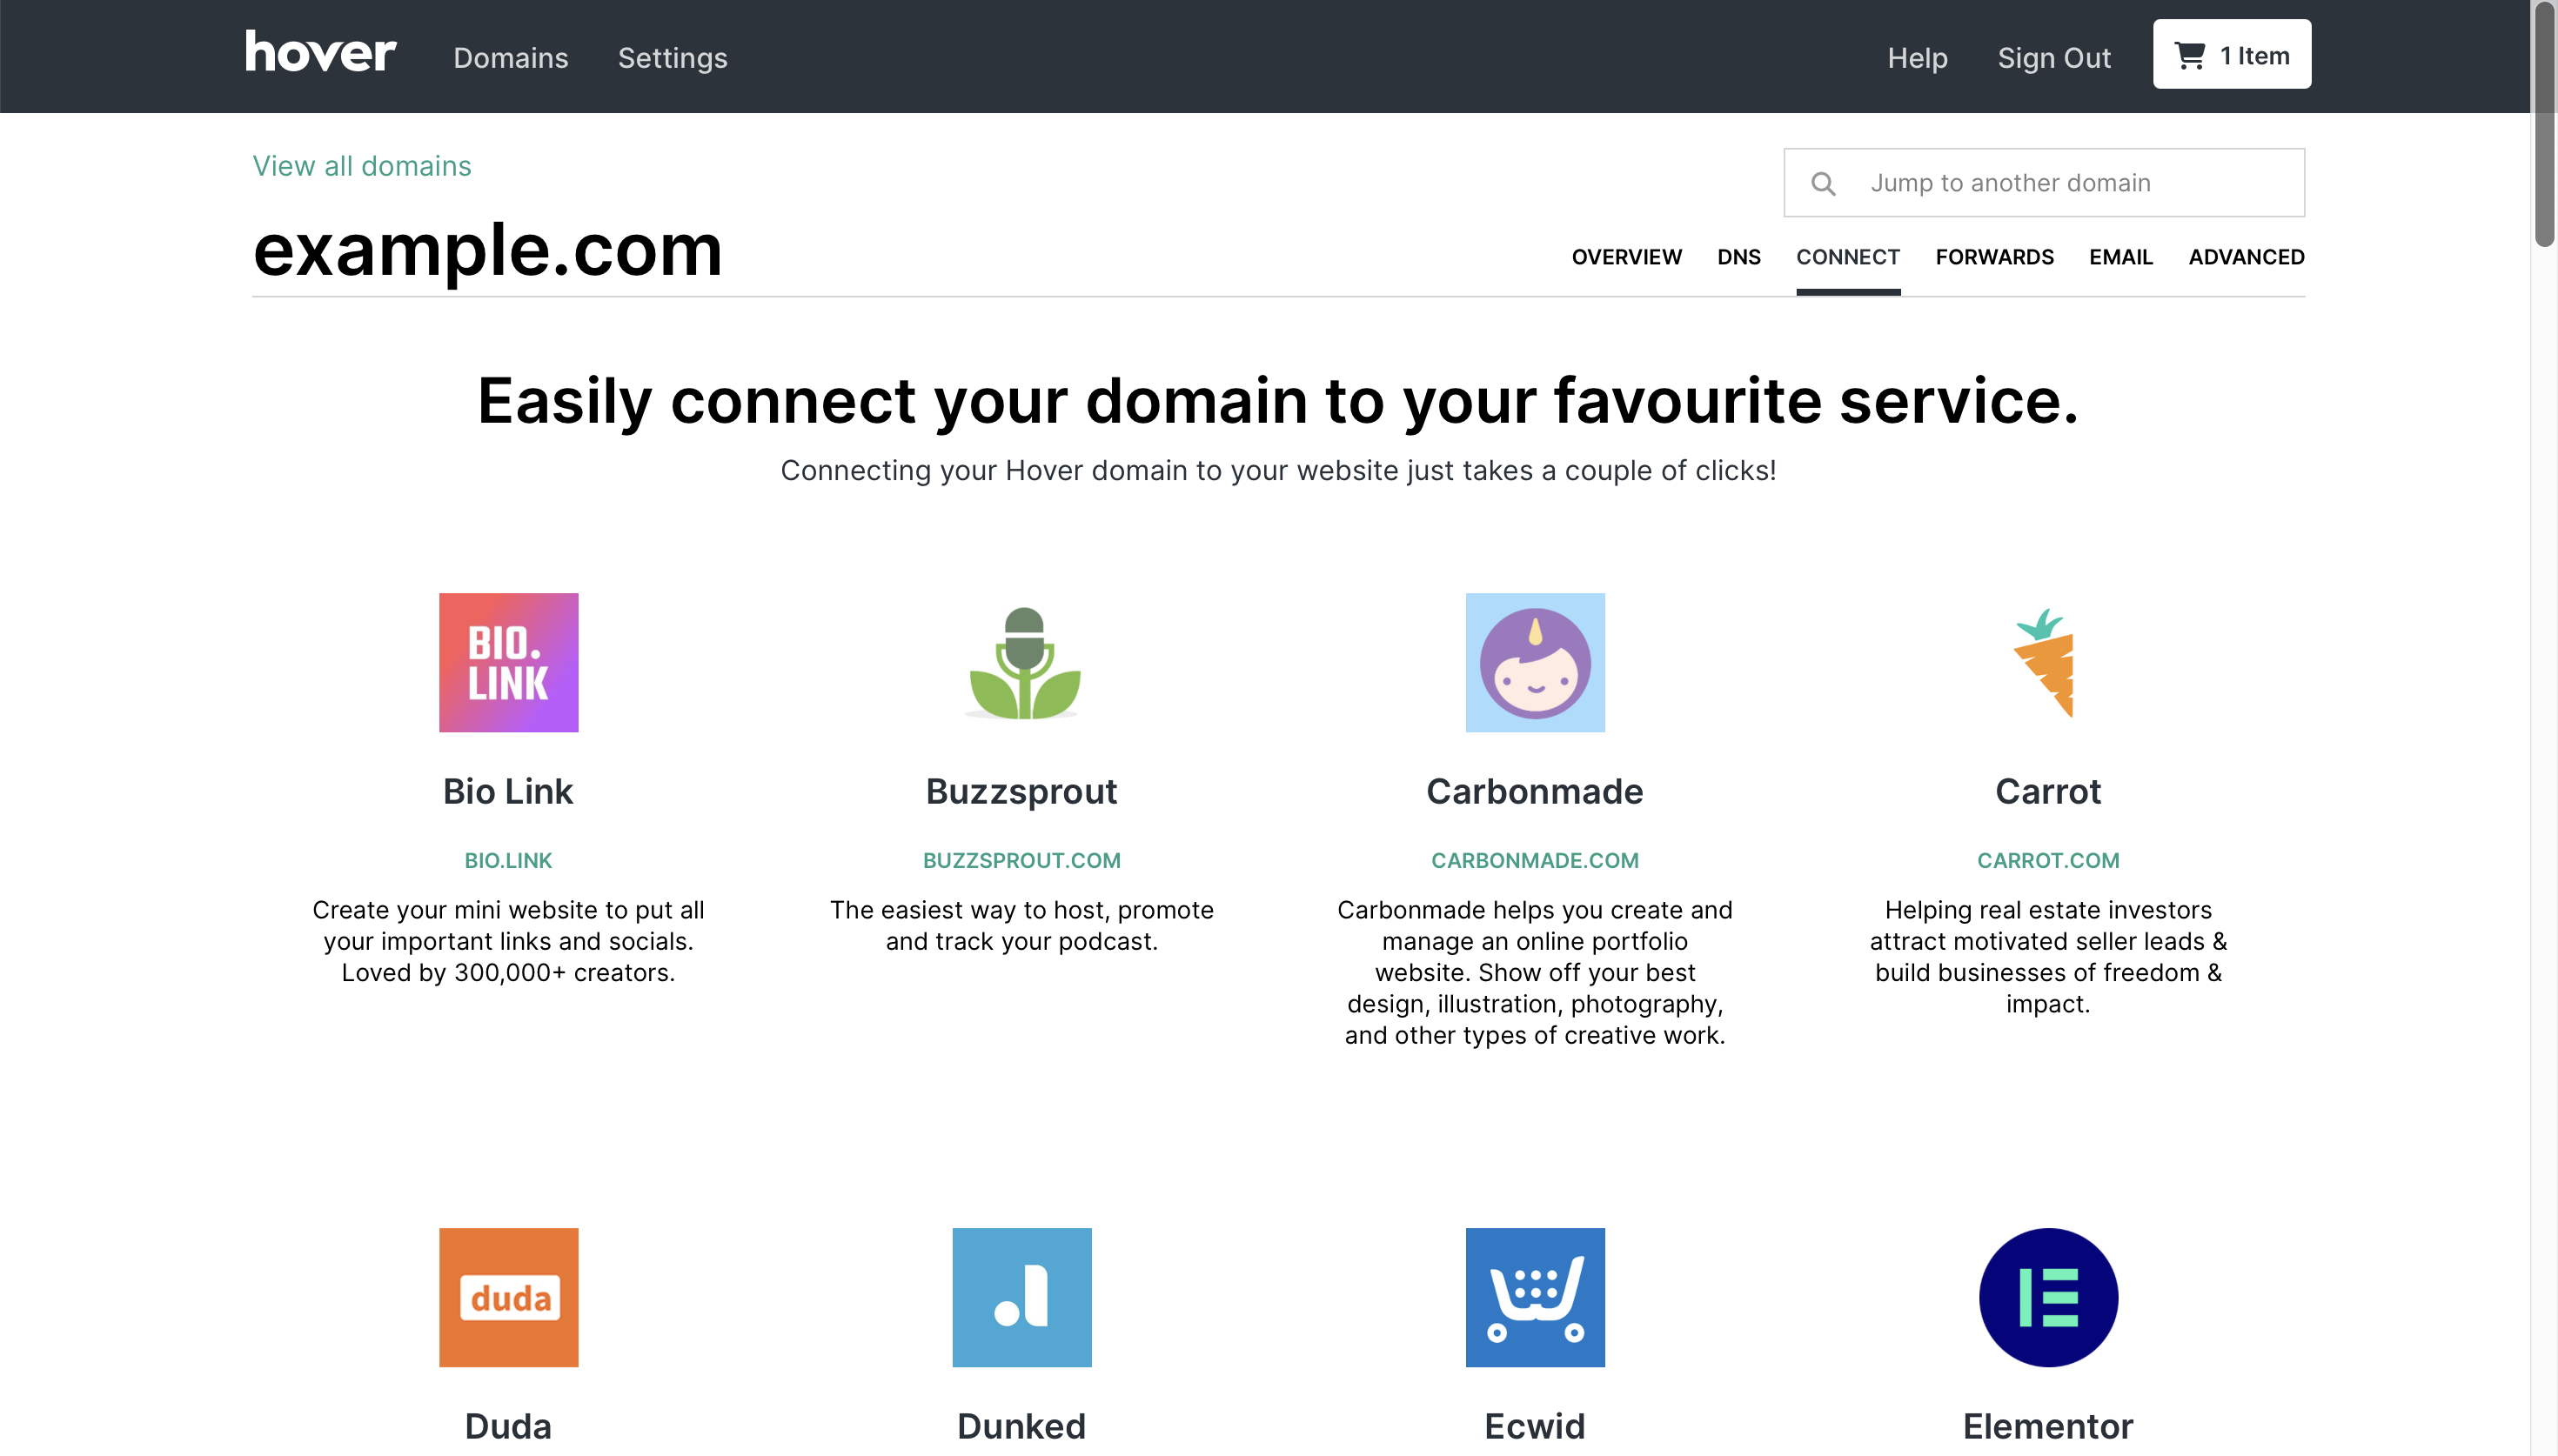
- From here, you will see the domain name(s) that you have purchased through Hover. Click on the tab labeled “Connect” to find Carrot.
Step 3: Connect your existing domain
- After selecting Carrot, your DNS records should be automatically applied!

Now we are done with Hover! Time to head over to your Carrot site!
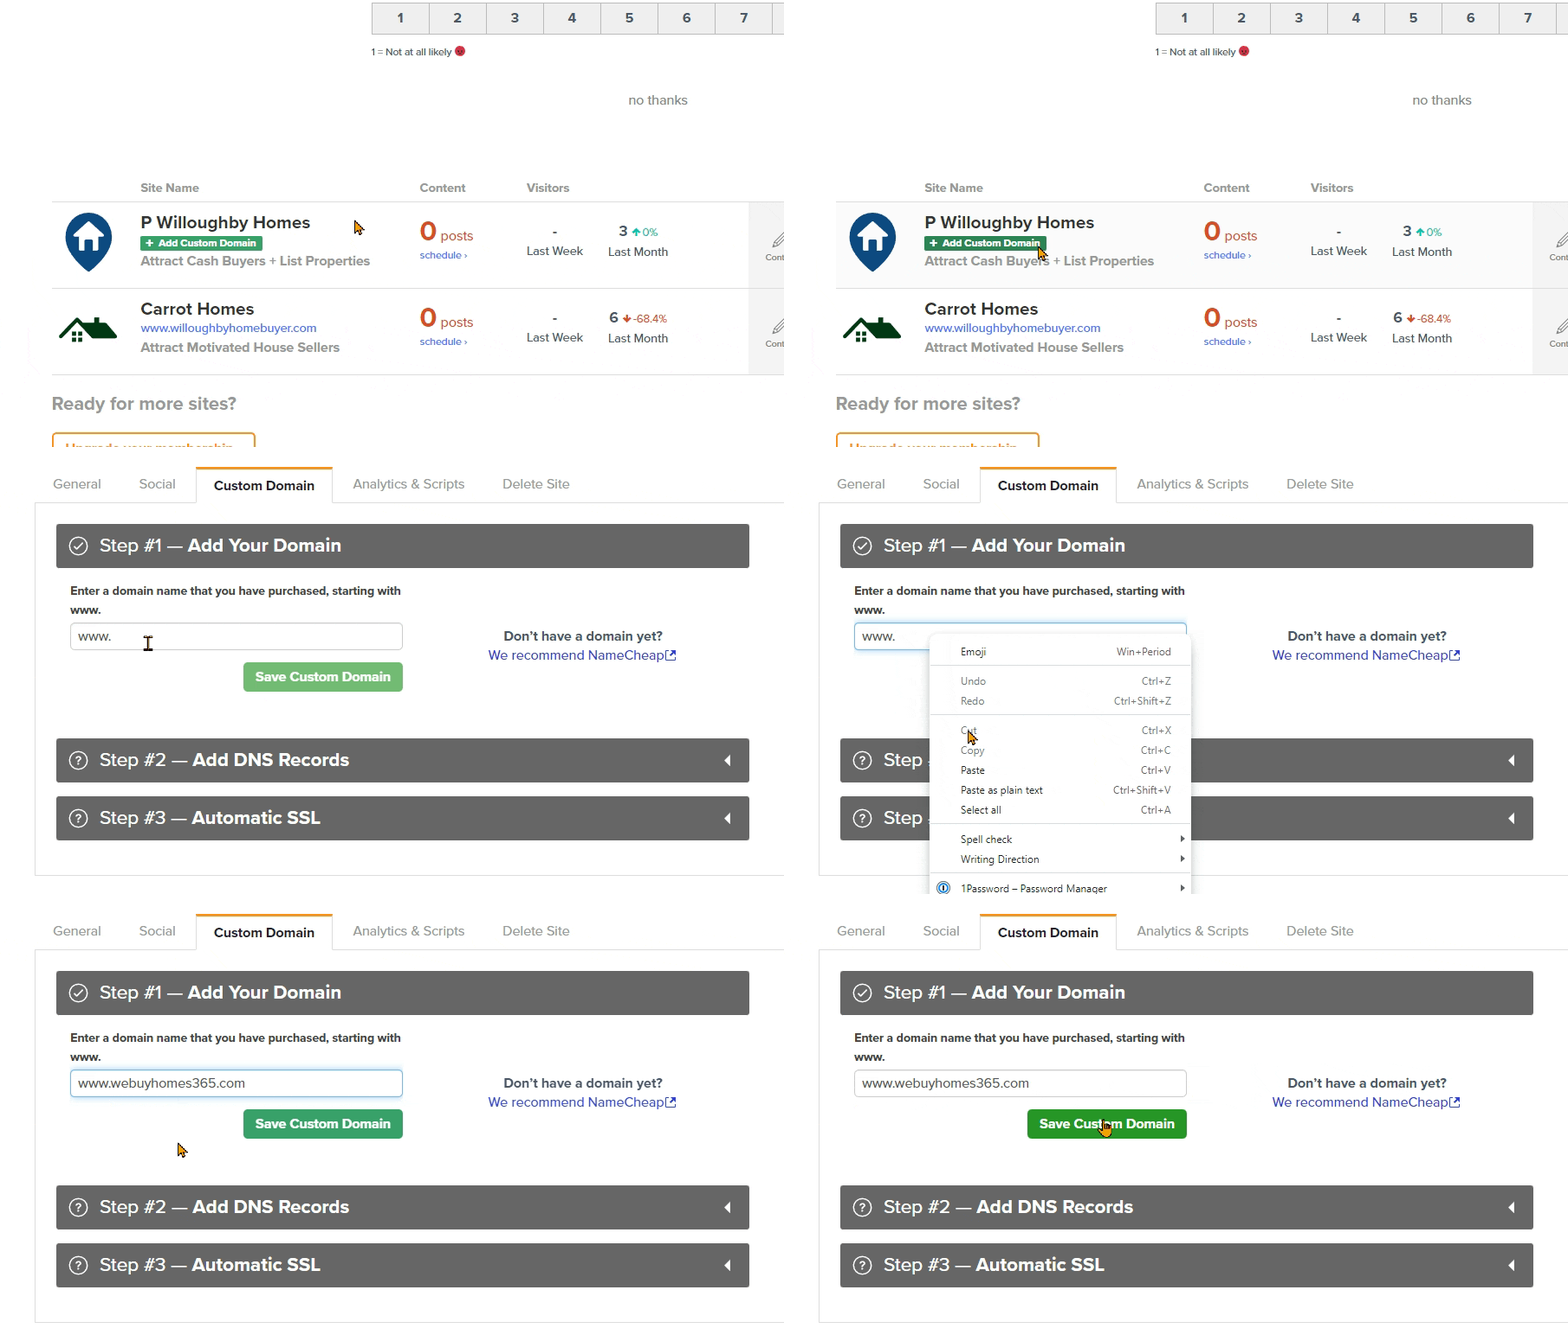
- Log into your Carrot Account page and click the green button to Insert your custom domain.

- Enter your domain name into the field under Step #1, then hit “Save Custom Domain” to save changes.
That’s it! Give it a few minutes for the changes to update.
If you have any trouble at all, hit up support via email or live chat for guidance. We will also gladly do it for ya if you provide Support with your Hover account login info.
Affiliate Relationship Disclaimer: While our recommendation of Hover is based on our experience and success with their service, Carrot is an affiliate partner with Hover and may receive compensation for referrals via links on this page.
We’re ready to support you any time
right here in your browser:
Unable to start a chat? Uh oh, send us an email here instead.
