This tutorial will guide you on how to properly connect your Name.com domain to your Carrot site. Follow the steps below! Want us to do it for you? Please scroll to the end of this tutorial and complete the form to get started.
*If you have a custom email, this process will likely disconnect the email. Please be sure to check with your registrar to ensure it continues to work after this update.
ℹ️ NOTE: When connecting a domain, it can often take up to 24-48 hours for the changes to take effect. This can vary depending on your domain registrar and the DNS settings. If you’ve followed our instructions below and it’s been longer than 48 hours, feel free to reach out to us!
*You may find your registrar’s support team asking for an “IP Address” to attach the domain name. We use a cname record to attach domain names because using IP Addresses means a systems servers must remain the same and ours do not and flux with incoming traffic and other updates. To ensure domain names always work, please use a cname to attach the domain to your site.
Step 1: Log in to your Name.com Account
Step 2: Navigate to Your Domain’s DNS Settings
- Inside your Name.com account, click My Account at the top.
- Click my domains in green, on the left.
- Click on the domain name you wish to create a CName record for.
- Click DNS Records on the left.
You can also follow these instructions from Name.com to locate your DNS records.
Step 3: Add a CNAME Record
- Change the drop-down menu Type to CName
- Set the Host field to
www - Then enter
carrot.cominto the answer field - Then click the blue Add Record button
Here’s more info about adding a CNAME record in your Name.com account.
Step 4: Add an A Record
Edit your A record to point to the Carrot network:
- Type:
A Record - Host:
@ - Answer:
50.112.162.40
Here’s more info about adding an A record in your Name.com account.
Now we are done with GoDaddy! Time to head over to your Carrot site!
- Sign into your Carrot Account page and underneath the site that you’d like to attach this new domain, click “add a custom domain.”
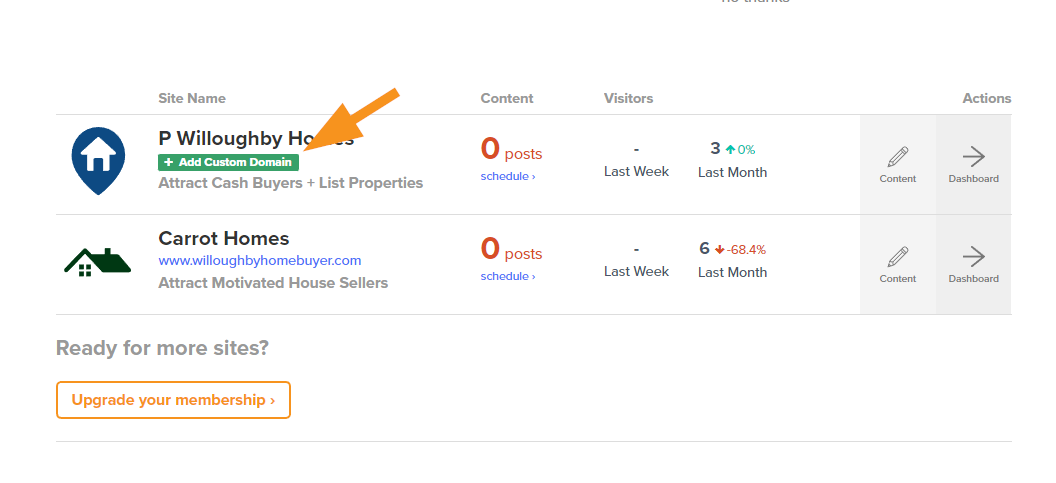
- Enter your domain name into the field under Step #1, then hit “Save Custom Domain” to save changes.

That’s it! Give it a few minutes for the changes to update.
If you have any trouble at all, hit up support via email or live chat for guidance. We will also gladly do it for ya if you provide Support with your Name.com login info.
We’re ready to support you any time
right here in your browser:
Unable to start a chat? Uh oh, send us an email here instead.