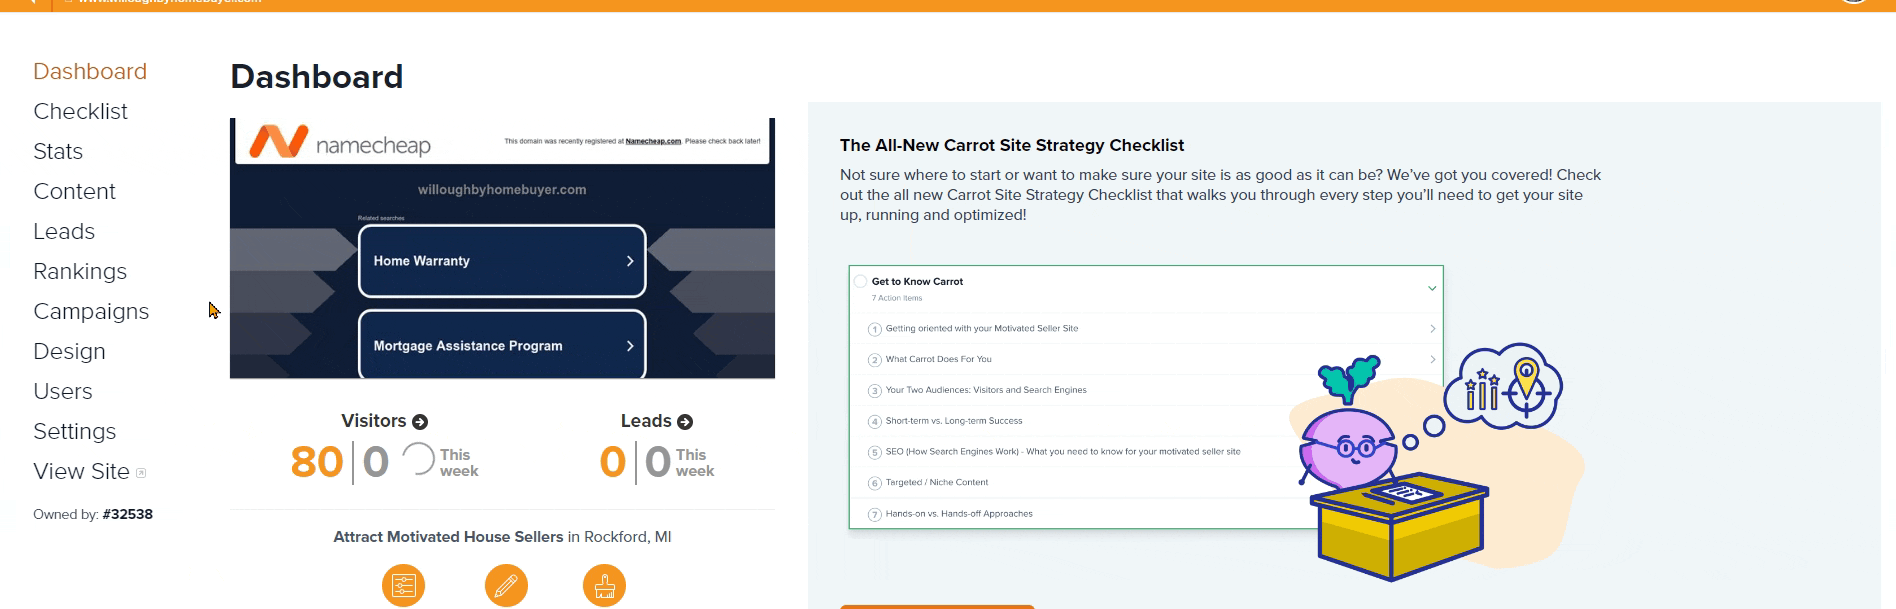
In this tutorial, you’ll learn how to change your color scheme and fonts on your site!
Everyone’s logo and branding should match to build credibility and brand recognition. Typically you’ll want to select a color scheme that mirrors your logo. If you want to read more on selecting a good color scheme, check out our Tips for Choosing Brand Colors section below.
There are several reasons why changing your color scheme and site-wide fonts will help you succeed with Carrot. A few of those are:
- Doing so helps to differentiate your site.
- Doing so makes your site look more professional and trustworthy.
We will cover both how to change colors on the sitewide level, as well as how to change colors for a specific page on your website – Let’s get started!
Part 1 (of 2) Changing Colors Sitewide
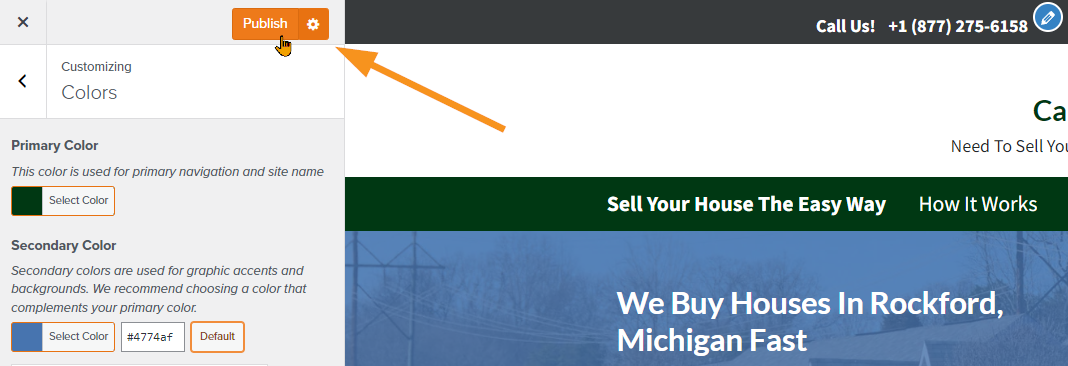
Step 1: Navigate to Dashboard > Design > Colors:
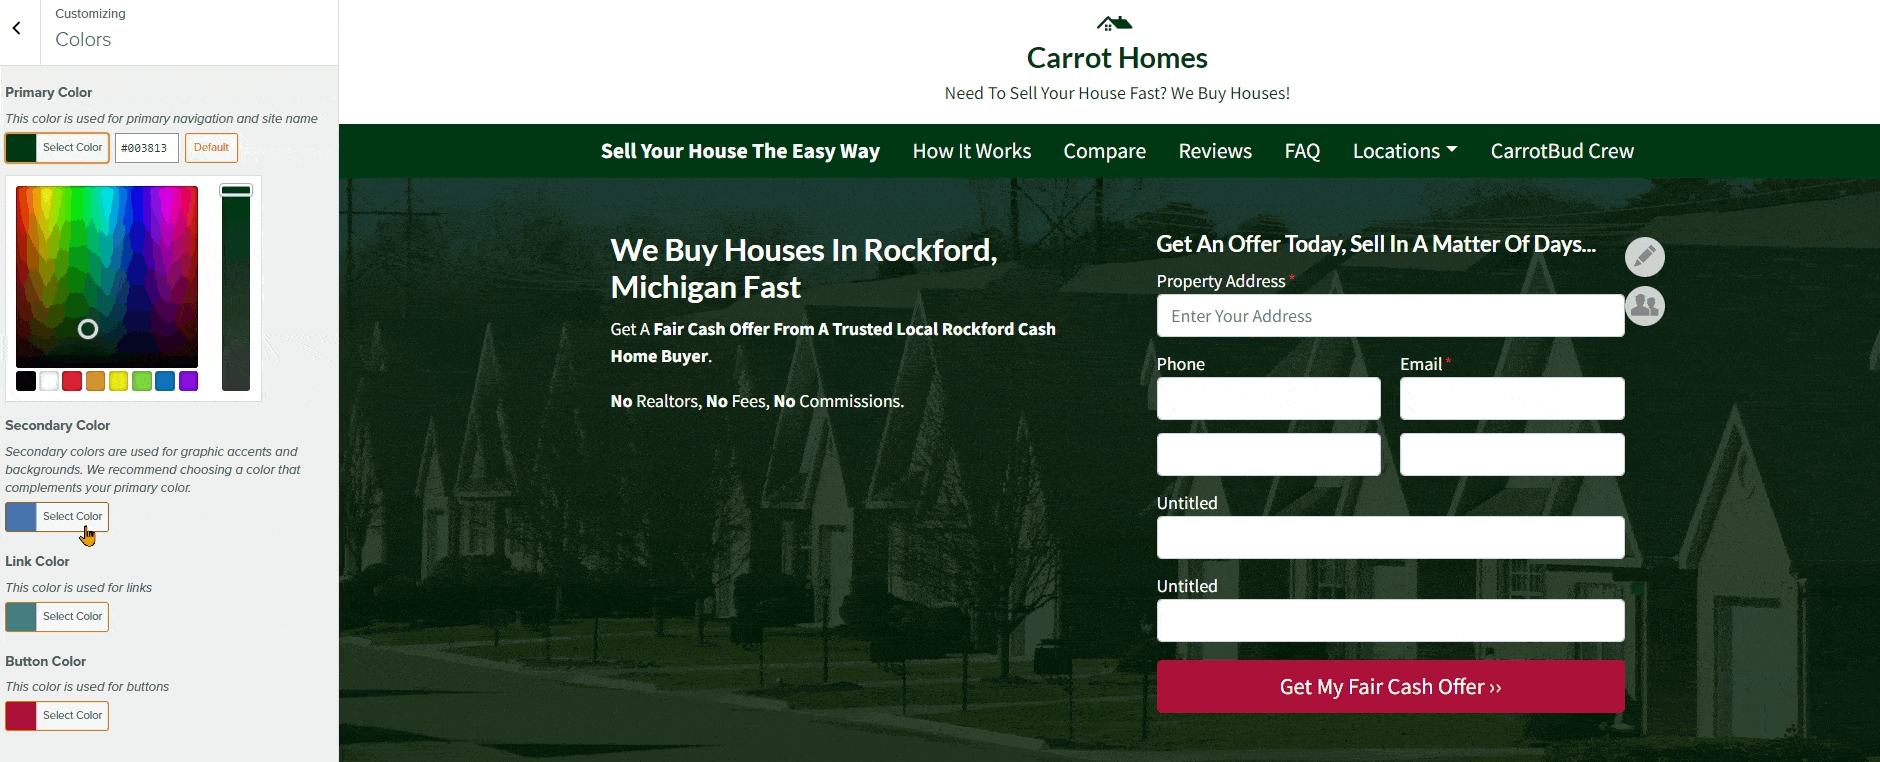
Step 2: Select Your Desired/Chosen Colors:
- Play around with this tool to get a feel for the color slider!
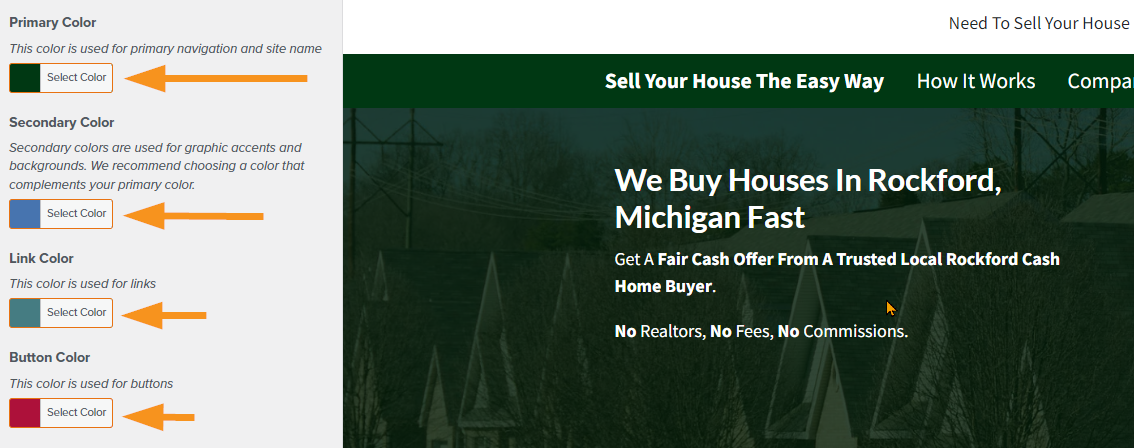
- You can change the color of Links, Buttons, Navigation Bar, Site Title, and overlay Background Color for your Hero Banner.
- Using the two available sliders, you can change the color and the saturation of the color. You can click the “default” button to revert back to the original colors that were used when you first launched the site.
Finally, there is a field where you can insert a hex value, if this is necessary for you! (A hex value is a six-digit combination of numbers and letters that represents a specific color value. Example: #123456)
💡 It’s a good idea to have your button color contrast with your Primary Color so your call to action is clear. This will subconsciously influence the people who view your site to fill out your form!
Step 3: Select Your Preferred Fonts
In the Design settings next to where you’ve selected your site-wide Colors, you can also select your chosen fonts. All provided fonts are “web safe”, meaning that they will look great on almost any device.
Select your Primary Font and Headings Font from the drop down choices:
Step 4: Save Edits by Clicking “Publish”!
*Keep in mind you won’t be able to see the changes take effect on your Live page until you hit the publish button
That’s it! Your colors have just been changed!
Part 2 (of 2) Changing Colors within a Page
Step 1: Navigate to Dashboard > Content > Pages:
- Once there, hover over the specific page that you would like to be making changes to.
- Next, click “edit” from the options that will appear below the page’s title.

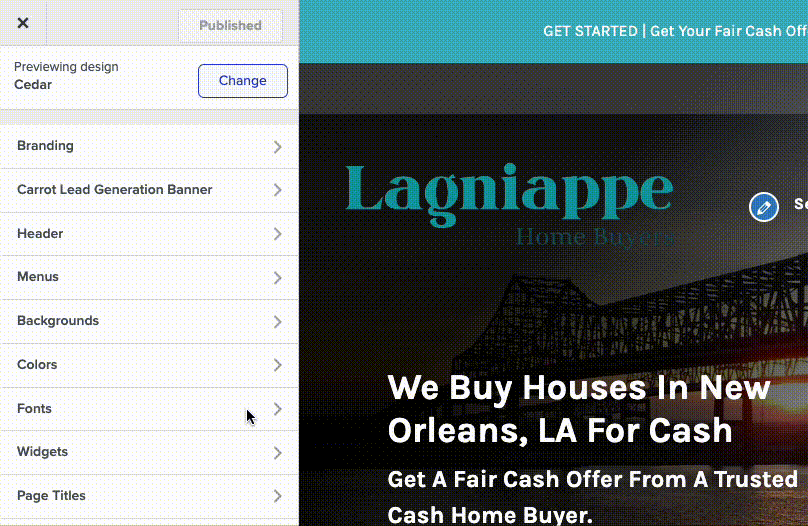
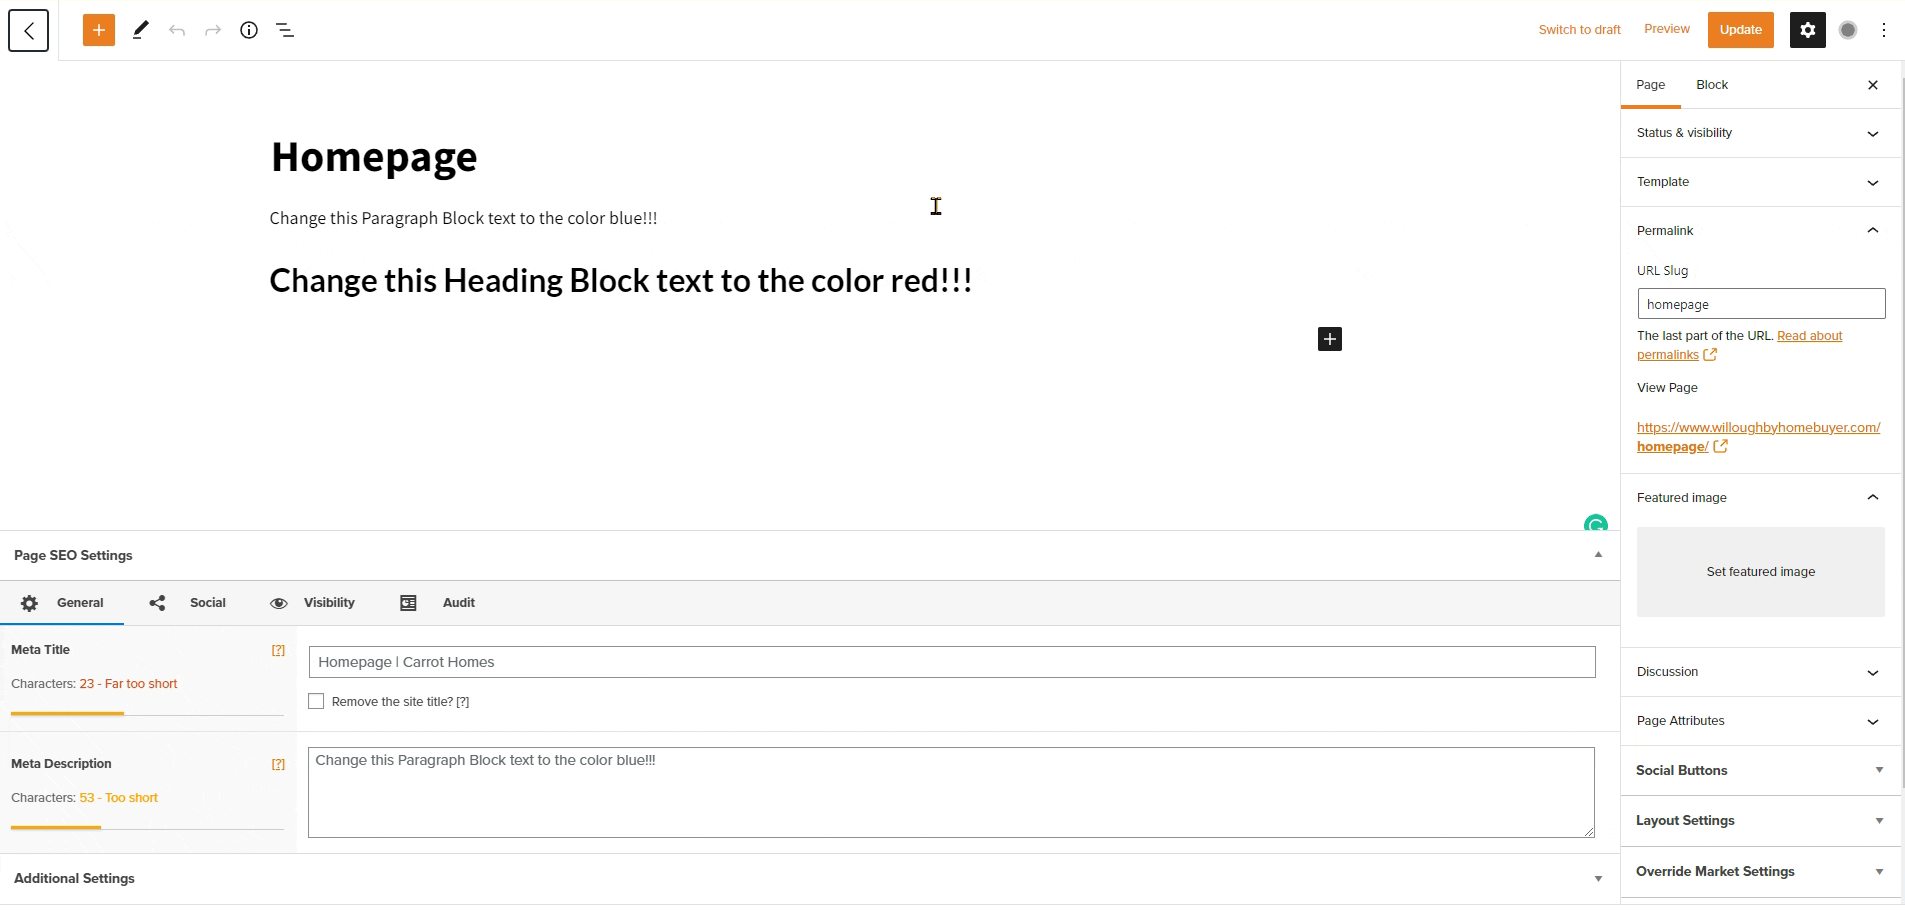
Step 2: Change the Colors of Your Blocks!
- First, click on the Block/Element that you would like to change the color of. Note: Not all blocks offer this! Some blocks that do: Text Blocks such as Paragraphs and Headings, the Cover Block, and Button Blocks!
- Next, look through the tool panel on the right-hand side of the screen. There will be a “Color” drop-down menu available. Click this to open it up!
- Finally, choose your desired color from the presented options! These given options are based overall color scheme that you are using on the broader site.
Tips for Choosing Brand Colors
Your brand colors and logo are part of your company’s visual identity.
Your visual identity is the visible representation of how people perceive your company’s brand.
You’ll typically want to work with a professional designer to develop a logo and color scheme for your brand, as color psychology can heavily influence how your leads and customers think about your brand. A professional designer can provide you with a brand kit with guidelines for the colors and fonts you can use to keep your brand consistent across your website, social media, print material, and more.
If you don’t have the budget to work with a designer yet, we recommend learning a bit about the psychology of colors to help you choose a color palette that will help convey how you want your leads and clients to feel about your brand:
- Color Psychology: How To Use it in Marketing and Branding, via HubSpot
- Color Psychology in Marketing and Branding is All About Context, via Help Scout
If you have a logo, but don’t know the hex value, you can use this color picker tool. Grab the 6-digit hex color value to match the color of your logo to your site’s colors.
You can also use a color palette generator tool like Coolors to find beautiful color schemes or create your own. If you want to create an expanded color palette based off the main color of your logo, you can enter your logo’s hex value in Coolors and it will give you suggestions of other colors that will look good with it.
Conclusion:
In this tutorial, you learned how to change the colors on your site and why this is valuable!
Learn More:
- Differentiate with Design
- Changing Your Site Design
- Ways to Make Your Carrot Website Design Stand Out From Your Competition
New to Carrot?
Welcome!

Here’s our full guide for what to do when getting started with your Carrot website:
Want Us to do Some
Editing for You?
You are busy doing what you do best, running your business. Leave the site work in Carrot’s hands.