This tutorial will walk you through how to connect Google Search Console to your Carrot site. Verifying your site(s) with Google helps your SEO as well as builds your digital footprint to get you more visibility. It is a powerful tool for your site and helps you gauge how it performs on Google’s search results!
Once you follow the steps below and connect your website to your Google Search Console account, you’ll be able to see key insights right inside your Carrot dashboard with our new Search Performance feature!
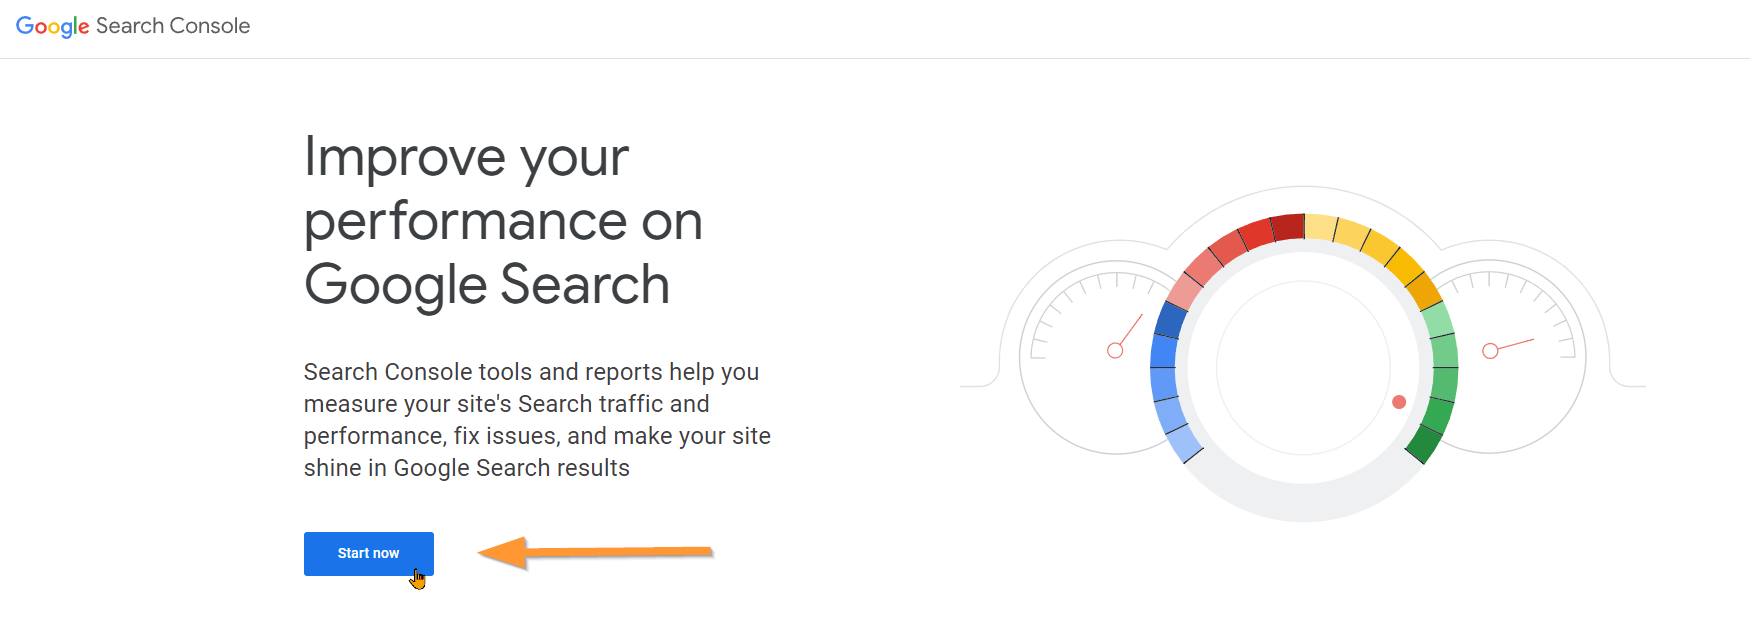
Step 1: Sign Into Your Search Console Account
Head over to Google Search Console and log in with your Google account. If you don’t have a Google account you can sign up here.
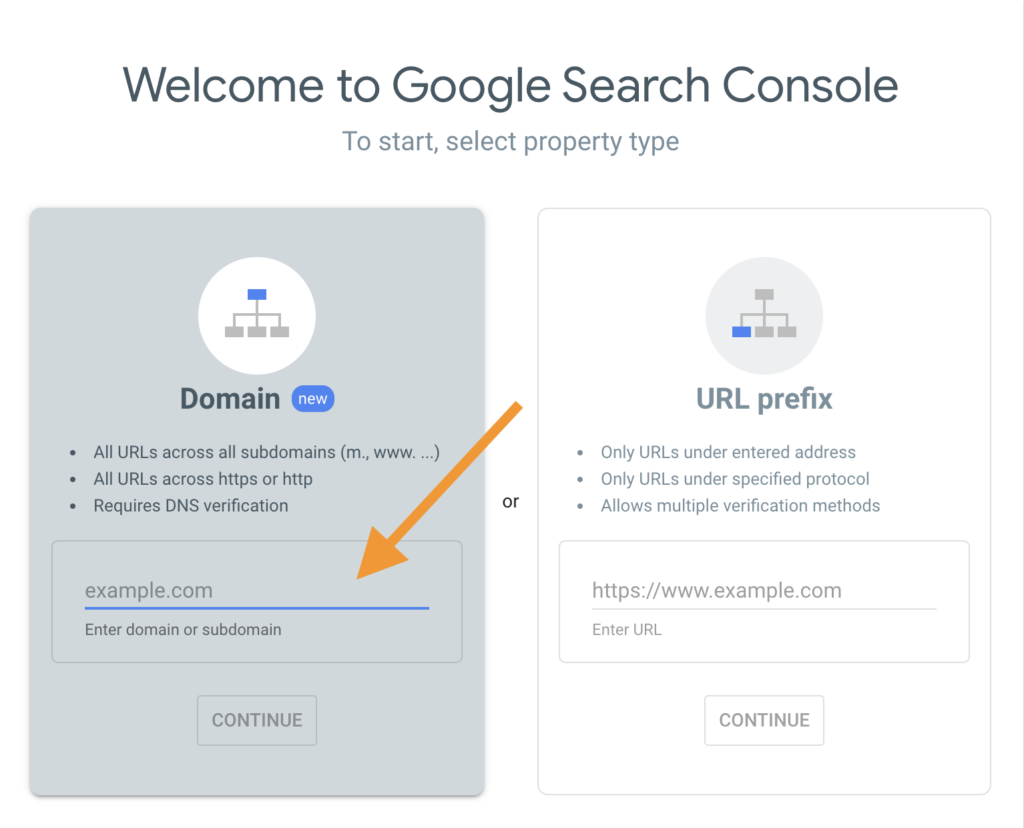
Step 2: Add Your Domain to Google Search Console
Connect your Carrot site to your Google Search Console account by inserting your Carrot site’s domain/URL into the Domain field and clicking “Continue”.
Your domain should be added in the following format: yourdomain.com
ℹ️ NOTE: The “Domain” property type shown below will only work if you have configured your domain with an A record. Otherwise, you will get inaccurate results in Search Console. If you have your domain configured with the legacy configuration (no A record), you will want to use the “URL prefix” property type and use the https://www. version of your domain.
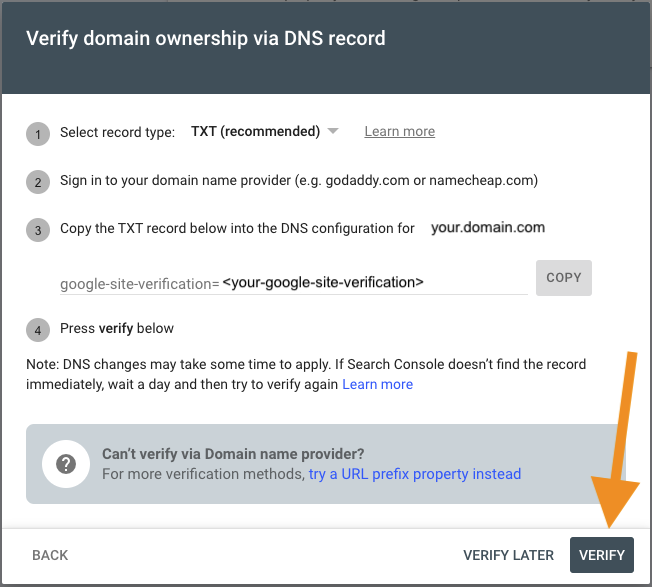
Step 3: Verify Domain Ownership via DNS Record
Next, you should see a pop-up window asking you to verify domain ownership via DNS record.
Follow the instructions provided by Google Search Console to add a TXT record with your domain name provider (e.g. GoDaddy, Namecheap, etc)
- Make sure that TXT (recommended) is the selected record type
- In a separate window or tab, sign in to your domain name provider’s website (GoDaddy, Namecheap, etc)
- Copy the TXT record provided by Google Search Console

Step 4: Add a TXT Record with Your Domain Name Provider
Once you’ve copied the TXT record provided by Google Search Console, go to your domain name provider’s website and follow their instructions to create a simple TXT record. It should look similar to this screenshot:

Here are the instructions for how to add a TXT record for a few popular domain providers:
If you have any trouble completing this step, please reach out to your domain name provider for assistance.
Step 5: Complete Verification in Google Search Console
Once you’ve set up your TXT record at your domain name provider’s website, head back to Google Search Console and click verify in the bottom right corner to complete verification:
🚨 NOTE: Sometimes DNS changes can take a while to appear. Please give it a few minutes for Google Search Console to see the changes you’ve made at your domain registrar. If verification continues to fail after a few hours, try adding a different DNS TXT record or contact us for assistance.
Success! 🎉
Once you’ve successfully completed verification, you should see a notification similar to below:
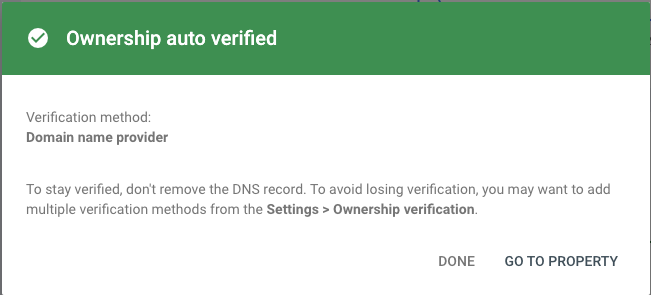
ℹ️ NOTE: To stay verified with Google Search Console, don’t remove the TXT record you just added! To learn more about verifying your site ownership, go ahead and check out Google Search Console’s Help article.
Conclusion
Great work! Your site is now connected to Google Search Console. As mentioned previously, Google Search Console is a powerful tool that allows you to see how your site is performing on Google – specifically which pages are indexed and which ones are not. If you have pages that aren’t indexed, Google Search Console tells you why and allows you to request that they recrawl the page so that it may be indexed. That way you can optimize your indexing coverage!
For more information on how to use our Search Performance feature, or how to understand the Google Search Console indexing report, please check out the links below!
Learn More
- Attaching a Custom Domain to Your Carrot Site
- How To Use and Understand Our Search Performance (Google Search Console) Feature
- Understanding Google Search Console’s Page Indexing Report
- Connecting Google Analytics and Google Tags
New to Carrot?
Welcome!

Here’s our full guide for what to do when getting started with your Carrot website:
Want Us to do Some
Editing for You?
You are busy doing what you do best, running your business. Leave the site work in Carrot’s hands.