When you move to a new home, it’s important to contact your post office and have your mail forwarded to your new address.
📬 A 301 redirect is like mail forwarding, but for your website’s pages.
There are different types of redirects, with 301 being the most common.
A 301 redirect tells search engines and browsers that the URL has moved permanently.
They can help maintain search engine rankings and make sure people can still get to pages that have been moved on your website.
For example, if you refresh a blog post with updated content and slightly change the URL, you would want to 301 redirect the old URL to the new URL so that your blog continues to rank. This helps pass on any “SEO juice” from the old URL to the new URL, and makes sure that users are still able to access the post if they’ve bookmarked the old URL.
ℹ️ You should only 301 redirect to relevant URLs that have the same intent as the previous URL. Irrelevant redirects can actually harm SEO, so if you delete a page on your website and don’t have a relevant, similar replacement, it’s best to leave it and allow the URL to drop from search engines.
Let’s go over how you can create a 301 redirect for a page or post on your Carrot site!
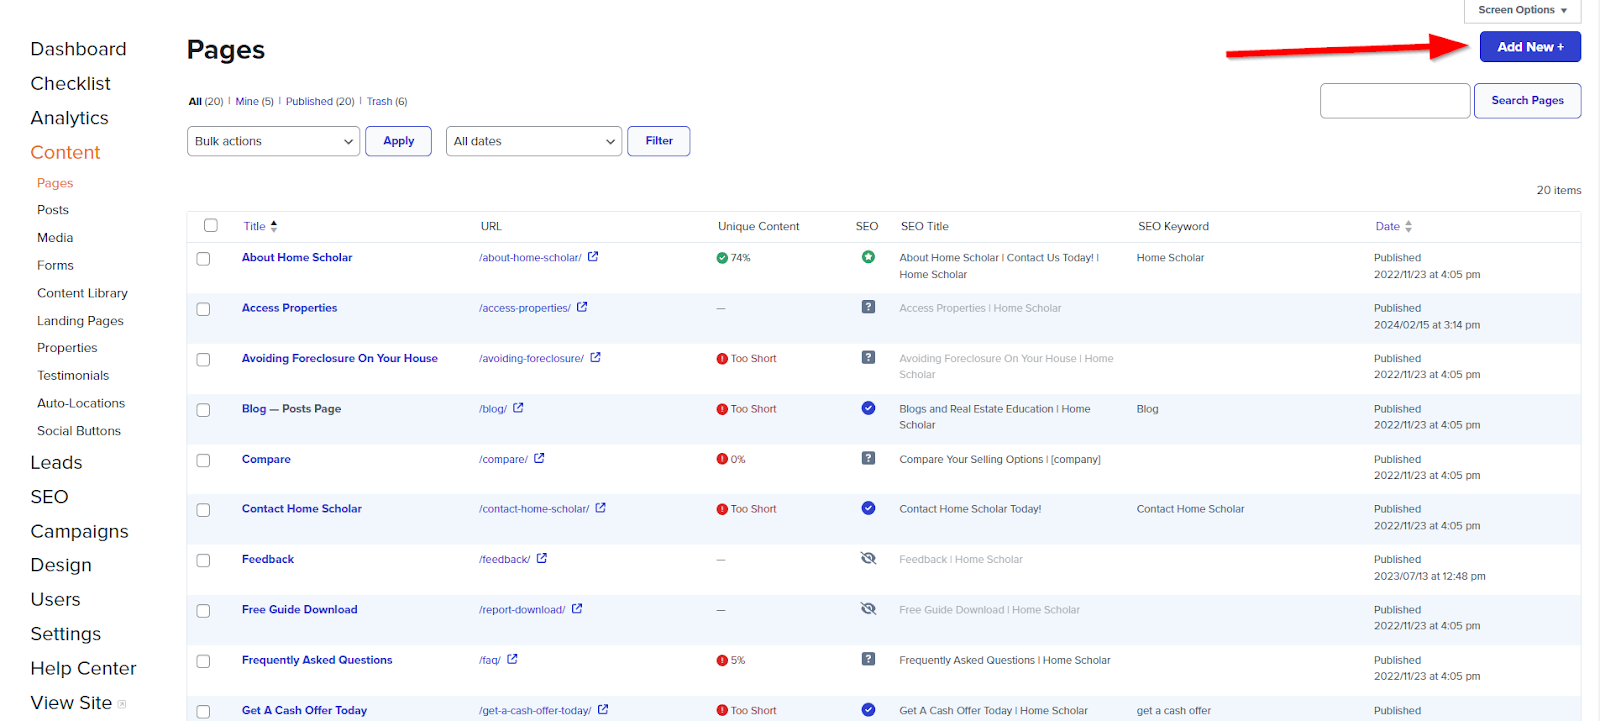
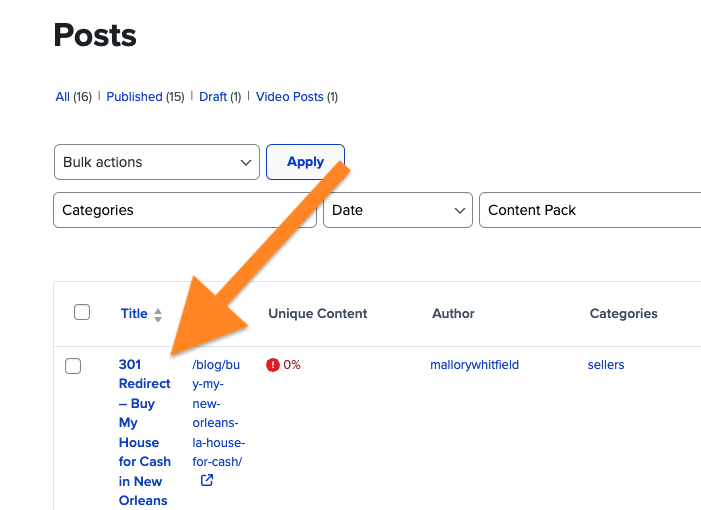
Step 1: Go to Site Dashboard > Content > Pages / Posts
*If you are redirecting a blog post, you’ll go to “Posts.” If redirecting a page, head to “Pages.”

Step 2: (optional) Create a New Blank Page or Post with the Old URL
ℹ️ If you need to create a 301 redirect for a page or post that you’ve already deleted, follow these steps. Otherwise, if you still have access to the page/post you need to create a 301 redirect for, skip ahead to Step 3.
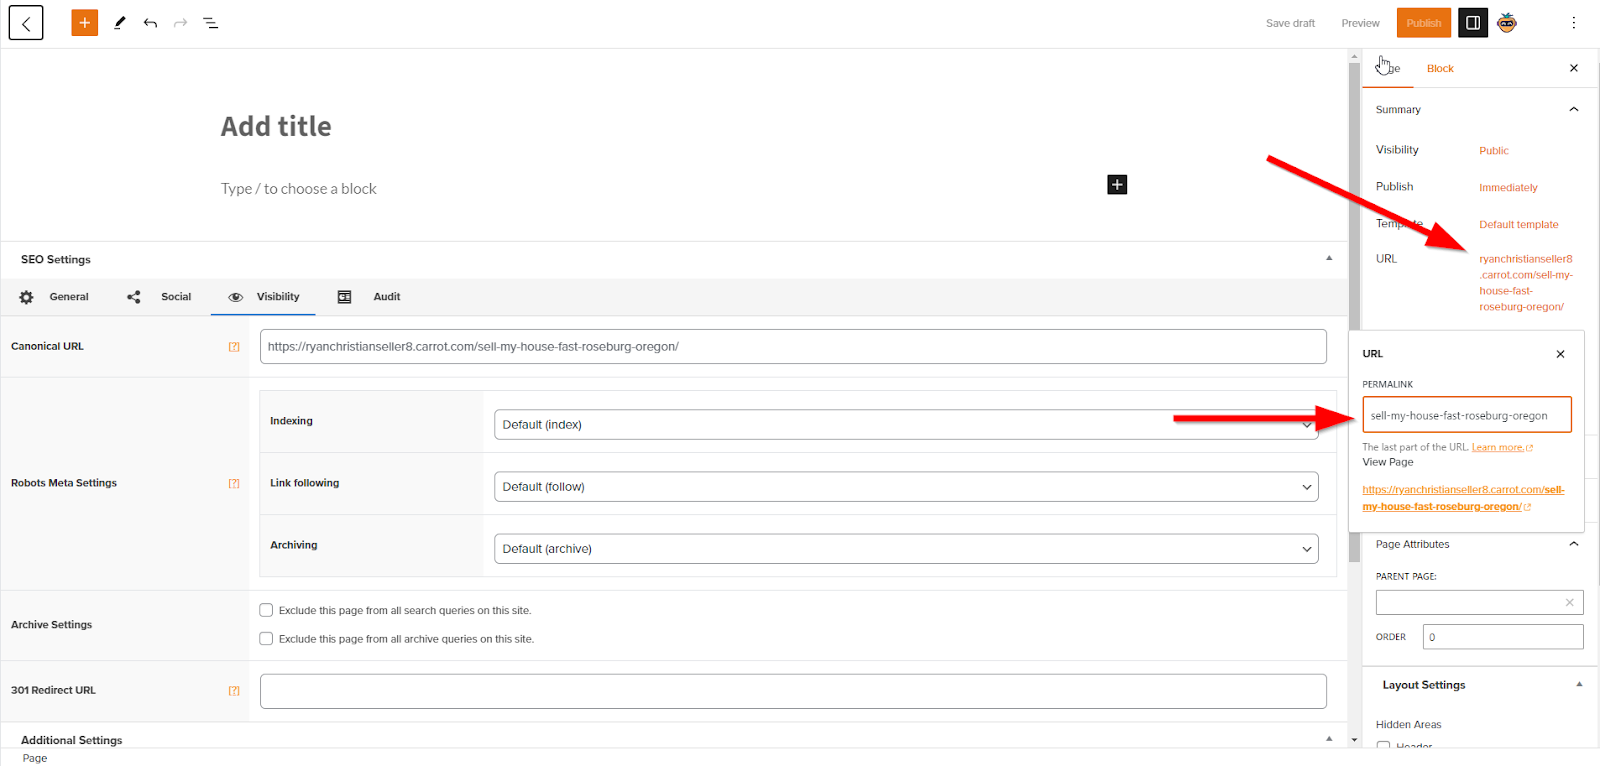
A) Create a new blank page or post (Select Standard Page if creating a page)
B) Update the URL slug to be the same as the page or post you’ve deleted that you need to 301 redirect:
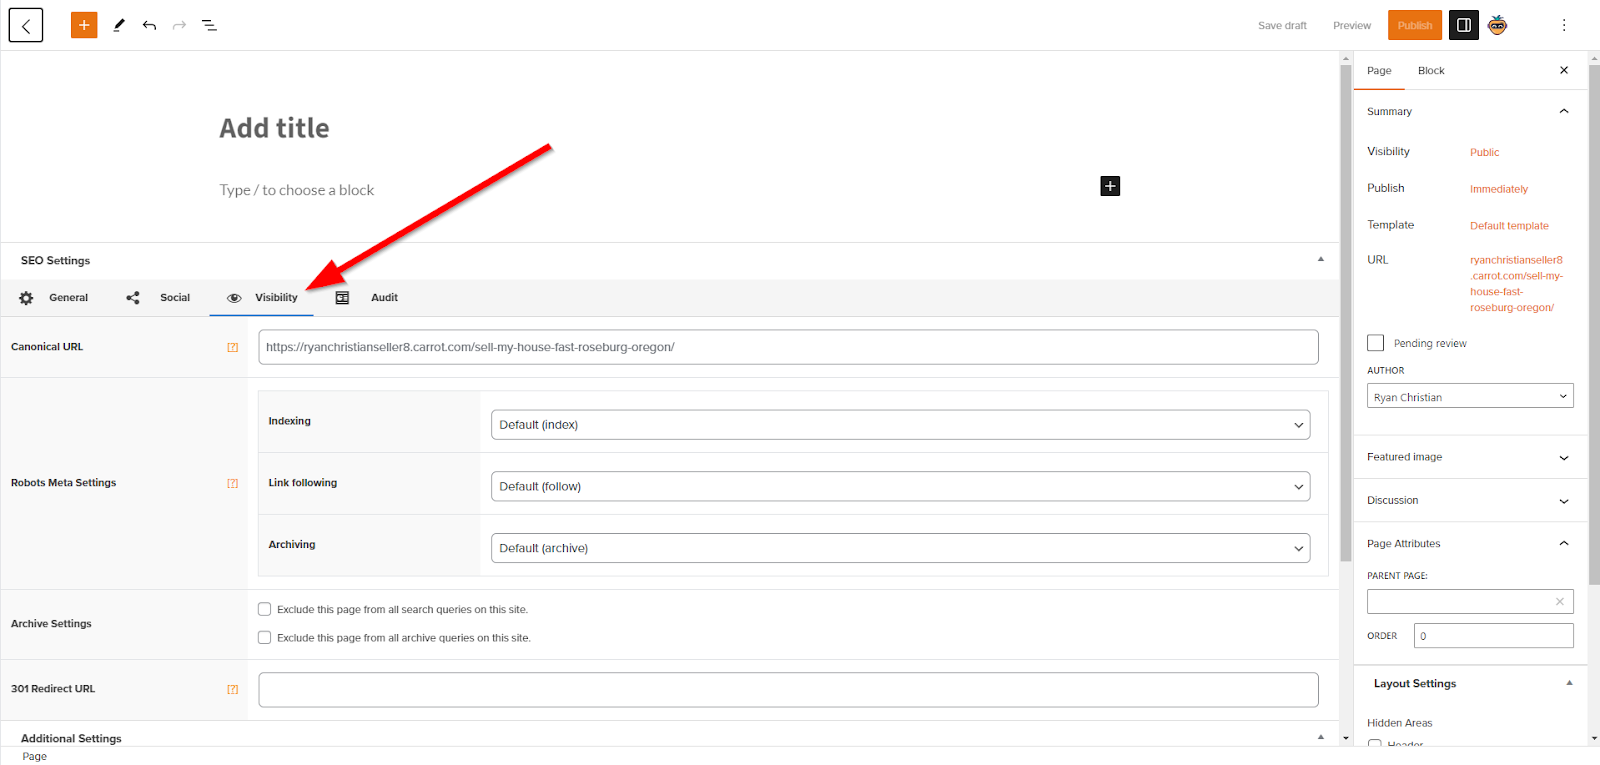
Step 3: In the Editor, Go to The “Visibility” Tab on the SEO Tool
At the bottom of the page or post you’re editing, go to the Visibility tab of the On-Page SEO Tool:
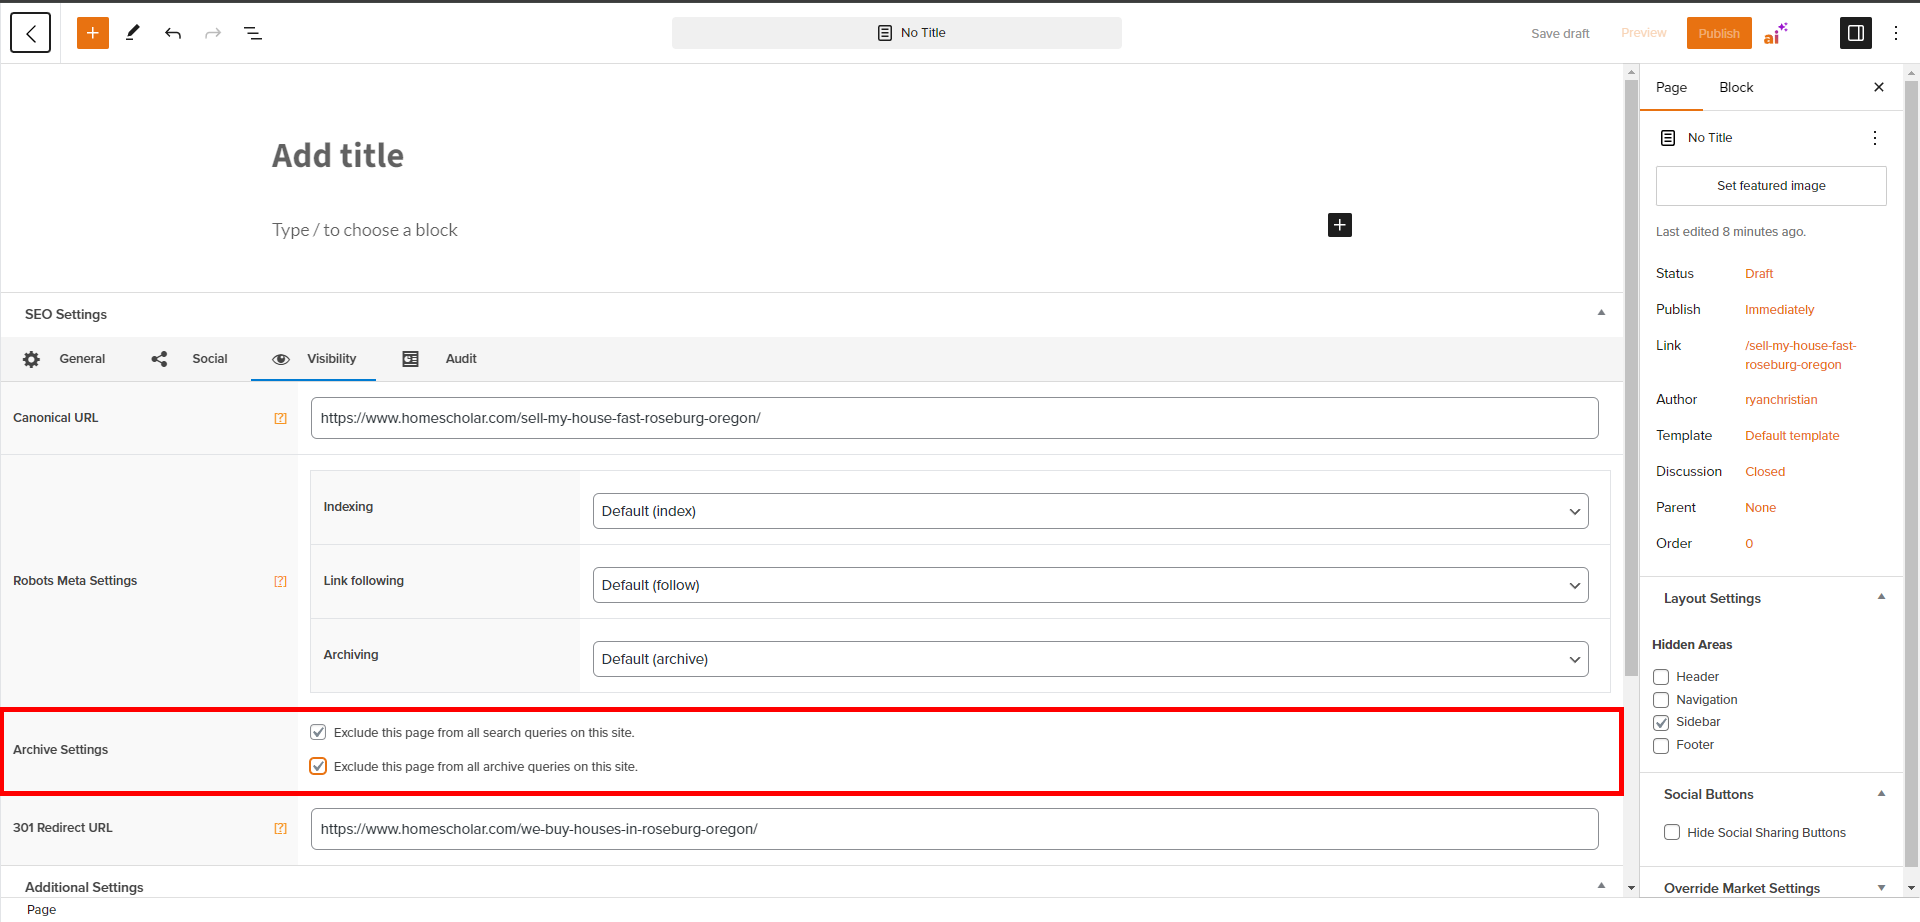
Step 4: Add Your Redirect
A) Add your new URL to the 301 Redirect URL field. This will tell web browsers and search engines where they should go instead when trying to access the old URL:
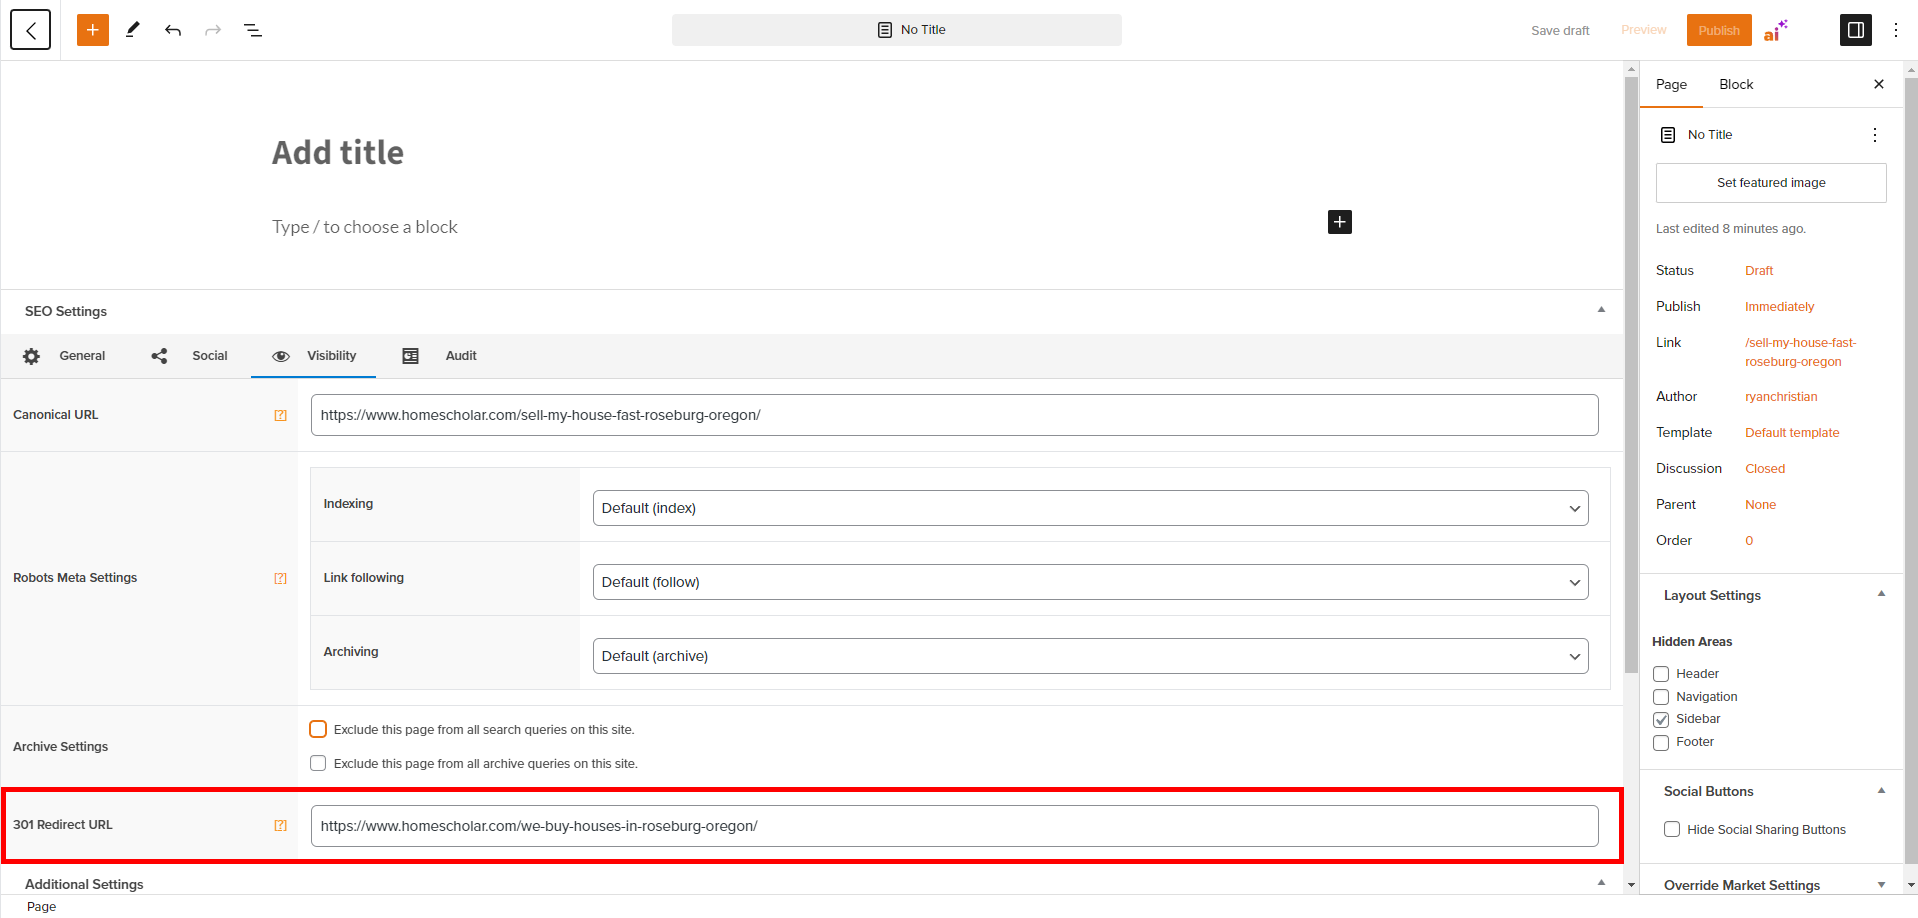
B) Recommended for posts: Check both the boxes in “Archive” settings. This ensures that the redirected blog doesn’t show up in your public blog posts:
Step 5: Title the Page, Then Save:
- Update the title of the page (We suggest adding ‘301 Redirect’ or ‘Redirect’ to the beginning of the title)
- Save or Publish your page when you’re done making changes:
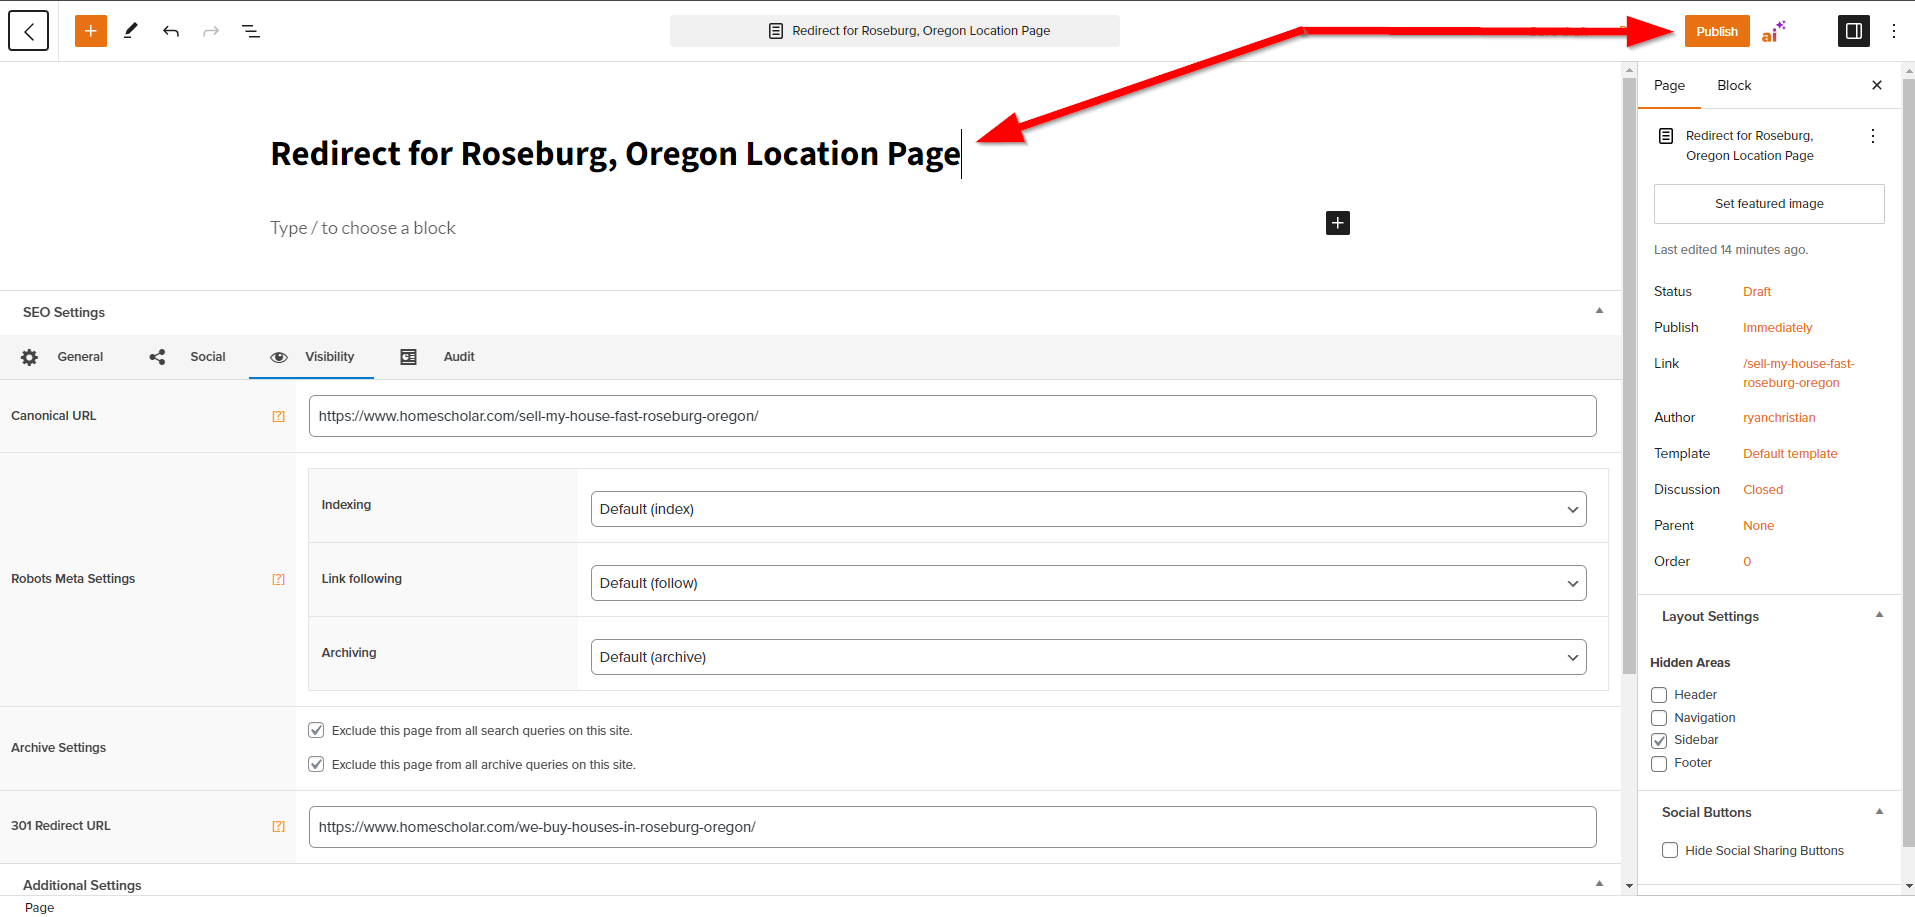
We recommend adding ‘301 Redirect’ or ‘Redirect’ to the beginning of the title so that you can easily distinguish these when viewing your Posts or Pages in your dashboard:
Conclusion
And boom! You’ve just set up a 301 redirect.
In this example, we changed the URL for our Roseburg, Oregon location page and want to ensure users and search engines are able to still access it. This page will live in your “Pages” or “Posts” list, but anytime it is accessed will redirect to the new destination URL.
Keep in mind that if you are redirecting a blog post, you’ll want to complete this process within the “posts” section of your site dashboard!