If you are looking to implement TCR/10DLC compliance on your lead forms, you can add pre-built compliant checkboxes to your site by following the steps outlined in this tutorial:
How To Comply With 10DLC/TCR Regulations
In this tutorial, you will learn how to add an Opt-In that gathers consent to any of the forms found on your Carrot site. Have leads agree to your privacy policies, contact, emails, and more!
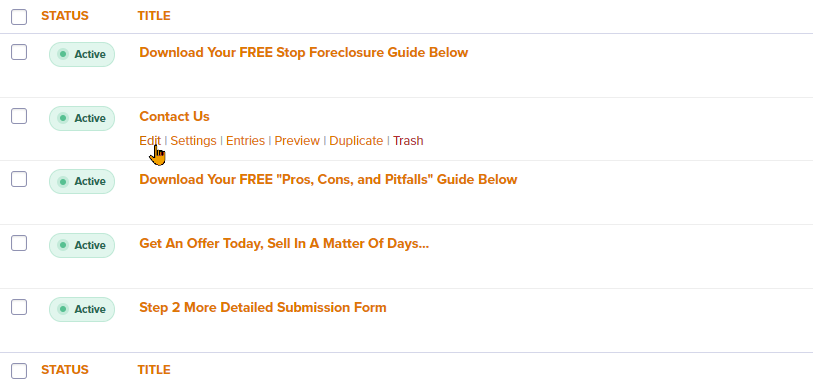
Step 1: Navigate to Dashboard > Content > Forms.
Once in the forms area, hover over the form you’d like to add the Opt-In Checkbox to and click “Edit”:
Step 2: Drag the Opt-In Field into the Form.
- On the right-hand side of the page, click on the Advanced Fields drop-down.
- Drag the field titled “Consent” into the main form area:
Step 3: Edit the Opt-In Field’s Messaging and Save.
- Click on the Opt-In field in order to edit its messaging in the column to the right.
- You can change the Title, Checkbox Text, or even add a description of your policy (inside the Description box)! Check out this GIF to see how:
- Be sure to click the orange “Save” button once you’re happy with your changes.
Visual Guide:
