The Carrot Lead Generation Banner is one of our favorite lead generation elements that can be added to your Carrot site to help optimize conversion rate and drive leads for your business.
Similar to an announcement bar or notification banner, our Lead Generation Banner takes things one step further with options to include a form or button to turn your site’s visitors into leads!
The Lead Generation Banner is a simple, persistent (some would call it “sticky”) banner that can be placed at the top or bottom of your site. Use it to prompt visitors to take that first crucial step on their conversion journey.
🎉 The Lead Generation Banner contributed to a significant increase in conversion rate during testing – by anywhere from 25 to 110%!
Ready to get started with the Carrot Lead Generation Banner, supercharge your site’s conversion, and drive more leads?
Watch the video below, or keep reading to learn where to find the Lead Generation Banner, how to customize it, and how to use it!
Customize Your Carrot Lead Generation Banner
In the tutorial video below, we cover 9 simple ways to customize the look & feel of your Carrot website design. We’ll show you how to update the Lead Generation Banner starting at the 05:47 minute mark:

How To Enable The Carrot Lead Generation Banner
Navigate to Design. This is where the Carrot Lead Generation Banner lives on your Dashboard.

Once you’ve navigated to the “Design” tab, the Carrot Lead Generation Banner can be found near the top of the list of design options:
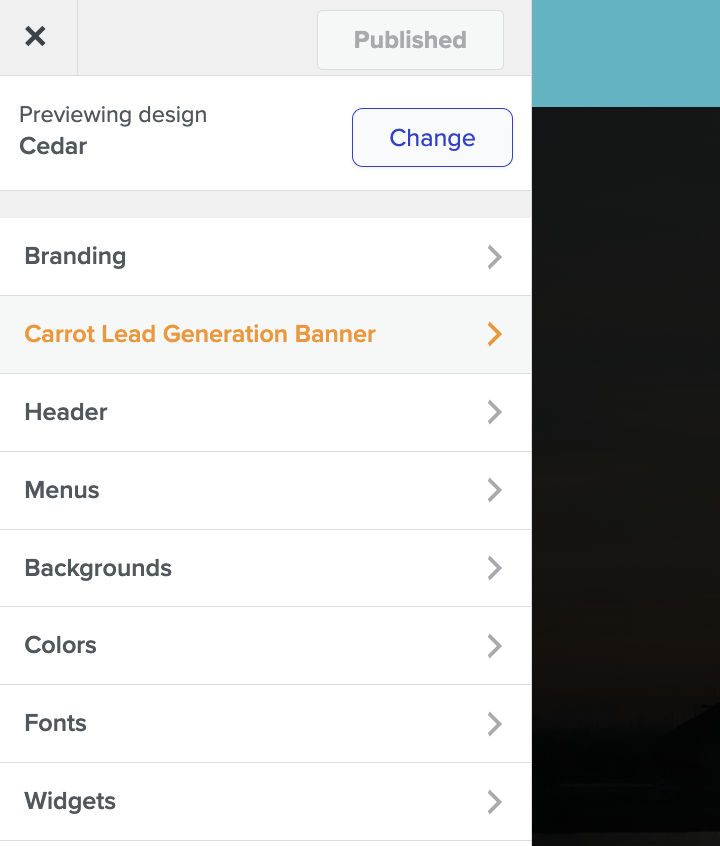
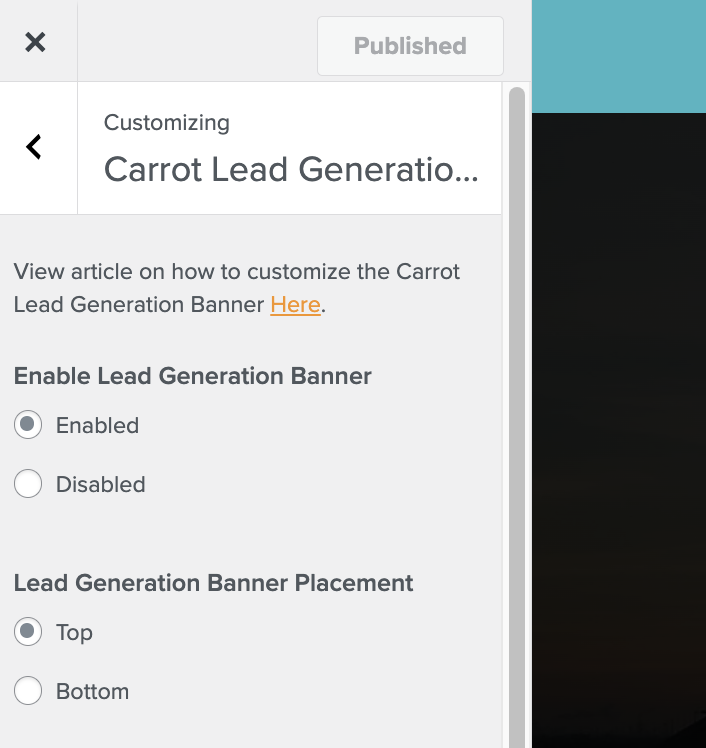
Under “Enable Lead Generation Banner,” switch the toggle from Disabled to Enabled. You will see the default version of the Lead Generation Banner appear on your site preview to the right:
Congratulations on your improved lead generation!
Note: The Lead Generation Banner will not be “live” on your site until you press “Publish” at the top of the list of design options 🙂
Customization Options
Within the Lead Generation Banners settings, you’ll find several options to customize the look, layout, and content of your banner.
Lead Generation Banner Placement:
Allows you to choose whether to place the banner at the Top or Bottom of the screen.
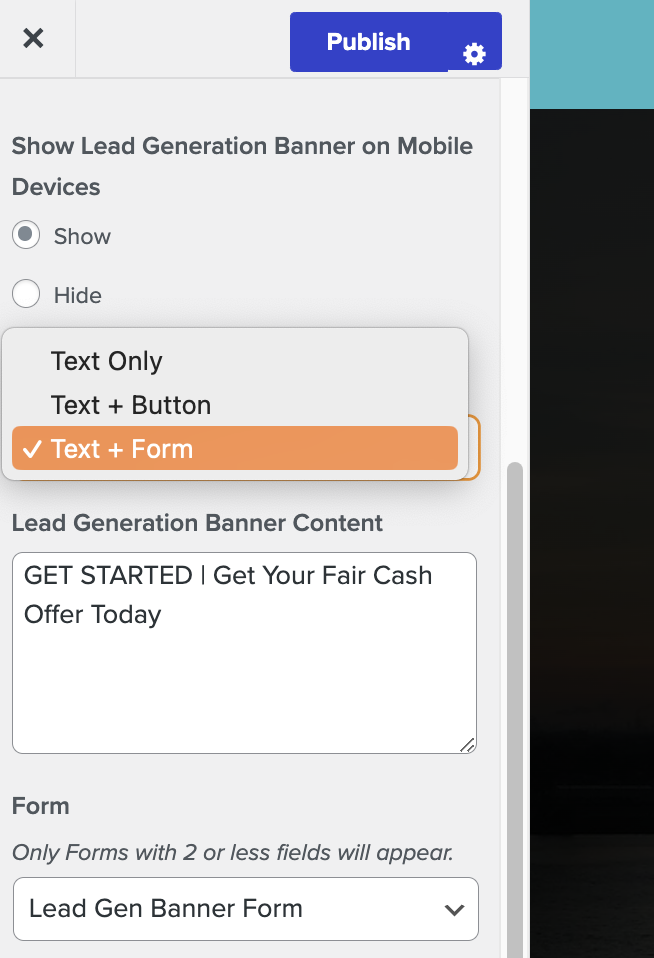
Show Lead Generation Banner on Mobile Devices:
Choose to Show or Hide the banner when your website is viewed from a mobile device.
Lead Generation Banner Style:
There are three layout options for the Lead Generation Banner:
- Text Only
- Text + Button
- Text + Form
Carrot’s official recommendation is to use the Text + Form setting, as it provides the most direct route to conversion for visitors:
The following options will vary depending on your choice for Banner Style:
Lead Generation Banner Content:
The text content of your banner. Think of it as the Call To Action.
We recommend keeping the text short and sweet, with a focus on getting your website’s visitors to take action.
Lead Generation Banner URL:
The text content of your banner will serve as a link – as well as the button (if selected). The Lead Generation Banner URL is where you would like to direct that link.
Our recommendation is to set this as a landing page or conversion-oriented page that is different from your homepage.
Lead Generation Banner Button Text:
The text content of your banner button, if selected.
We recommend using strong action verbs for button text. For example, “Get My Offer” or “Call Now”.
Lead Generation Banner Form:
Choose which form you want to appear in the lead generation banner.
Note: This field is restricted to your forms that have 2 or fewer form fields.
🤔 Need to create a new form to use with your Lead Generation Banner? Check out the mini-tutorial below!
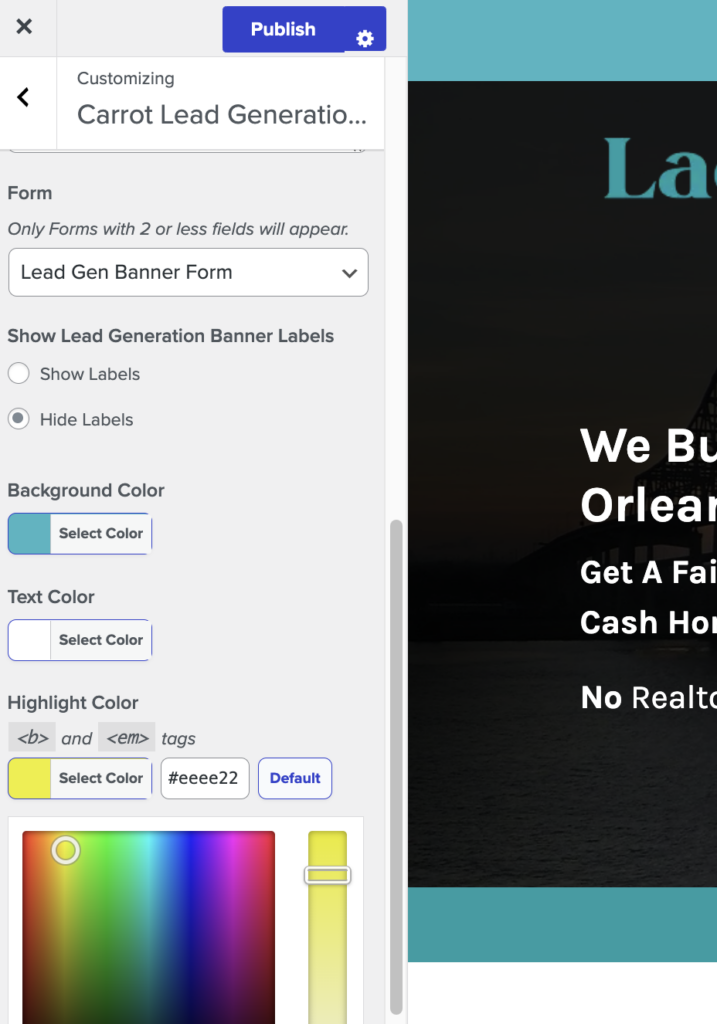
Show Lead Generation Banner Labels:
You can choose to either hide or show the labels within your selected form.
Background Color:
The background color of your banner. By default, this is set to your site’s primary color.
Text Color:
This will set the text color within your banner. Make sure it’s easy to read when paired with your background color.
Highlight Color:
If you would like to apply a color highlight to your text, you can set that color here. In Lead Generation Banner Content, use <b> and <em> tags to apply the highlights.
How to use <b> and <em> tags: By wrapping certain text with these tags, you can apply a highlight color to your text. To generate a highlight with bold letters, place a <b> tag directly before the text you want to highlight. Immediately after that text, place a </b> tag. To apply italics, do the same but with <em> and </em>.
Create a New Lead Generation Banner Form
Want to create a new form to use with your Lead Generation Banner? Here’s how:
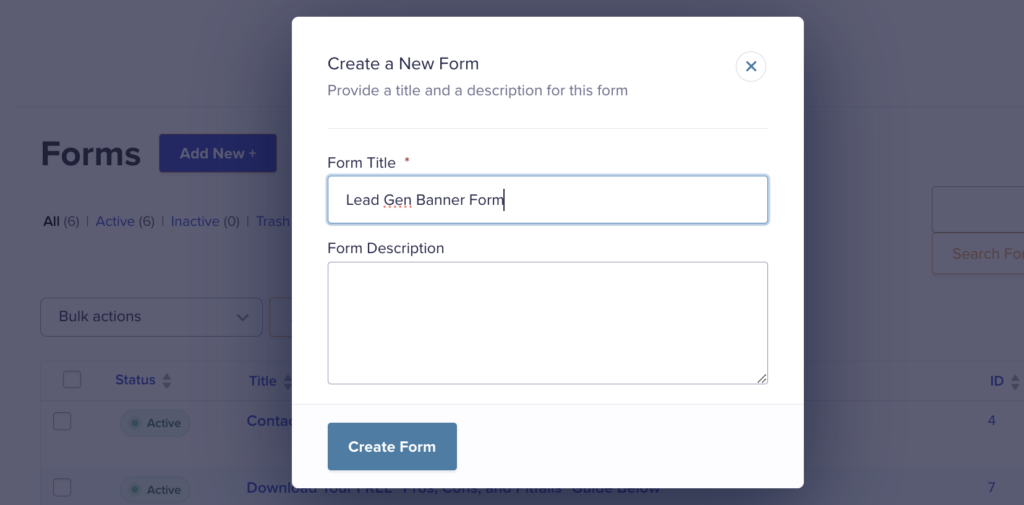
Step 1: Create a new form under Content > Forms > New Form
Step 2: Name the form “Lead Gen Banner Form” and click create form:
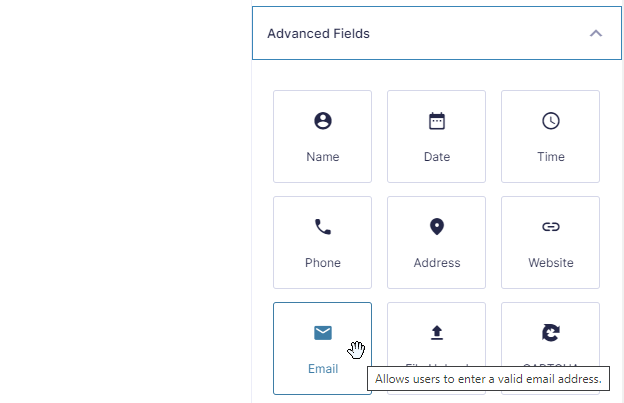
Step 3: Add a single form field from the right sidebar. Expand the “Advanced Fields” dropdown and drag “Email” to the left:
Step 4: Click “Save Form”
Step 5: Go to Form Settings for that form, then Confirmations. Edit “Default Confirmation” and change “Confirmation Type” from Text to Page. Select the standard Step 2 page that your primary homepage form redirects to.
Step 6: Click “Save Confirmation” and return to the Lead Generation Banner settings to apply that form!
Optional – How to Use Placeholder Text on Your Form
Follow the instructions below if you would like the form in your Banner to look a bit more streamlined, like this:

NOTE: The placeholder will not be submitted along with the form. Use the placeholder text to give a website visitors a hint at the expected value or text. In this example, we’ve added “Email” as the placeholder text to show visitors that they should submit an email address via the form.
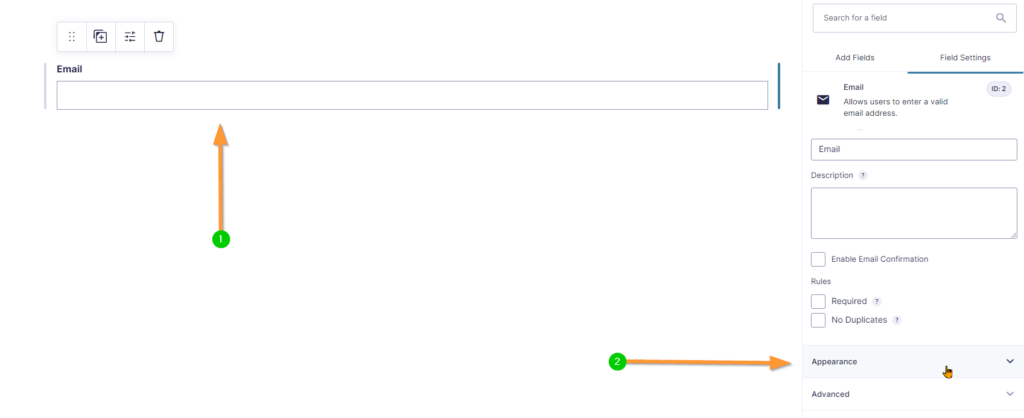
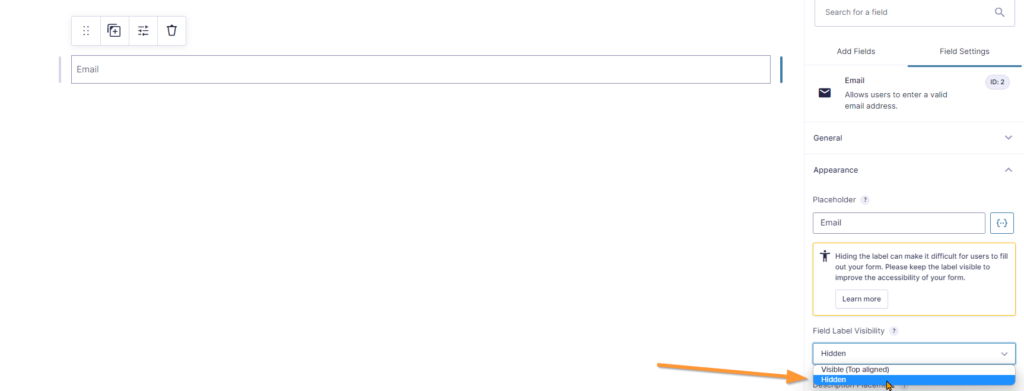
Step 1: Edit your Lead Gen Banner form and click on a field. Then click on the “Appearance” dropdown for that field shown here:
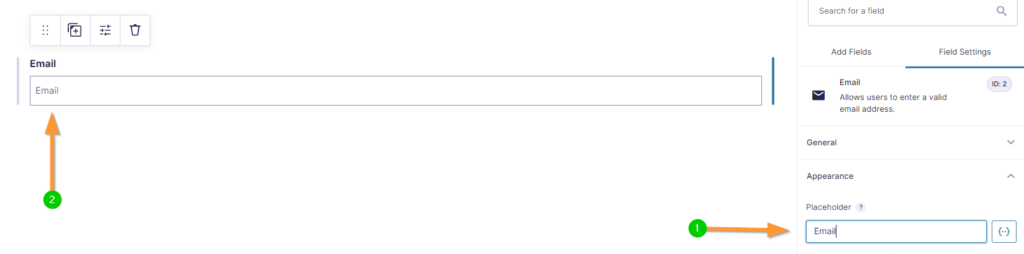
Step 2: You can then enter placeholder text under “Placeholder” and it will populate within the form field:
Step 3: Lastly, disable the topmost label under “Field Label Visibility” and Save your changes:
Conclusion
Congrats! You’ve just enabled the Carrot Lead Generation Banner to supercharge your site’s conversion rate!
The Carrot Lead Generation Banner is an incredibly effective tool when it comes to grabbing visitors’ attention, presenting them with a simple, direct call to action, and ensuring that they have a clear avenue to convert.
Learn More:
New to Carrot?
Welcome!

Here’s our full guide for what to do when getting started with your Carrot website:
Want Us to do Some
Editing for You?
You are busy doing what you do best, running your business. Leave the site work in Carrot’s hands.