Testimonials are a great way to inspire trust and build credibility for your business!
When people say nice things about doing business with you, you can add these quotes as a specific content type: Testimonials. Once added, these Testimonials will be available for you to easily display or insert throughout the pages of your Carrot site.

In this tutorial, you’ll learn how to create Testimonials that you have received from others and then add Testimonials to your pages. Let’s get started:
How To Add A New Testimonial
Once this has been completed, these Testimonials will then be available for you to display on the pages of your Carrot site. (We’ll also show you how to do that, below!)
We will use the tools found in your Carrot site’s Dashboard to accomplish this:
Step 1: Navigate to Content > Testimonials:
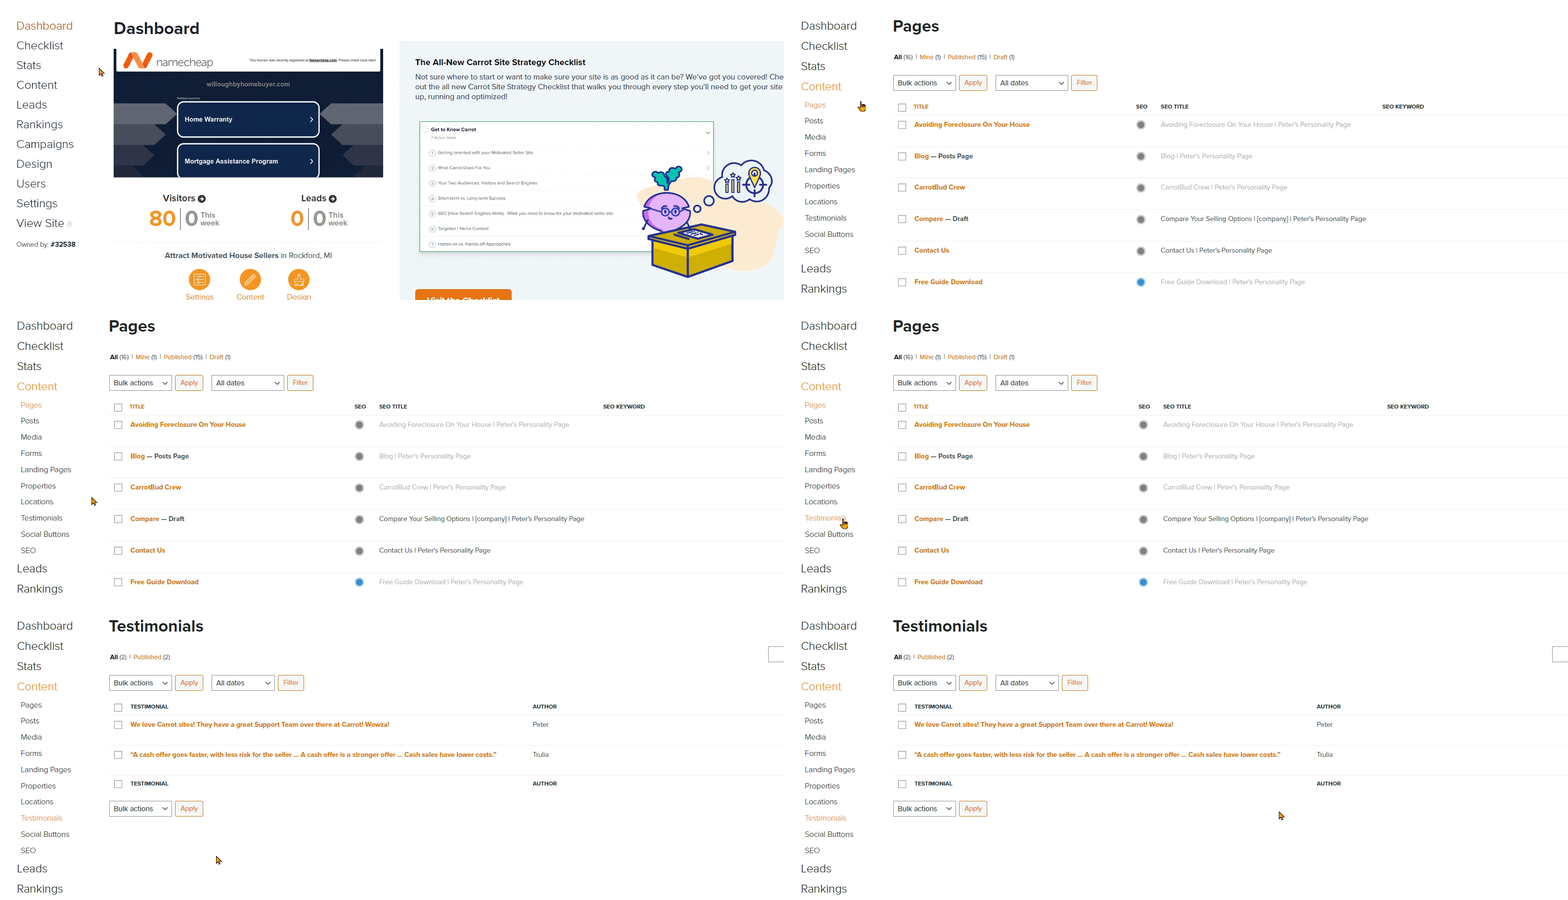
Note: To the right of this editor, there is guidance in the sidebar on how to create impactful testimonials. Shown here:

Step 2: Add a New Testimonial:
- Click on the orange “Add New” button, which is located in the top right corner of your view. Shown below:

Step 3: Build Your Testimonial Using Blocks:
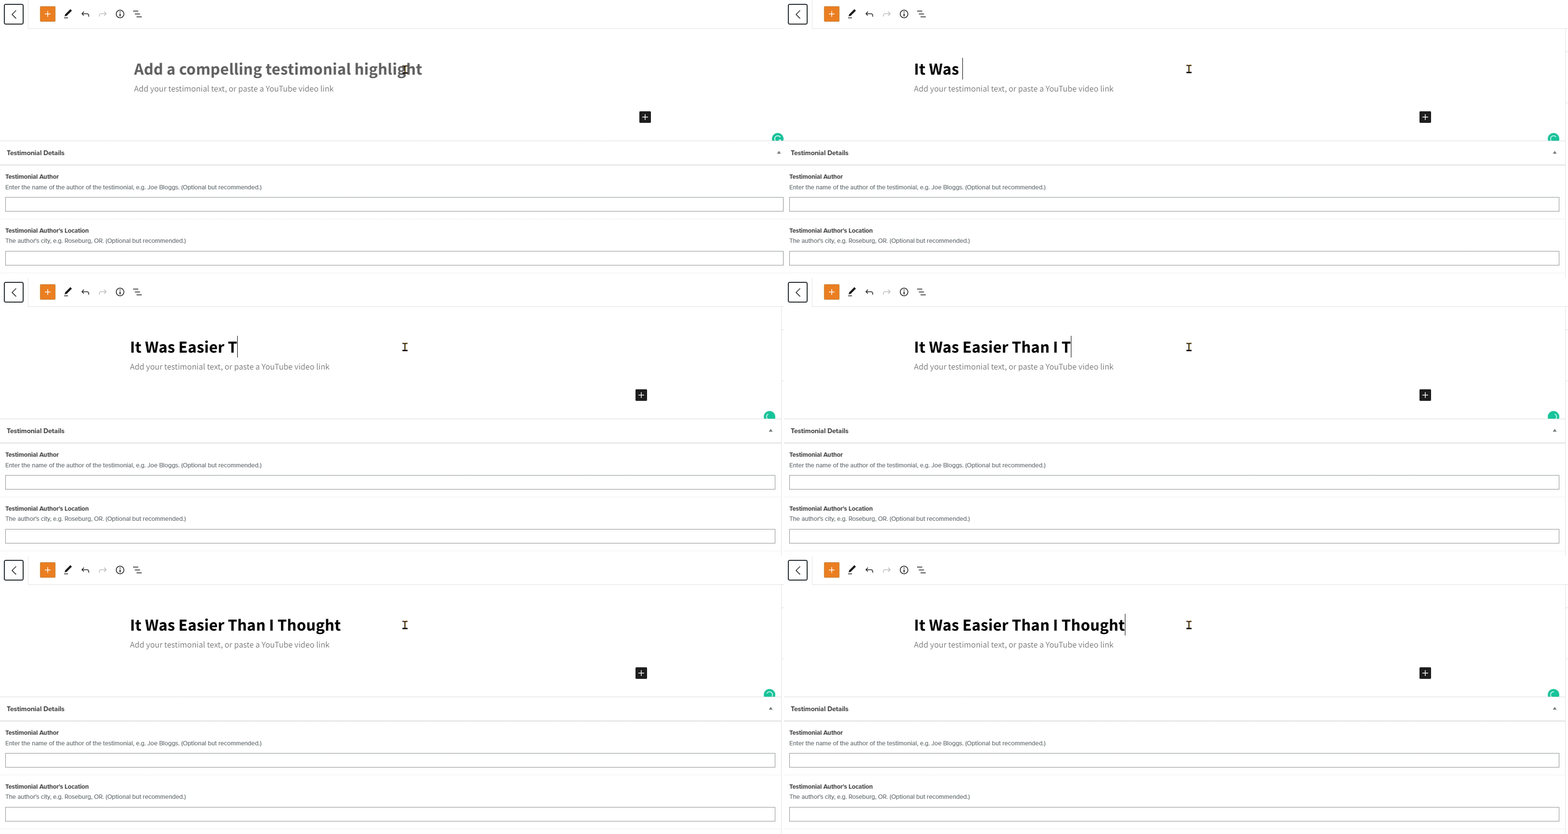
- Add a highlight/excerpt to the Testimonial using the topmost field. Pull out an impactful phrase from your testimonial and insert it here to draw attention:
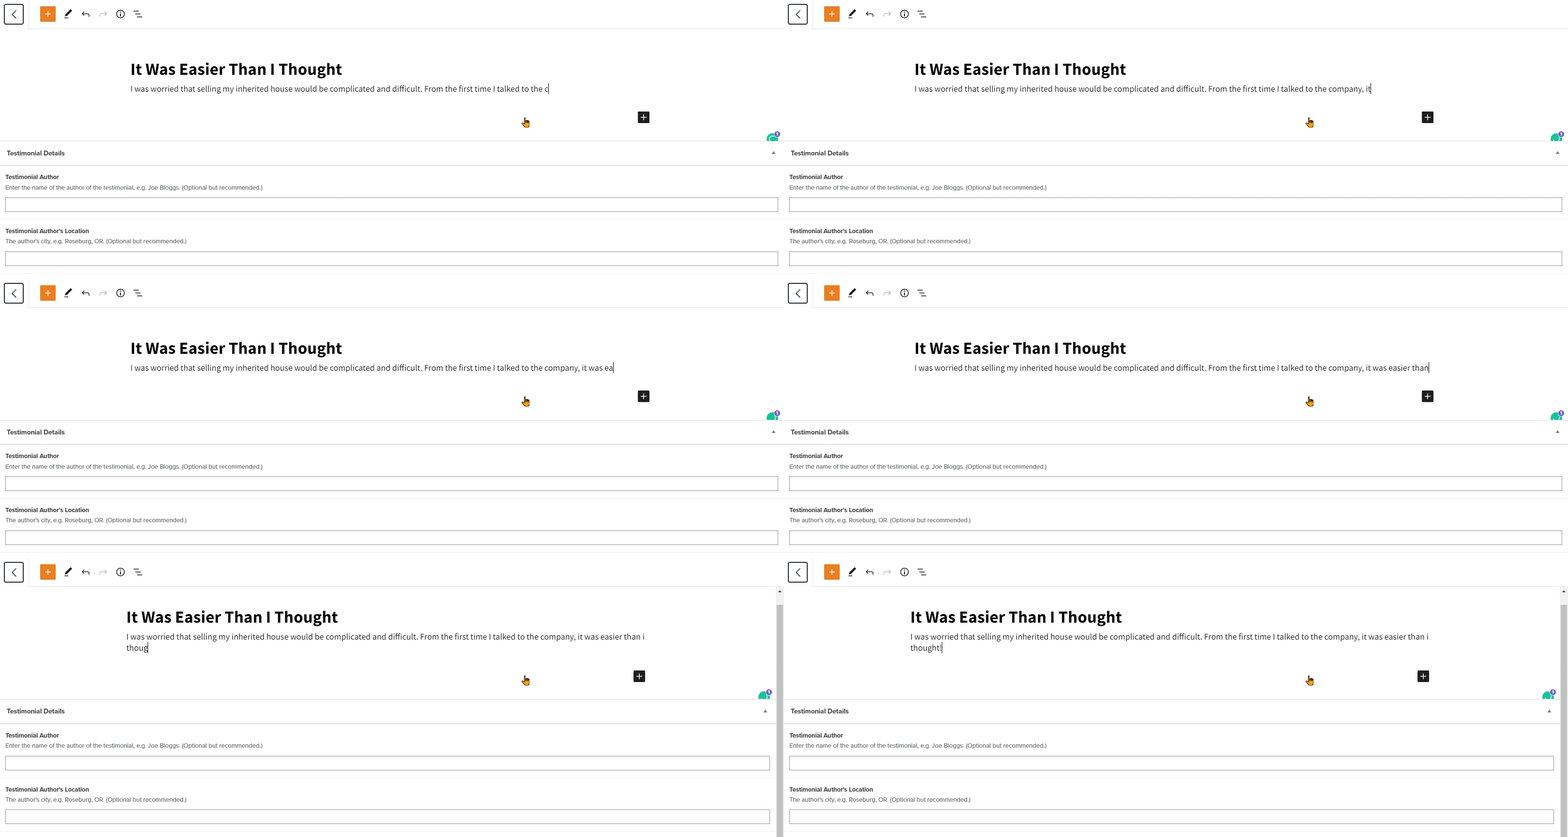
- Add the main text of your testimonial directly below the highlight:
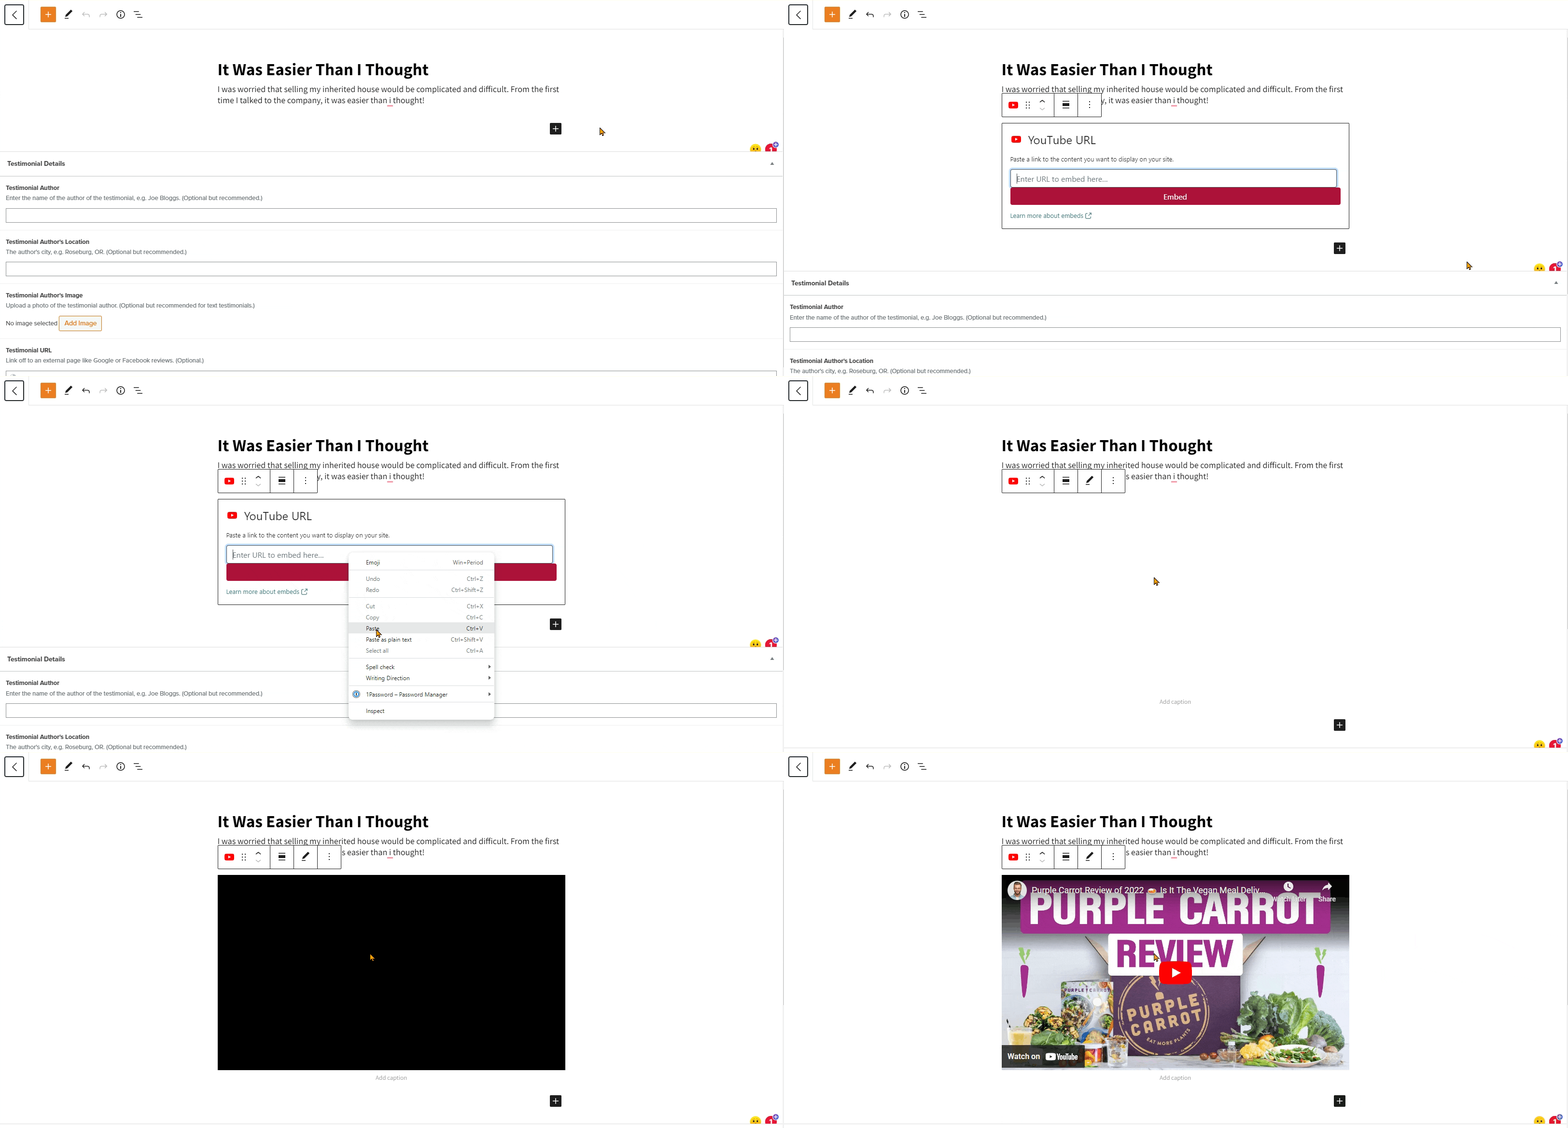
- You can add a YouTube Video! (Optional)
If you’ve filmed this testimonial and uploaded the video to YouTube, you can embed the YouTube video into your testimonial. Build your testimonial as follows:
Step 4: Add the Name of Who Gave the Testimonial:
- Using the fields listed below to insert more information about who gave you this testimonial. Most importantly, fill out the Name/Author field and, if you have one, upload a picture of this person!

Step 5: Add a Link to the Original Review Source (optional):
As an optional step, you can also add a link to an external page where the testimonial was originally published.
For example, if you are quoting a review from your Google Business Profile or Facebook page, you can link either to your main Google or Facebook account page or even directly to the review. Doing so helps add credibility and prove that the review is legitimate.
First, copy the URL of the review or webpage you want to link to.
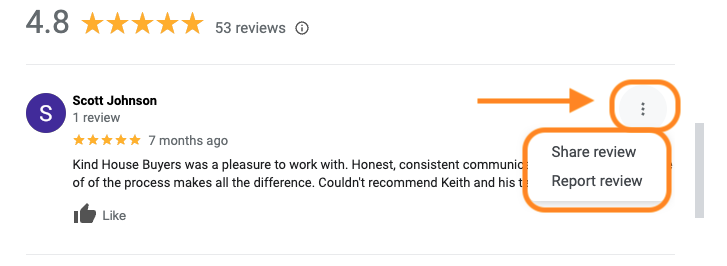
If you want to link to a specific Google review, click the 3 dots next to the review on your Google Business Profile and select Share review to get the URL for the review:
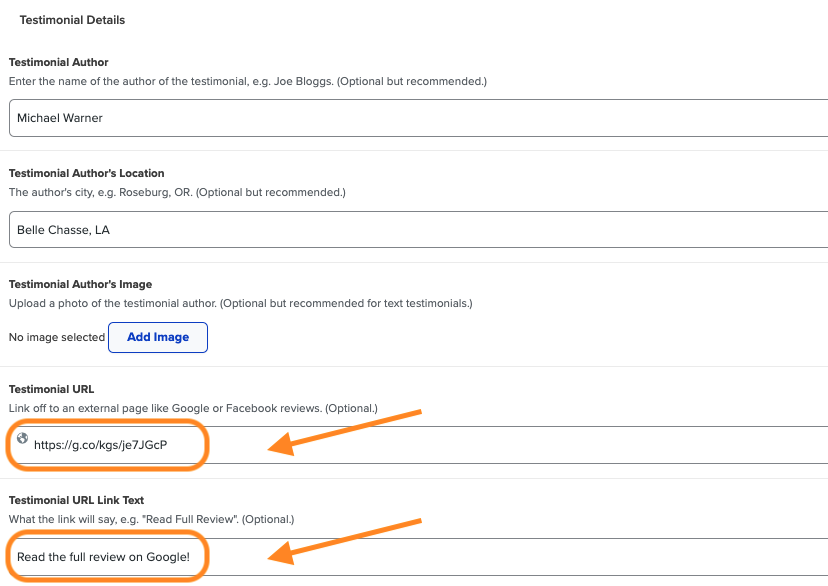
While editing your Testimonial in Carrot, paste the URL in the Testimonial URL field.
Under Testimonial URL Link Text, type what the link should say. For example, “Read the full review on Google!”
Step 6: Publish Your Testimonial!

How To Put Testimonials On Your Pages
Now that you’ve added a new Testimonial, you can insert it into the pages of your Carrot site!
Here’s how to do that:
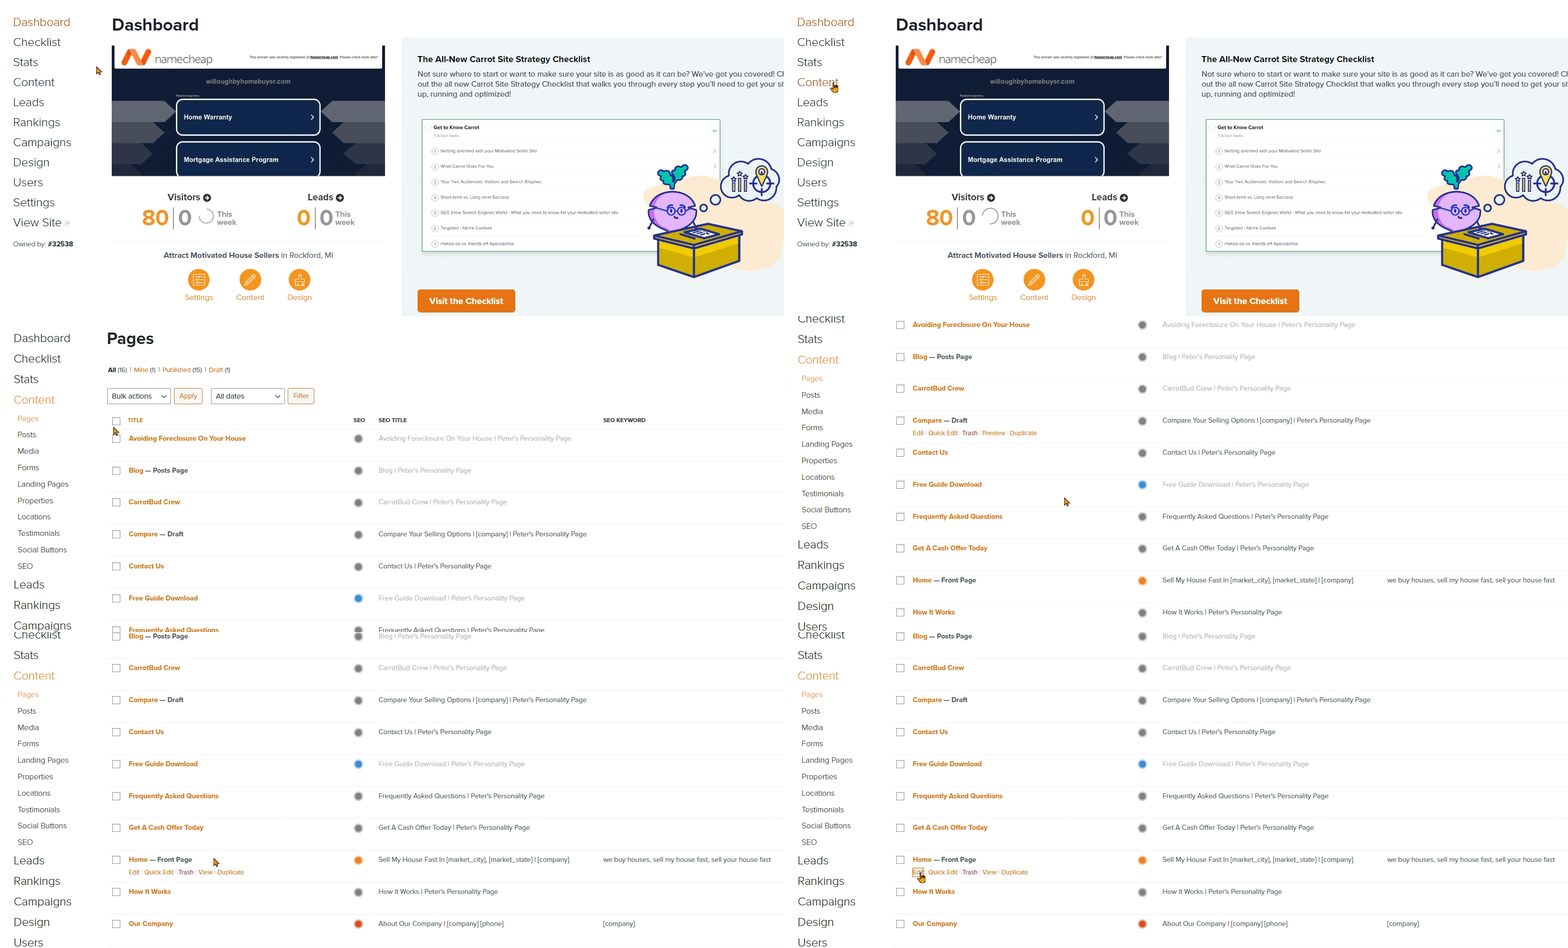
Step 1: Navigate to Content > Pages:
- Then, hover over the page that you’d like to add a testimonial to.
- Next, click “edit” from the options that will appear below the page’s title.
Step 2: Add a Testimonial Block to the Page:
- Find the area of the page where you’d like your Testimonial to be seen. Hover over this area and click the “+” icon that appears to place down a new Block.
- Using the search bar, find the “Testimonial” Block that we offer! Click to place it!

Step 3: Choose Which Testimonial to Display:
- On the right side of the screen, you’ll see a drop-down menu where you can select which Testimonial will be displayed. If none is selected, there will be a random testimonial displayed from your testimonial list every time the page loads/refreshes.
- Once you’ve selected a Testimonial to display, you can then adjust how the Testimonial looks! You can choose between a square and circle style for the image, or choose to hide the image completely.

Step 4: All Set! Click Update and You’re Done!

Learn More:
Testimonials and reviews help build credibility and trust, both with your website’s visitors and with search engines like Google.
- Tips for Formatting Testimonials (including good, better & best examples!)
- Real Estate Testimonial Tips & Examples
New to Carrot?
Welcome!

Here’s our full guide for what to do when getting started with your Carrot website:
Want Us to do Some
Editing for You?

You are busy doing what you do best, running your business. Leave the site work in Carrot’s hands.
