You can have your leads automatically forwarded to AWeber when someone opts in, no copying and pasting! It’s a one-time set up and that’s it. Your leads will be in AWeber for nurturing and automated follow up – Easy Peasy!
Let’s get started!
Step 1: Click “Content” on the Site in Your Site List

Step 2: Go to Your AWeber Integration Settings
From the content section, go to “Forms“, then click “Integrations“. From there, go to “AWeber“.
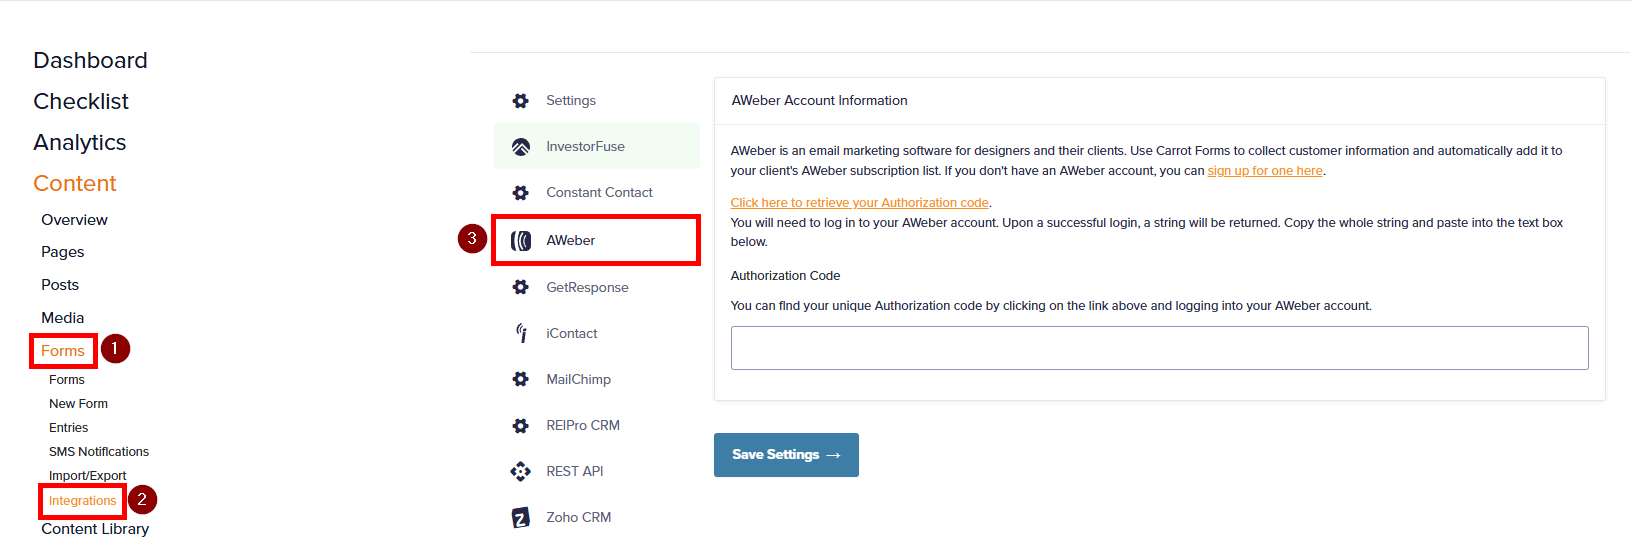
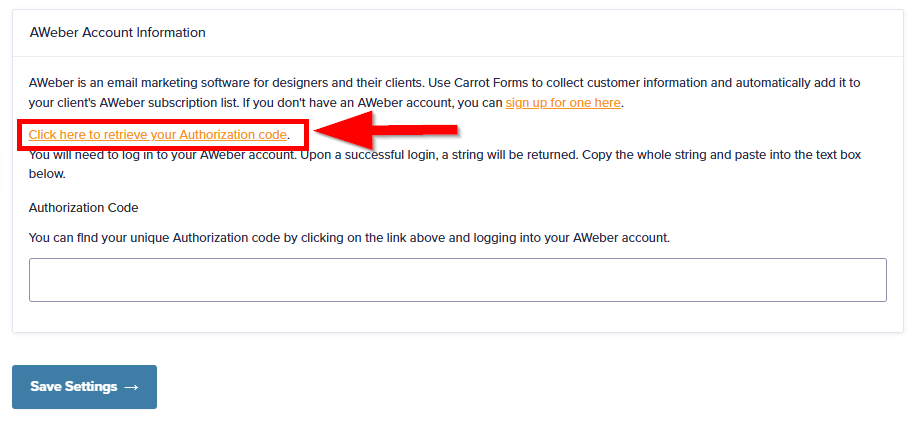
Step 3: Input Your “Authorization Code” from AWeber
A) Click the link to retrieve your authorization code:
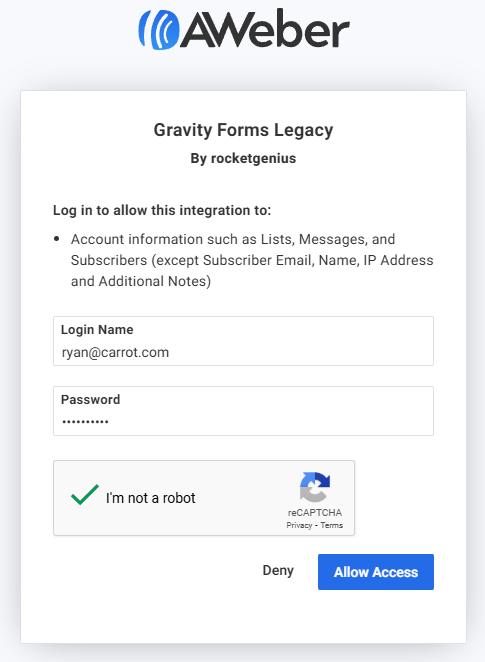
B) Sign into AWeber:
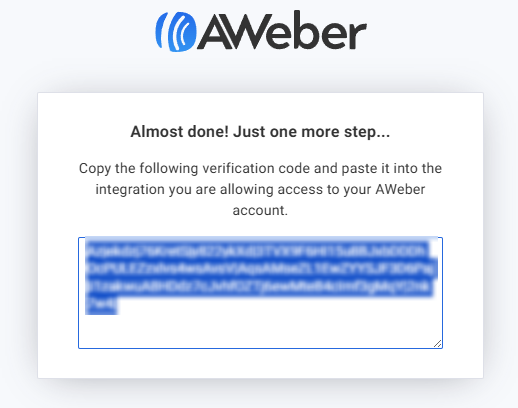
C) Copy the authorization code and paste it into the field in Carrot:
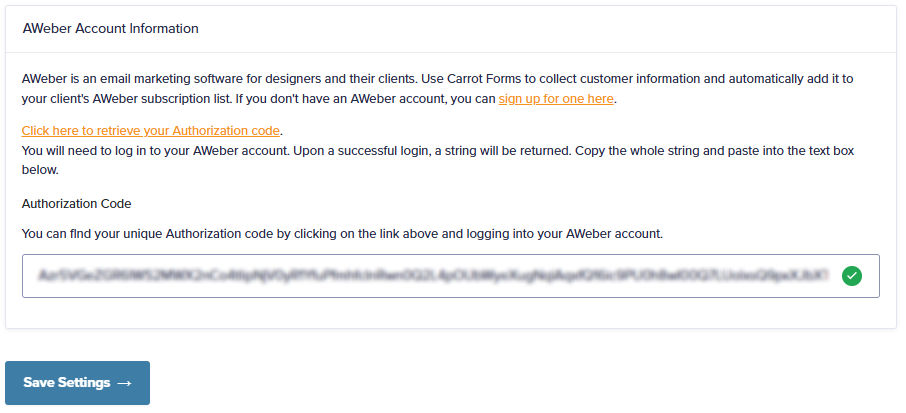
Note: A green checkmark should appear to indicate your authorization code is valid. If for some reason your authorization code is invalid, please reach out to us via chat or email!
Step 4: Map Each Form’s Fields
You’re almost there! Now, you just need to tell AWeber what fields need to be filtered to which area in Aweber. Each form needs every section to have fields mapped where you want them. The fields available are all dependent upon what is available within AWeber. Choose the best option available for each field.
Do the following for each form you want to send to AWeber.
A) Go Back to Forms:

B) Hover Over the Form to Select “AWeber” From “Settings”:
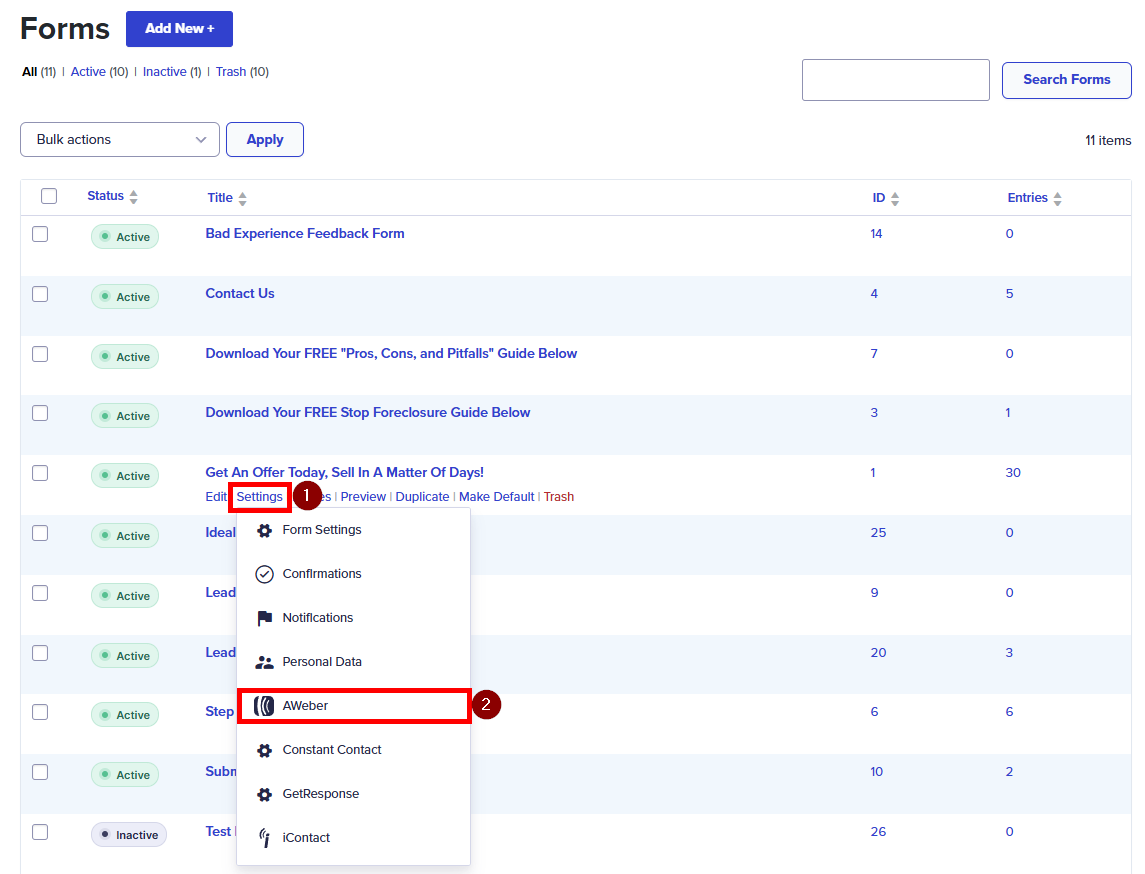
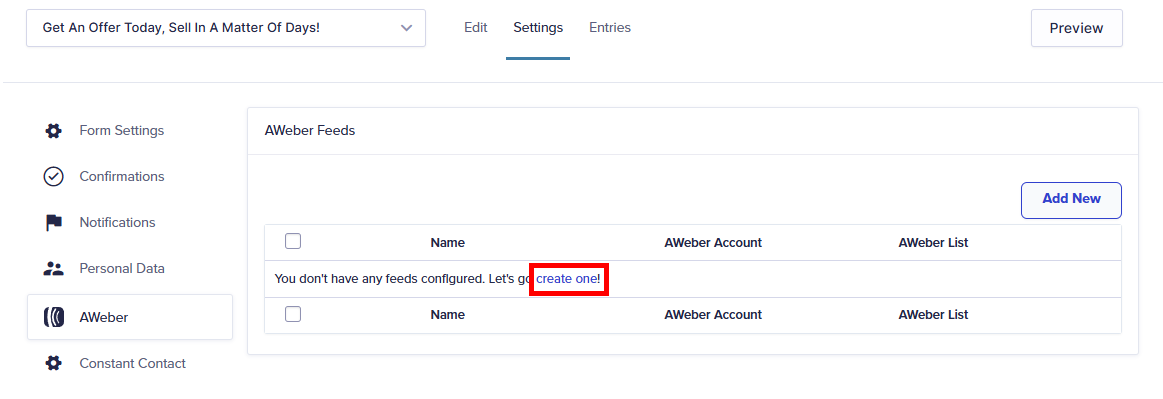
C) Click “Add New” to Add a Feed:
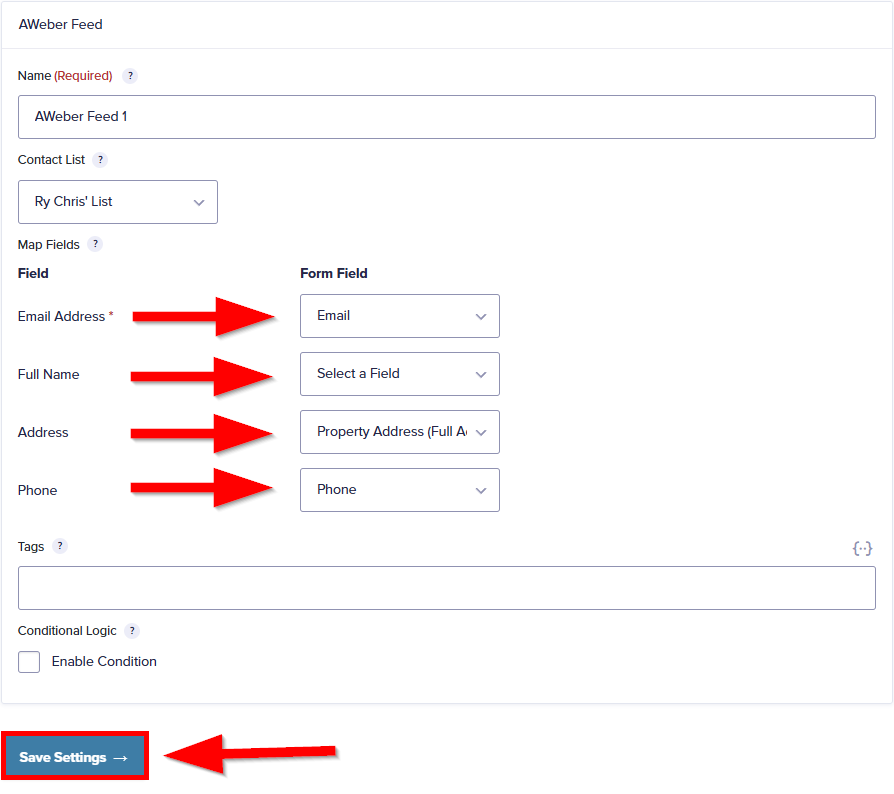
D) Map Your Fields:
Name your AWeber feed, then select a one of your AWeber lists in the dropdown. Once you do that, all the settings to map your form fields will display. From there, go ahead and match up the AWeber fields with your Carrot form fields, save, and you’re done!
Conclusion
Nice work! Your form is now connected to AWeber. To connect other forms, just follow from step 4 onward with a different form. Now any leads that are submitted on your Carrot site will automatically be brought over to AWeber, where you can have automation do the follow up for you. For more guides on integrating with 3rd party CRM’s, or to get started with Carrot CRM, check out the links below!
Learn More
Are you more of a hands-off person? Check out our in house service for AWeber Integration!
Close More Deals
with Carrot CRM
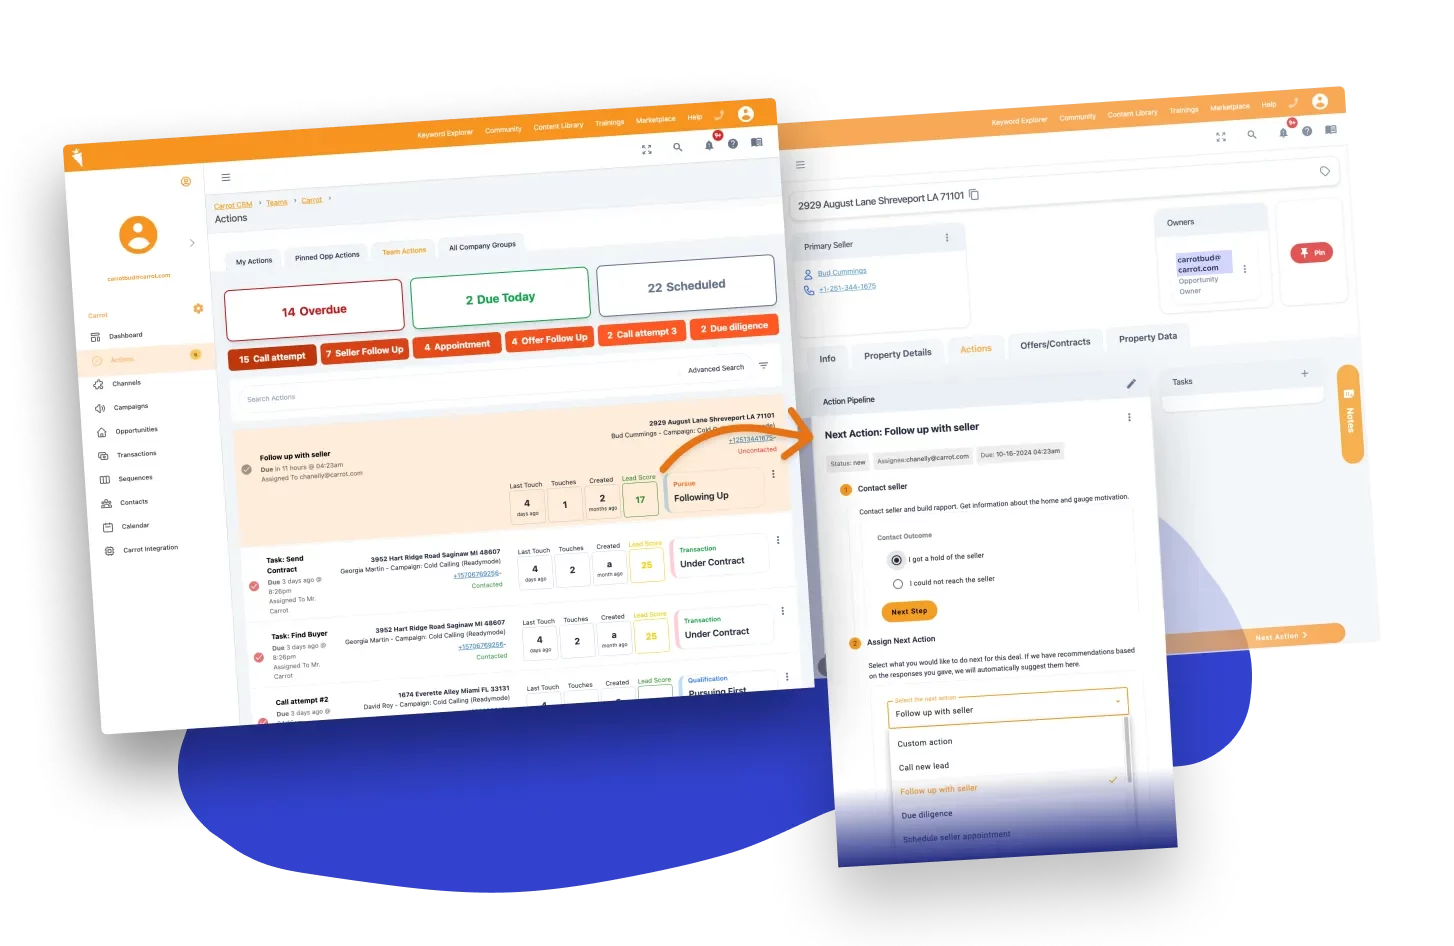
Grow your revenue and turn more leads into closed
deals with Carrot’s built-in CRM.
Premium Support
& 1:1 Strategy Calls

Members with our Premium Support Add-On can book
a 1:1 video calls for tech questions & strategic advice.
