
This tutorial will walk you through the steps to add a PDF to your site with a simple image and text.
You are welcome to brand and use your Free Reports/Guides/PDF’s from your Carrot site so they are indicative of your company (so long as you are a customer).
You will need to have an image for the PDF and the PDF to upload prior to completing the steps in this tutorial. There are currently two methods to uploading a PDF resource to your site. The first method covers using a combination of blocks for an aesthetic look and using a button, the second method includes using a “File” block. Let’s dive in!
Method 1: Media & Text Block With Button
Step 1: Go to your page list and click the page to edit
Head to your site dashboard > content > pages section and click on a page you wish to edit.
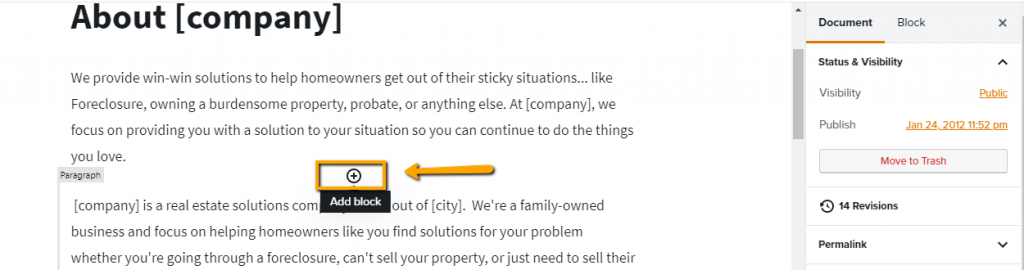
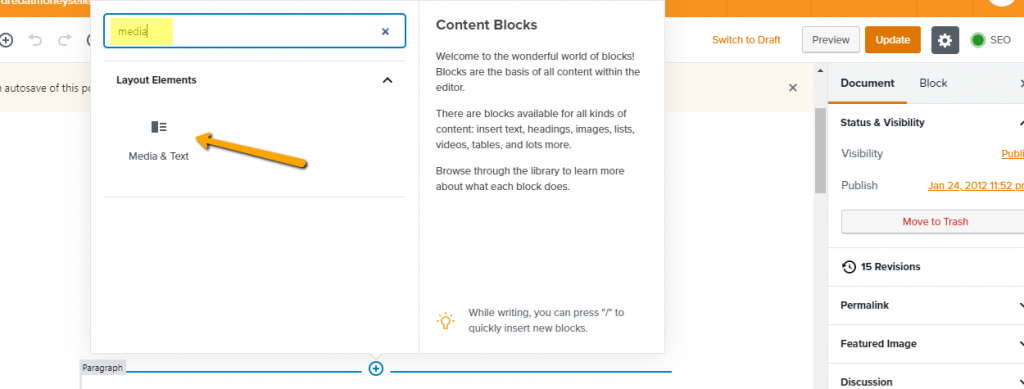
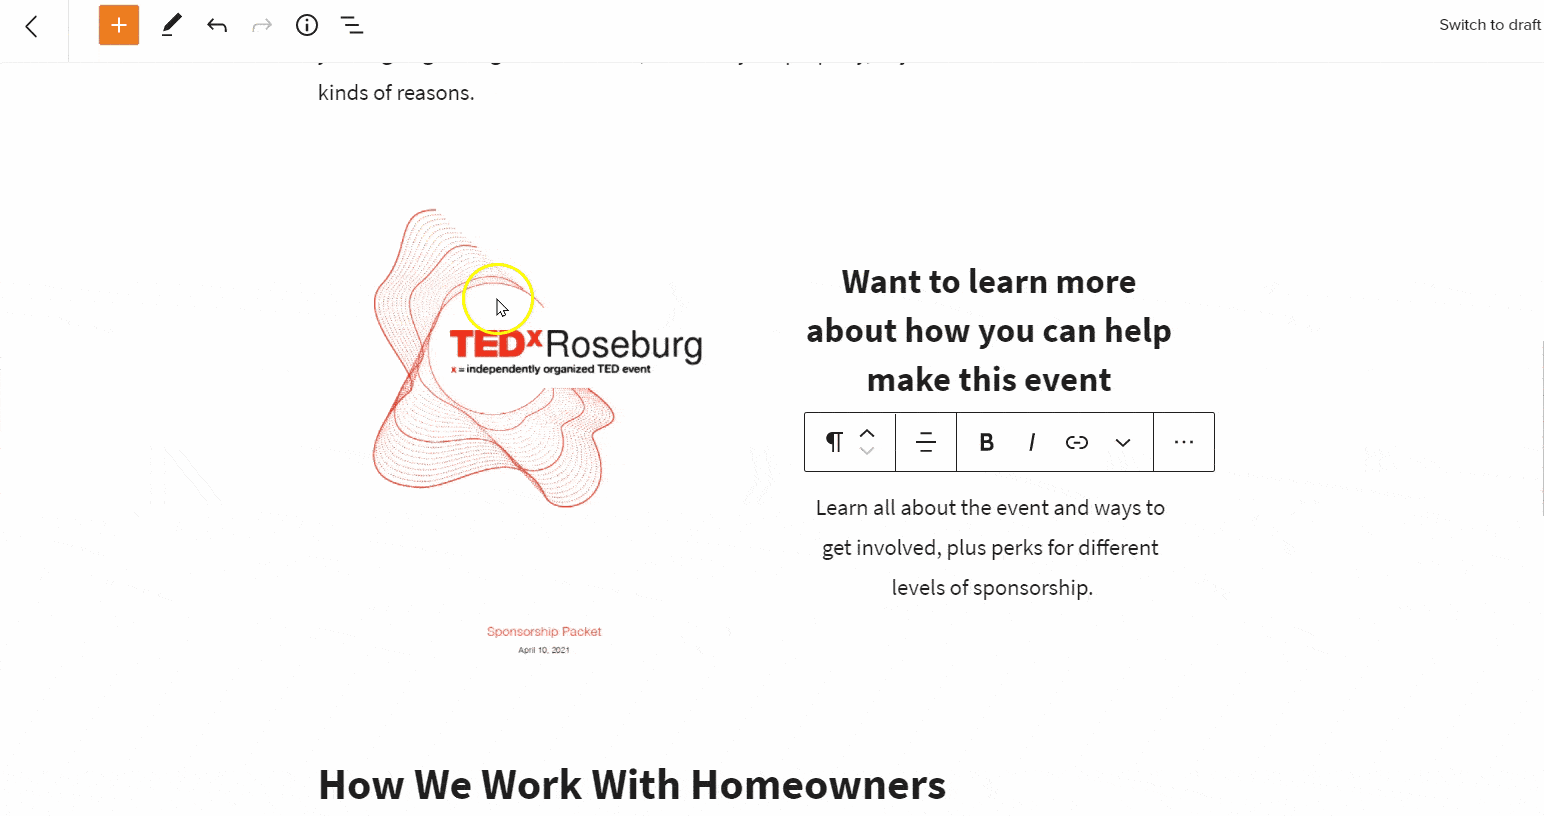
Step 2: Add a Media & Text block
Hover your mouse over the page and find the circle button to “add block.” Click this to open the block choices.
The easiest and fastest way to find your block is to start typing in the search bar above the choices. Media & Text blocks are in the Layout Elements Blocks category. As soon as you see it, click the option to add the block where you selected.
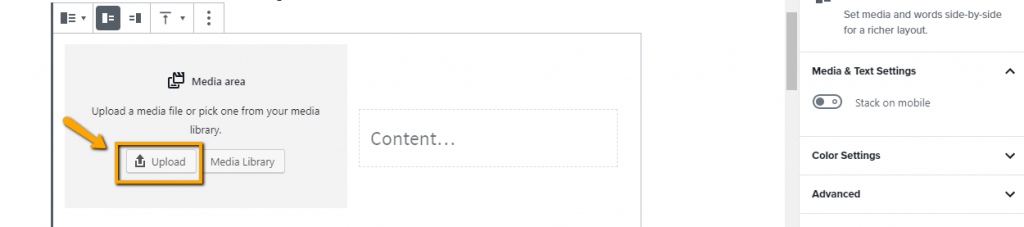
Step 3: Upload the image for your PDF
Click the “Upload” button to select the image for your PDF.
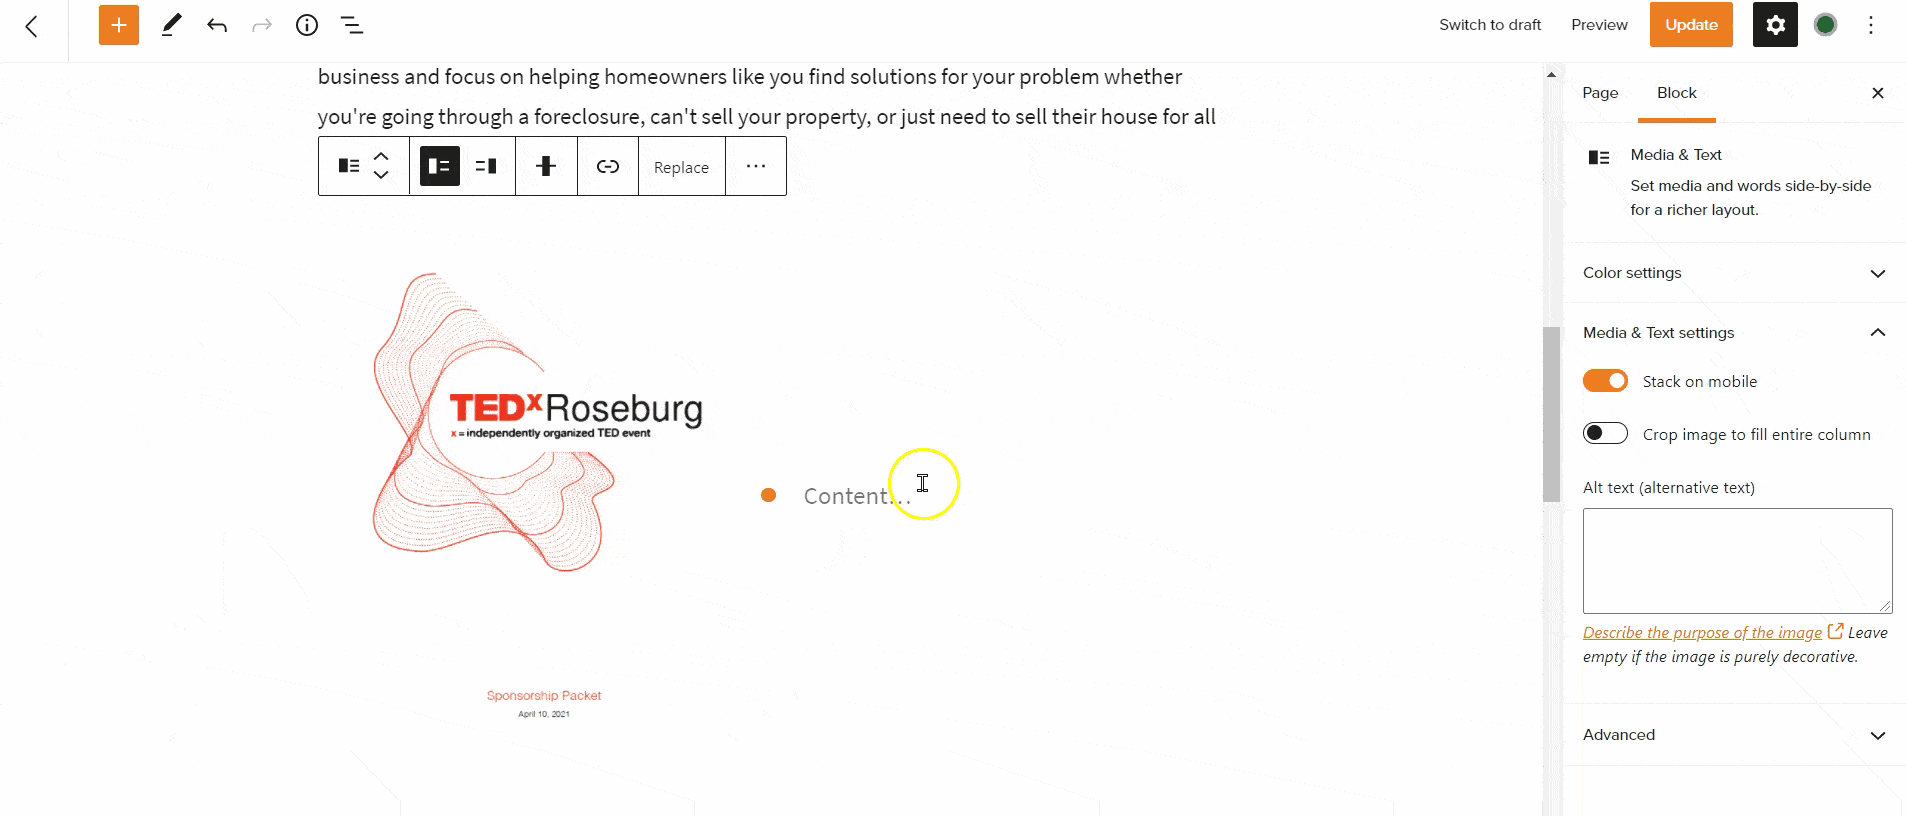
Step 4: Add your PDF text and align the text
Add your text to the “Content” portion of the Media & Text block. Select a brief heading for emphasis and paragraph for more context. Once your content is added, select each heading and paragraph to set the preferred alignment.
Step 5: Set the alignment for your Media & Text block
Click the image to align it to the right or left of the text and then select the text alignment as top, middle, or bottom.
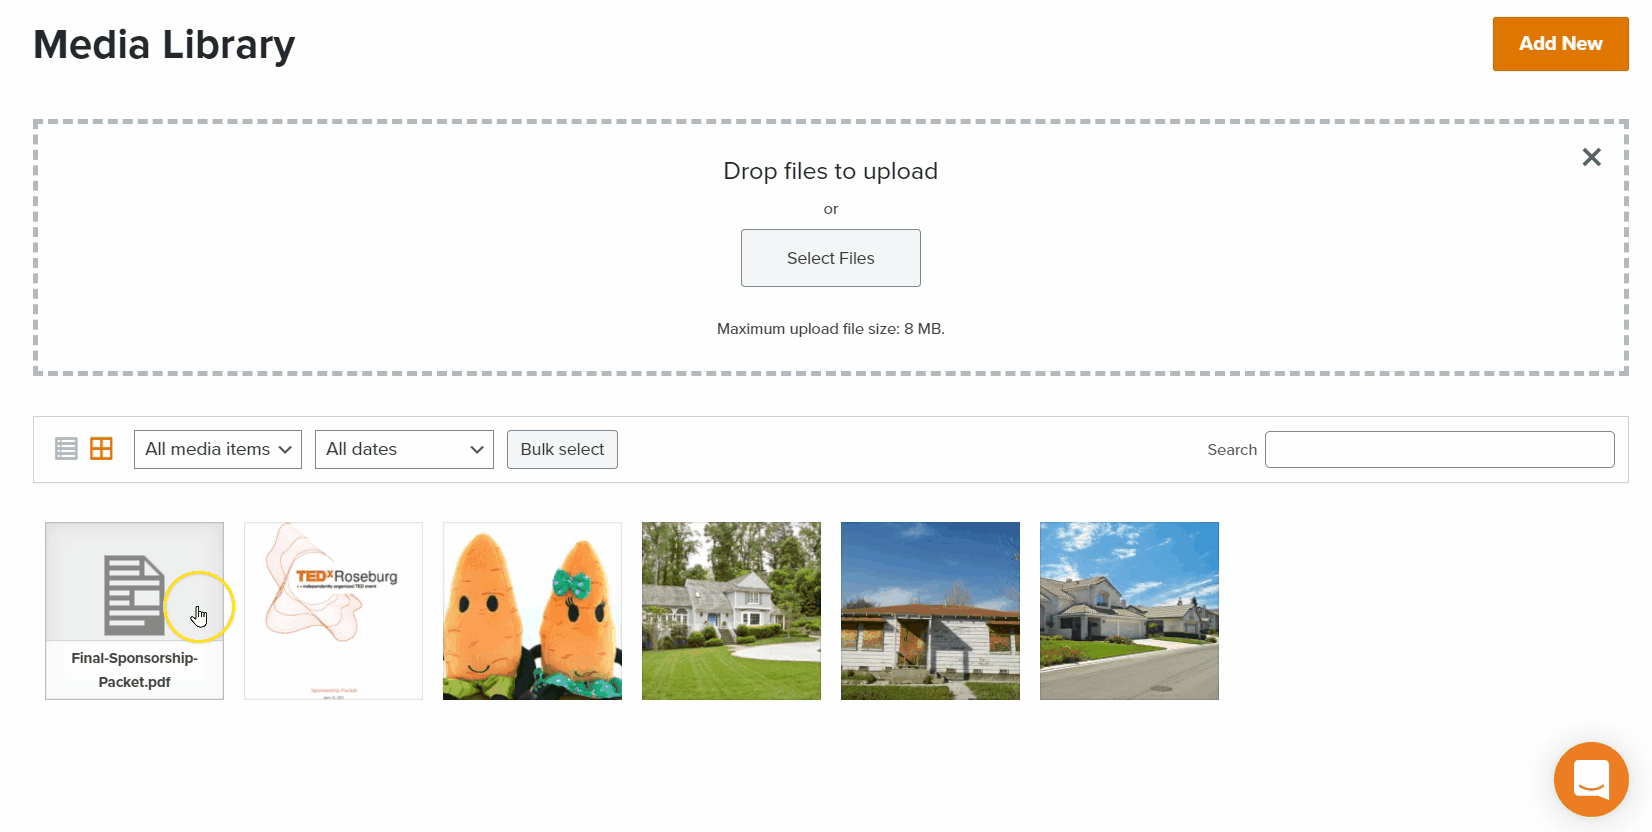
Step 6: Upload your PDF to your site’s media
Go back to the main content screen and click the media link on the left. Then click the “Add New” button on the top right to upload your PDF. Please note, the maximum size for your PDF is 8mb. Any larger and the site can not accept it.

Step 7: Copy the PDF link
Now that the PDF is uploaded, you can have someone view it directly from your site. You just need to grab the link. To do so, click the PDF and copy the “File URL.”
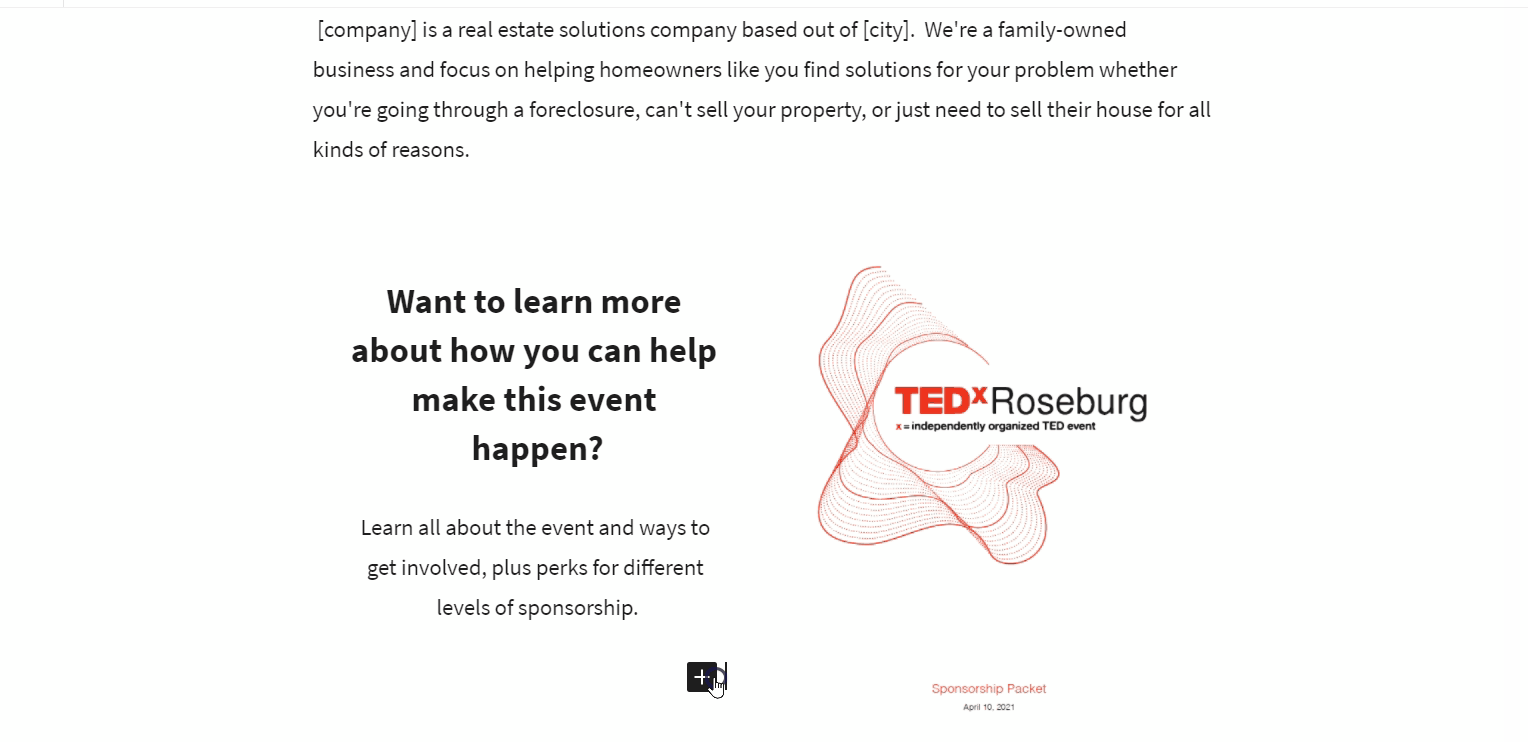
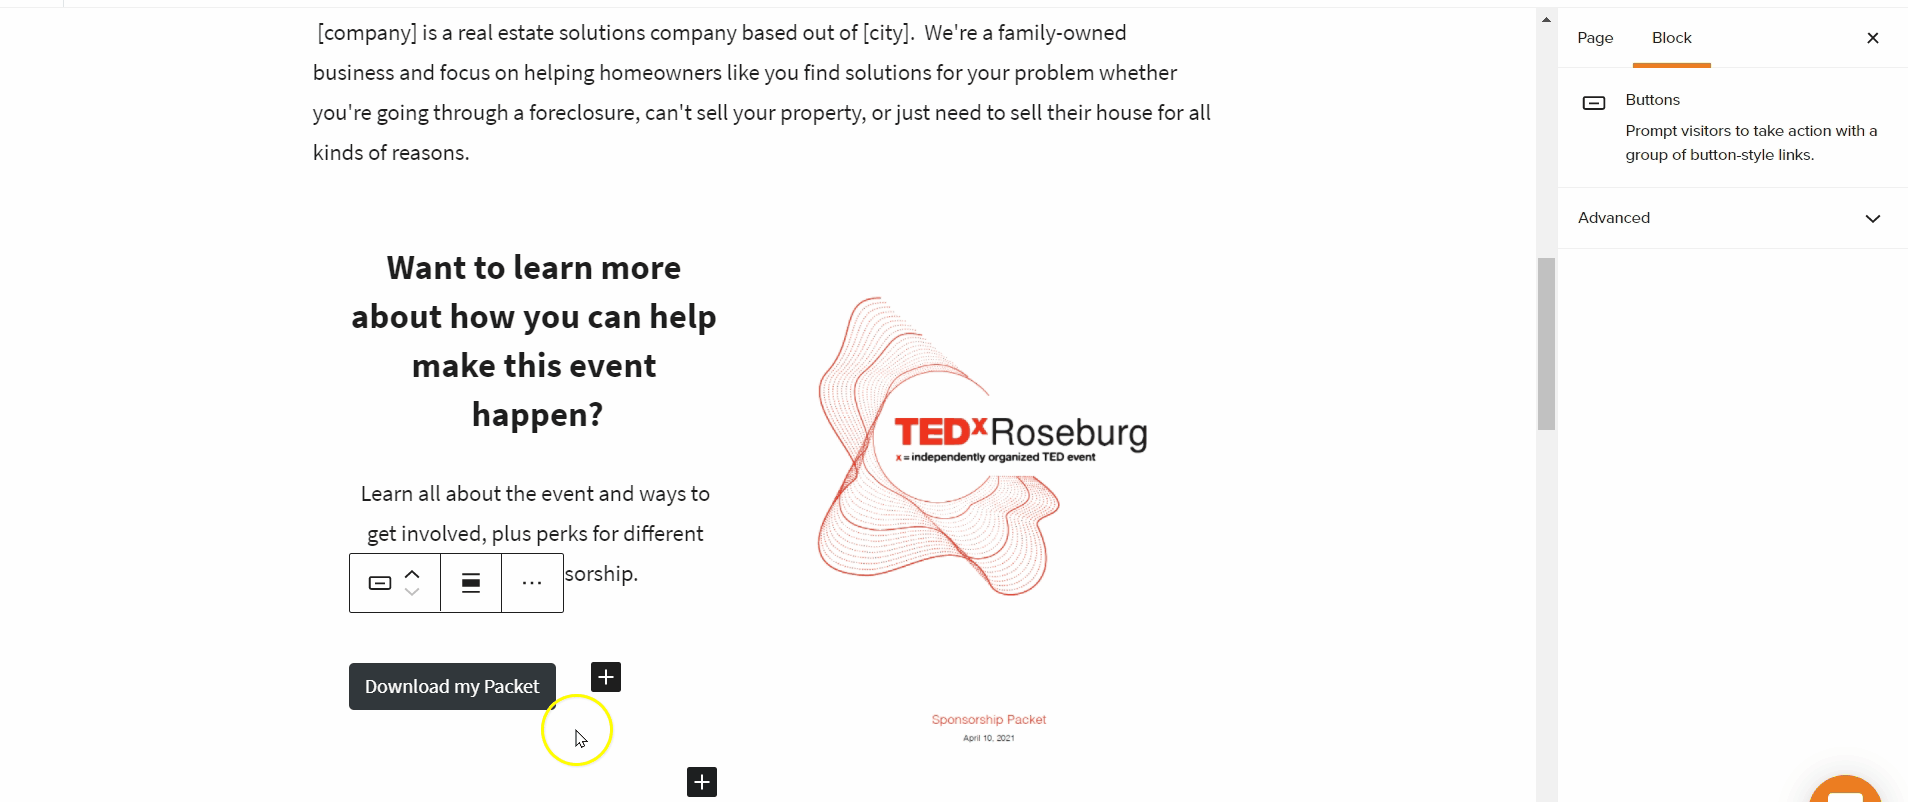
Step 8: Add a Buttons block and link the PDF
The best way to give someone access to the PDF involves a download button. Navigate back to the page you added your Media & Text block to in Step 2 and add a Buttons block below the last paragraph of the Media & Text block. Paste the URL from Step 7 into the URL box.
Step 9: Style your button
Use the Block settings on the far right to format the button to match your brand and site style. If you do not see Styles and Color options, click the button and the Block settings should appear.
- Styles: Choose from large and full width, outlined or filled, or a combination of those.
- Color Settings: Choose your buttons text and background color
- Border Settings: Apply sharp or curved corners to your button
- Link Settings: Open the link in a new tab
- Advanced: Where coders can add custom classes
Step 10: Save or publish your page
Once you have your image and description of the PDF and the PDF linked to your button, save and finalize the changes by publishing or saving the page using the button on the top right.

Method 2: File Block
Step 1: Add the File Block
In the editor, click the + button in the top left corner, then click on the “File” block to add it to your page.
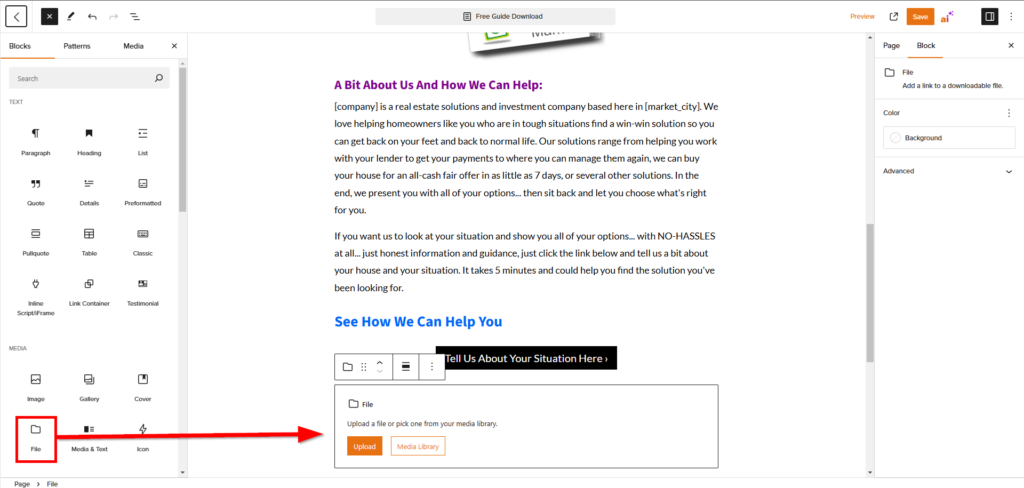
Step 2: Upload Your PDF
Once the block is added, either upload the PDF from your device or select it in your media library using the buttons on the block.
Step 3: Tailor the Settings To Your Liking
The file block offers a lot of options when using it for a PDF. Below are definitions for each of the settings the File block offers:
- Show Inline Embed: This allows you to display a interactive preview of the PDF file.
- Height in Pixels: This allows you to set how tall in pixels the interactive preview of the PDF file will be.
- Link To: Allows you to choose whether the download button leads to a different attachment webpage, or opens the PDF in the browser.
- Open In New Tab: Defines whether or not the PDF will open in a new browser tab, or in the existing browser tab.
- Show Download Button: Adds a download button a viewer can click to open or download the PDF.
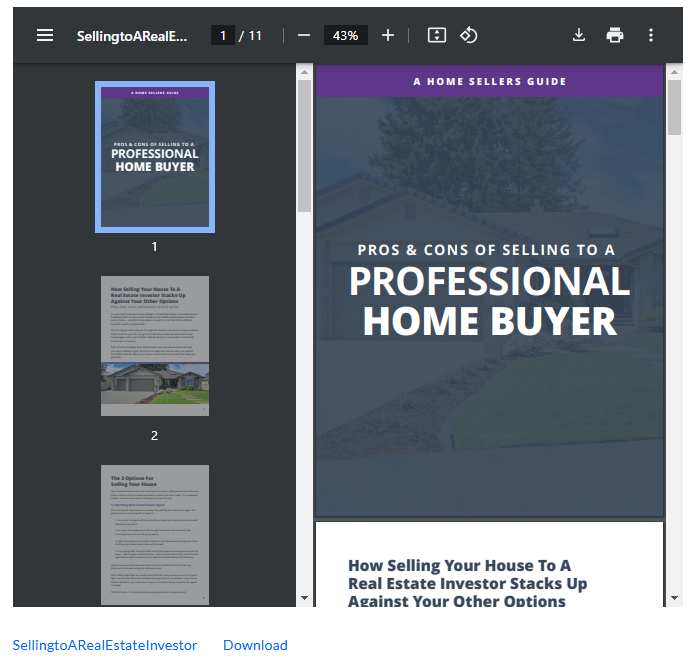
Here is an example of a 600px tall PDF with embed enabled, with a download button.
Conclusion
That’s it! You’ve now successfully added a PDF to your site. Both methods will provide an easy, visual experience for your leads to easily download your resources. Not one method is better than the other, so don’t hesitate to choose which one you like best!