You can have your leads automatically forwarded to Mailchimp when someone opts in, no copying and pasting. It’s a one-time set up and that’s it. Your leads will be in Mailchimp for automated follow-up you’ve added!
Note: If you’re looking for Mailchimp operations, such as setting up campaigns or tracking leads that come from Mailchimp campaigns, please check out their Help Center. This guide will cover a basic setup to MailChimp with a basic Mailchimp account. Fields may differ depending on your MailChimp configuration.
Let’s get started!
Part 1: Getting Your MailChimp API Key
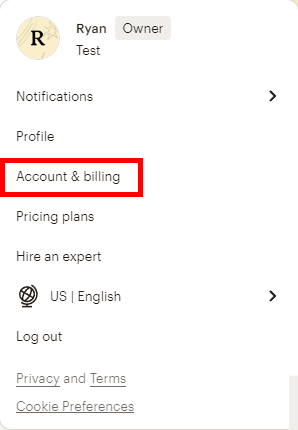
Step 1: Login to MailChimp, Click on Your Avatar, Then Click “Account & Billing”
Your avatar can be found in the top right corner of your MailChimp account.
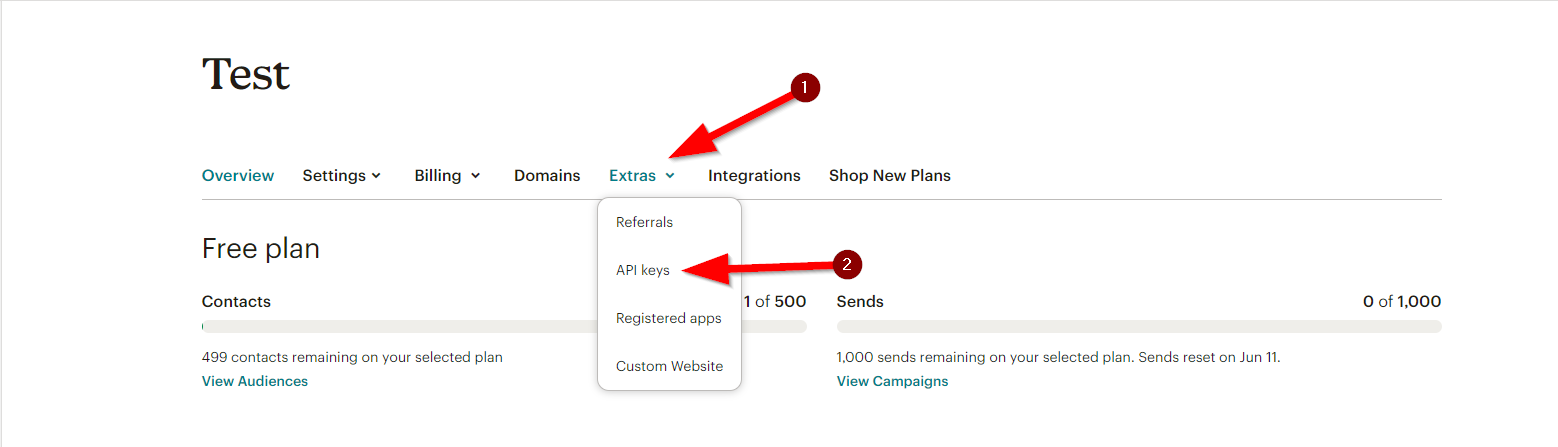
Step 2: Click on “Extras”, Then “API Keys”
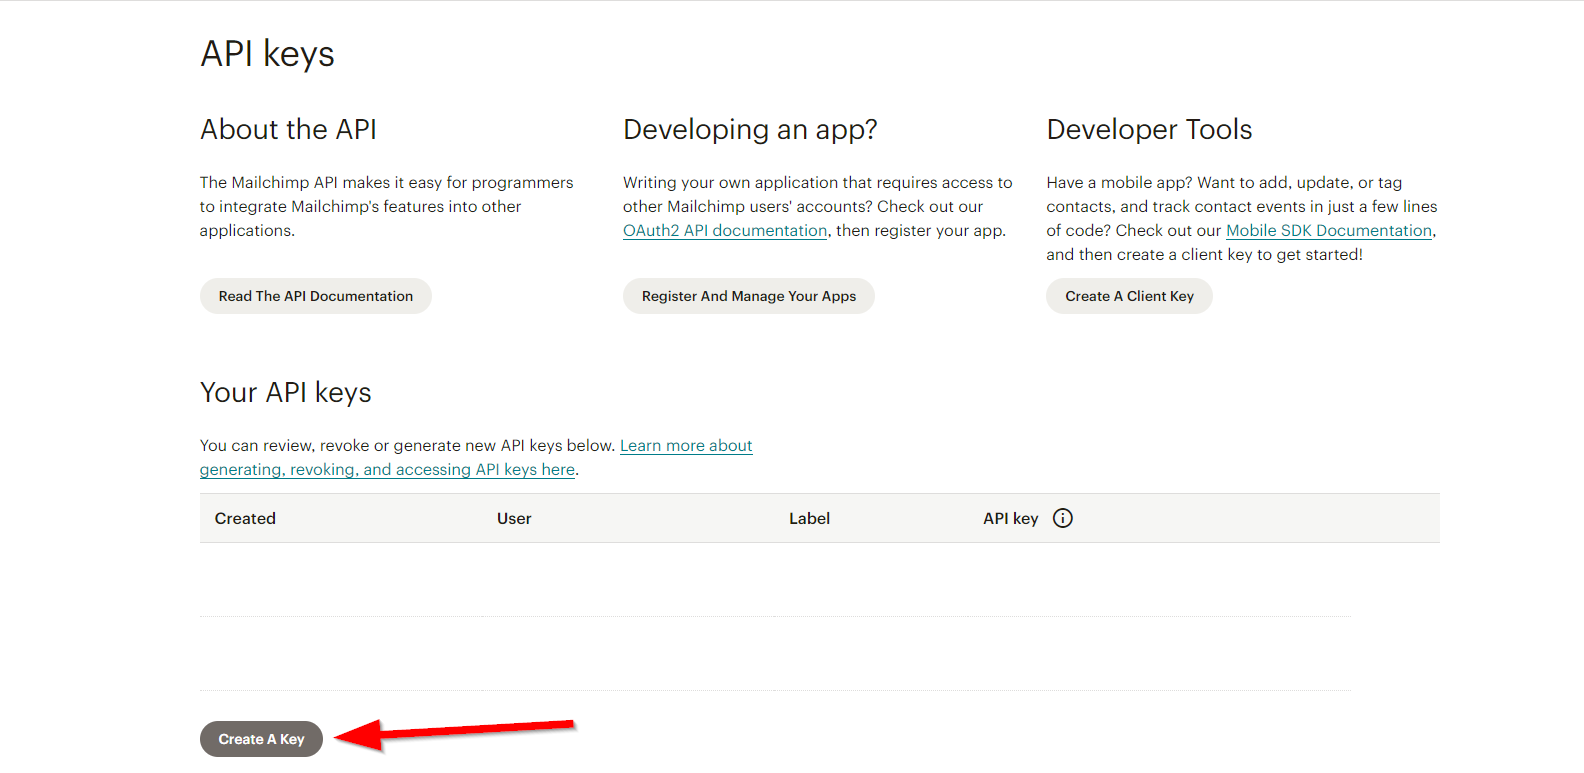
Step 3: Scroll Down, Then Click “Create A Key”
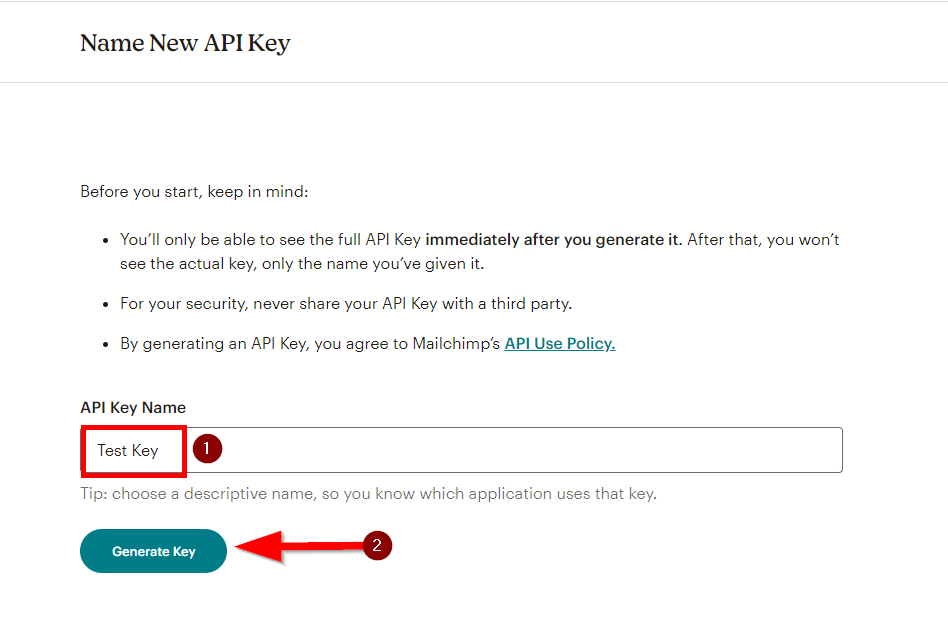
Step 4: Give It A Name, Then Click “Generate Key”
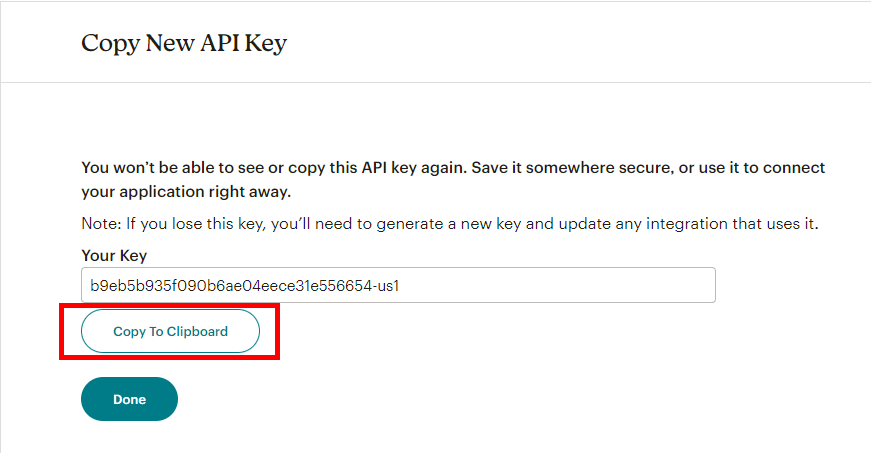
Step 5: Copy Your API Key, Then Click “Done”
Part 2: Connecting to Carrot
You’re almost there. Now, you just need to connect the two, and tell Mailchimp what fields need to be filtered to which area in Mailchimp. Each form needs every section to have fields mapped where you want them. The fields available are all dependent upon what is available within Mailchimp. Choose the best option available for each field.
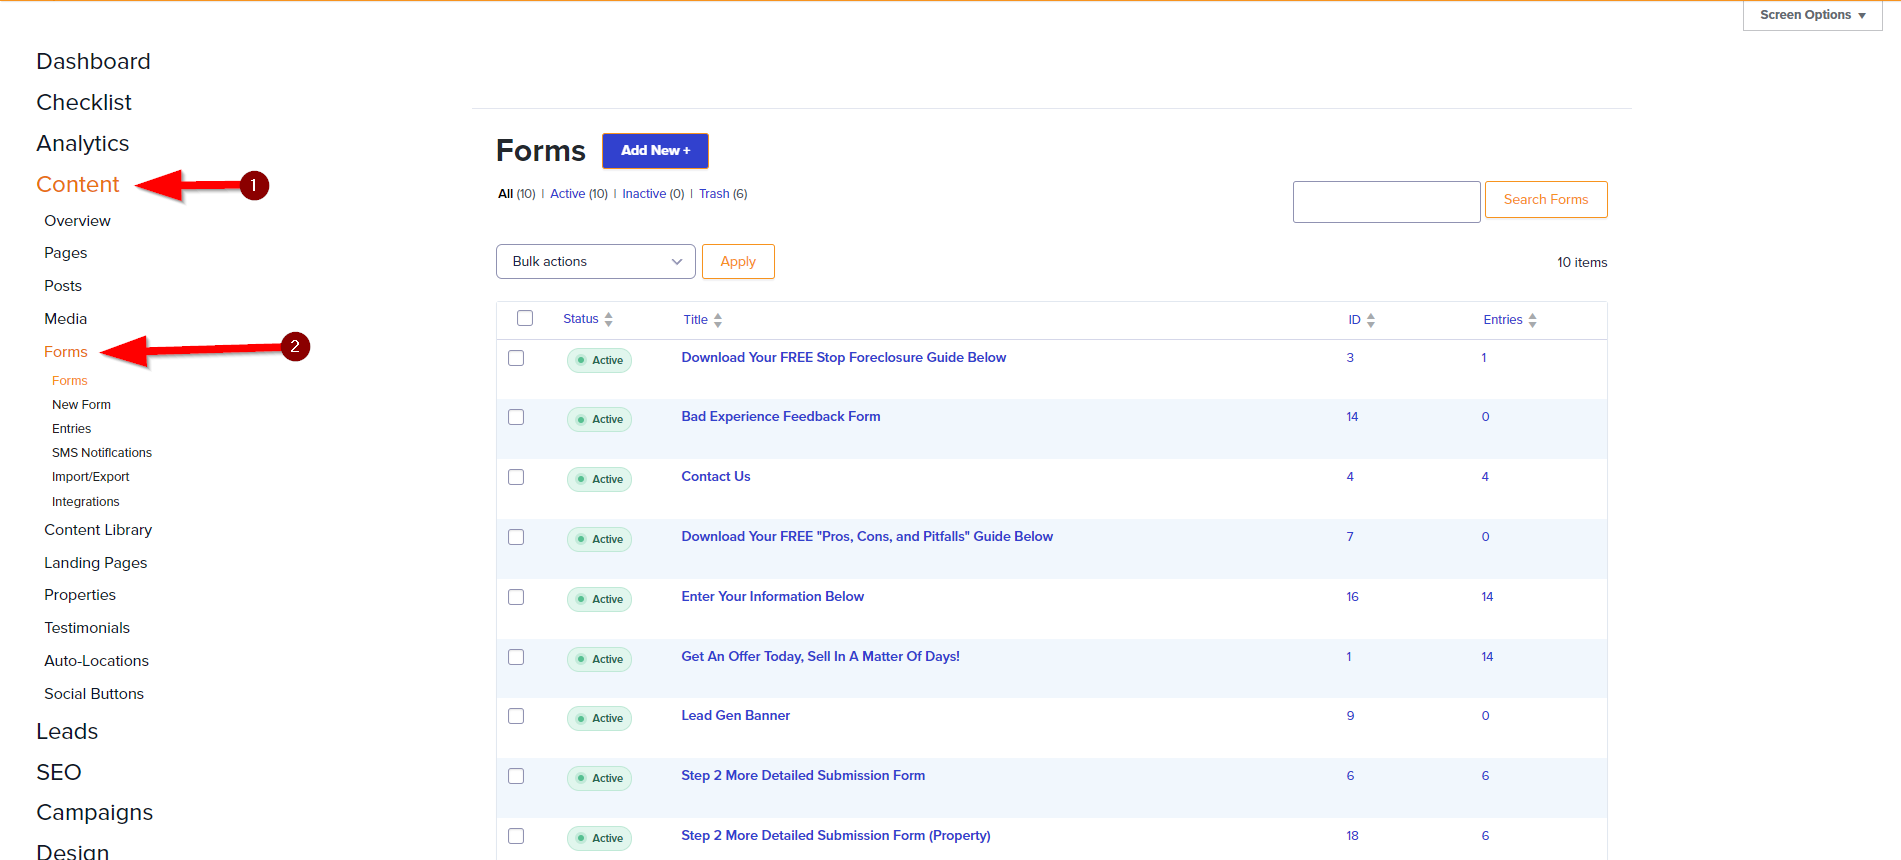
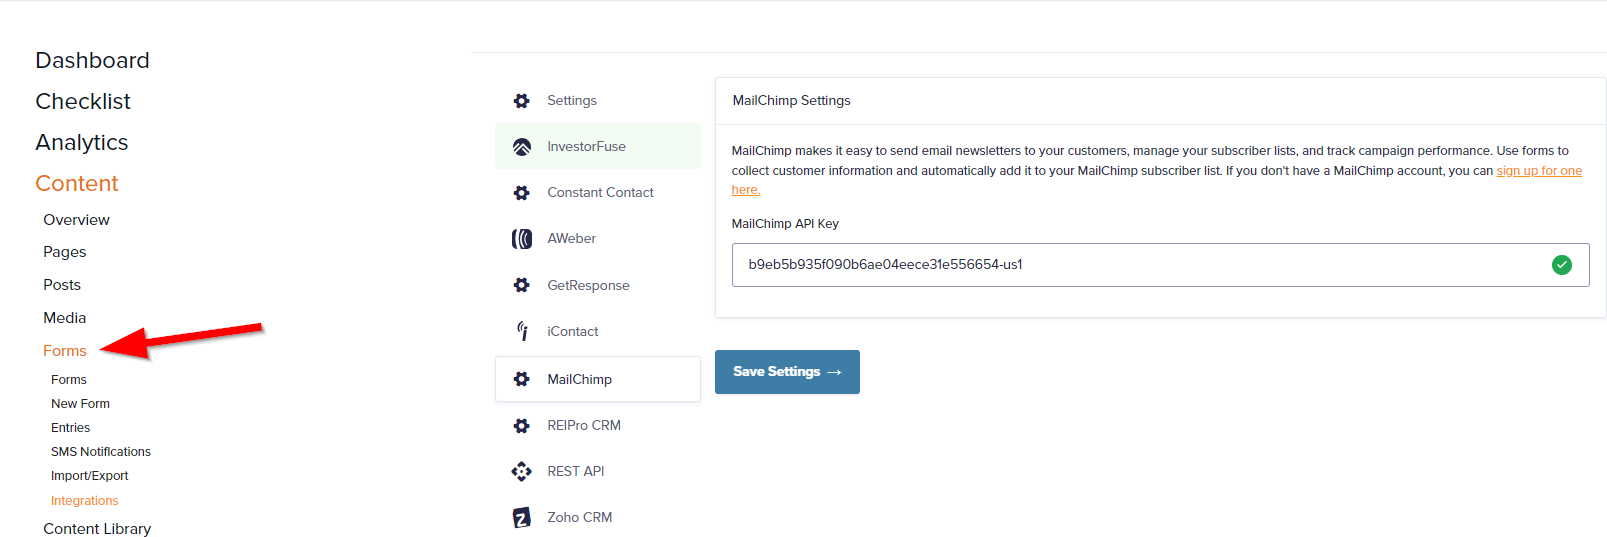
Step 6: In Carrot, Go to Site Dashboard > Content > Forms
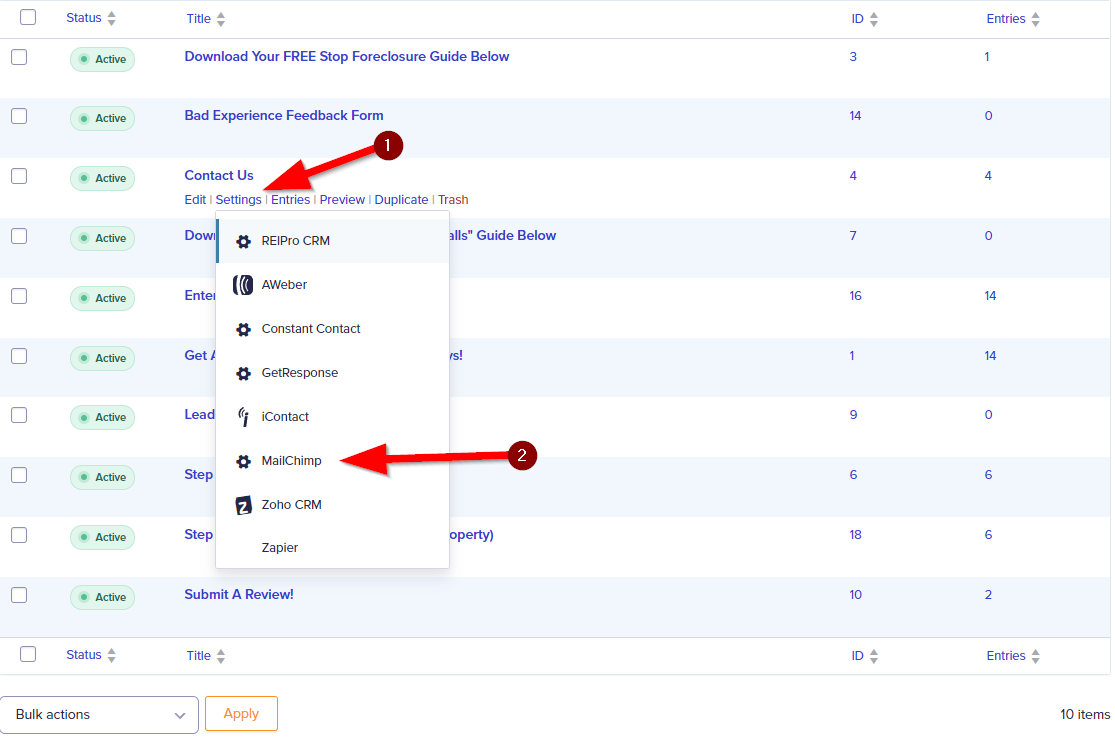
Step 7: On the Form, Hover Your Mouse Over “Settings”, Then Click “MailChimp”
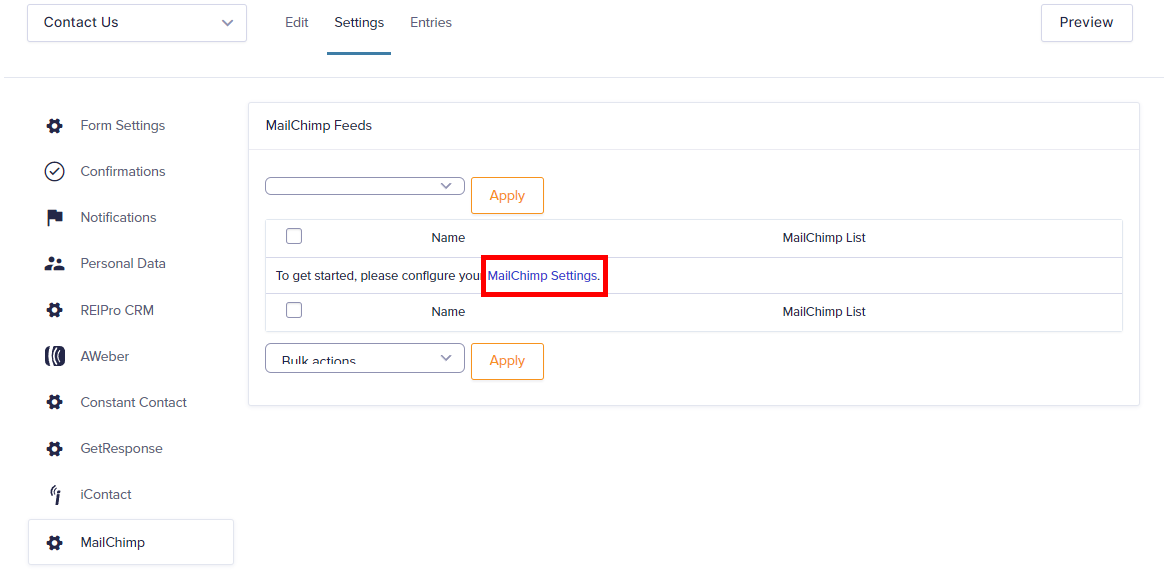
Step 8: Click the Link to Start the Process
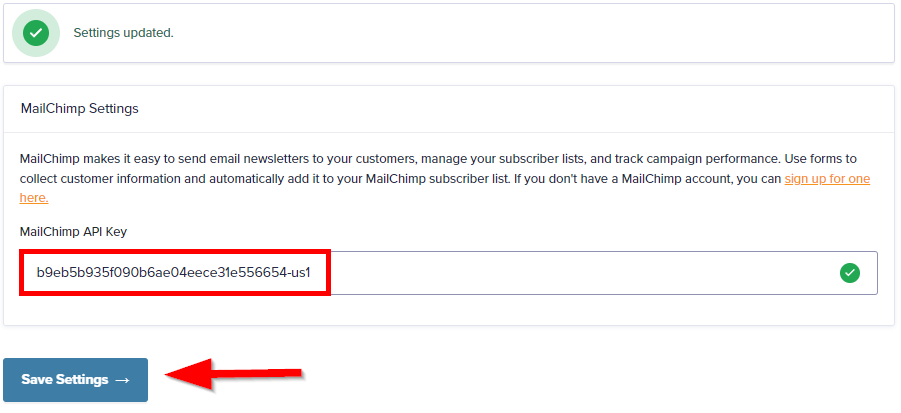
Step 9: Paste in Your API Key, Then Save
Step 10: Configure Your Feed and Map Your Fields
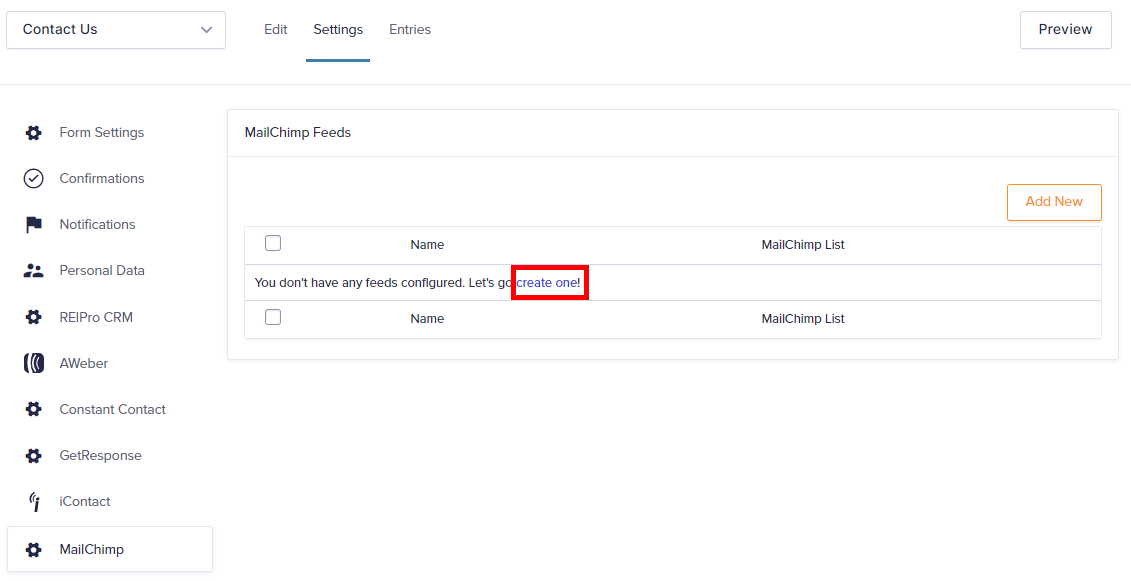
A) Go Back to Forms
B) Hover Over the Form and Select “Mailchimp” Under “Settings” (Same as step 7)
C) Add a new feed
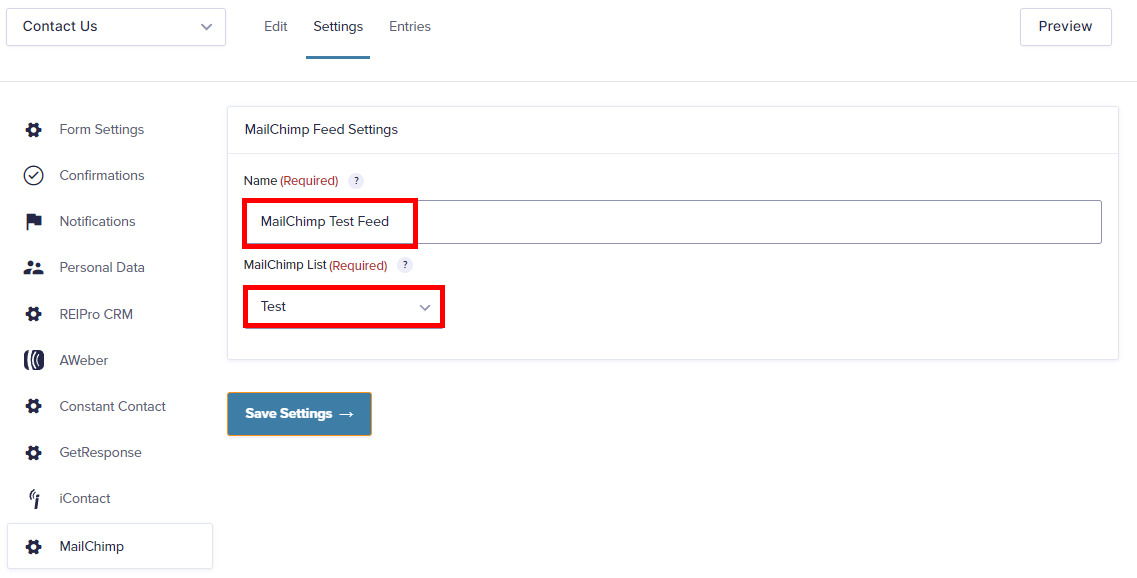
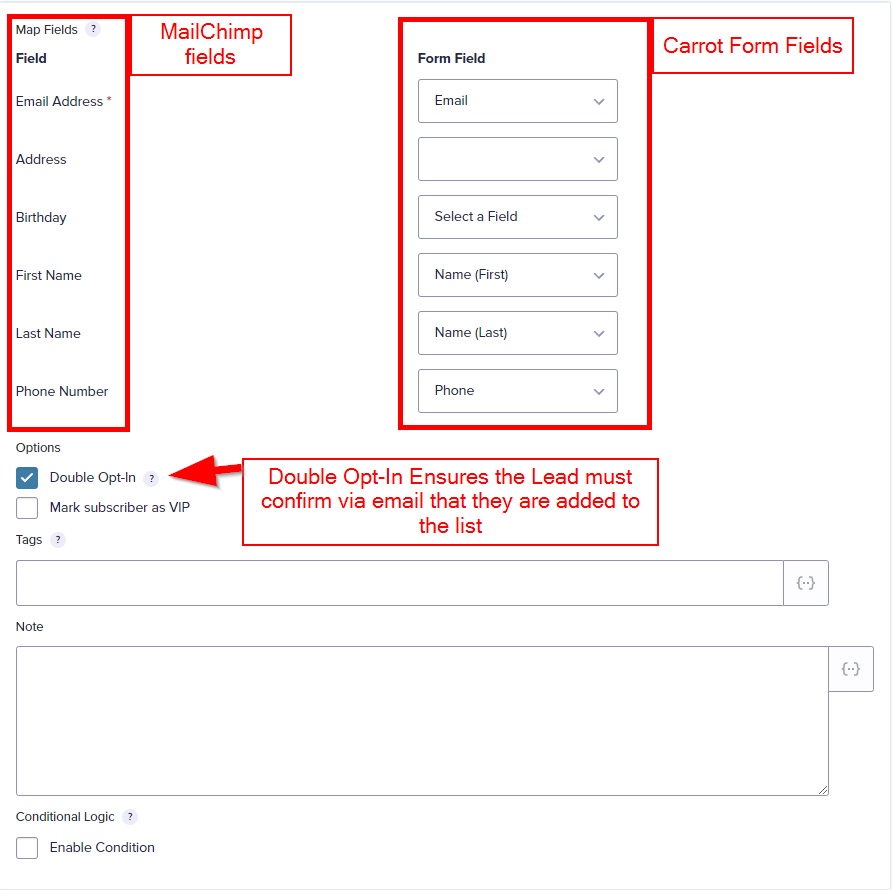
D) Map your fields
Name your Feed and choose a list your lead should go to within Mailchimp. Check out the “Learn More” section to learn more about how to up a Mailchimp list prior to starting this process. Once you have the list selected, you’ll need to click the drop-down menu for each map field to choose the area the information should go to within your Mailchimp feed.
Step 11: Save Your Work
Click “Save Settings” at the very bottom of this section and your form is now linked to Mailchimp!
Conclusion
That’s it! Your Carrot form is now integrated with your MailChimp account. Each time a lead submits on your form, that information will be sent to MailChimp, where you can set up drip campaigns, sequences and track data pertaining to your leads list!
Learn More
- Get Started with Carrot CRM
- Integrations Overview
- Using Zapier to Connect CRM’s
- Connecting InvestorFuse
New to Carrot?
Welcome!

Here’s our full guide for what to do when getting started with your Carrot website:
Want Us to do Some
Editing for You?
You are busy doing what you do best, running your business. Leave the site work in Carrot’s hands.