Are you looking to add an image to a page and have it stand out more than just a simple box? You’ll want to use the Media & Text block, especially if you want a background color with a decent amount of text within the box. This page will walk you through the steps to add images in a simple format for a clean, effortless look.
Changing and adding images is one of the first things you’ll probably do to your Carrot site. As you go through swapping out the stock images with local ones, you’ll want to also add in some alt text and captions to help boost your SEO!
There are several reasons swapping out the default images is beneficial for you. Some of the benefits are:
- Builds credibility by localizing your site
- Boosts your SEO by adding keyword-rich alt text to your images
- Helps differentiate your site from other sites by having different images
Don’t forget to check out our guide to Image Optimization for more tips and tricks!
Let’s get started!

Step 1: Edit a Page

Step 2: Add a Block
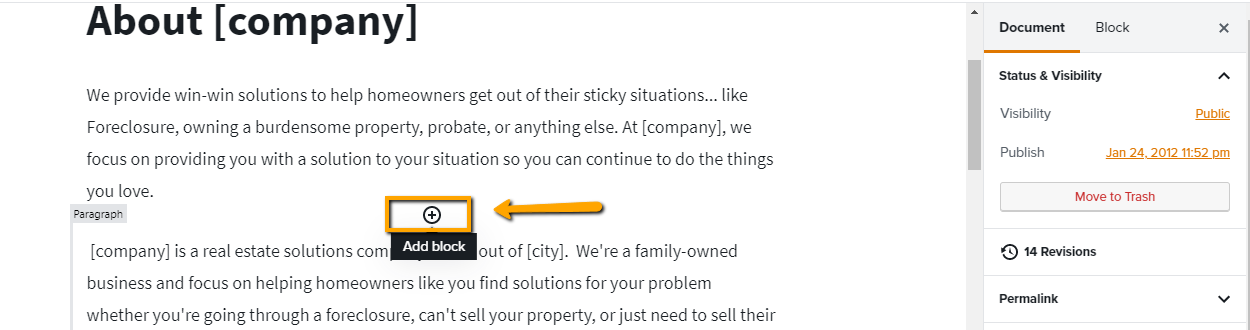
Hover your mouse over the page and find the circle button to “add block.” Click this to open the block choices.
Step 3: Select Media and Text Block
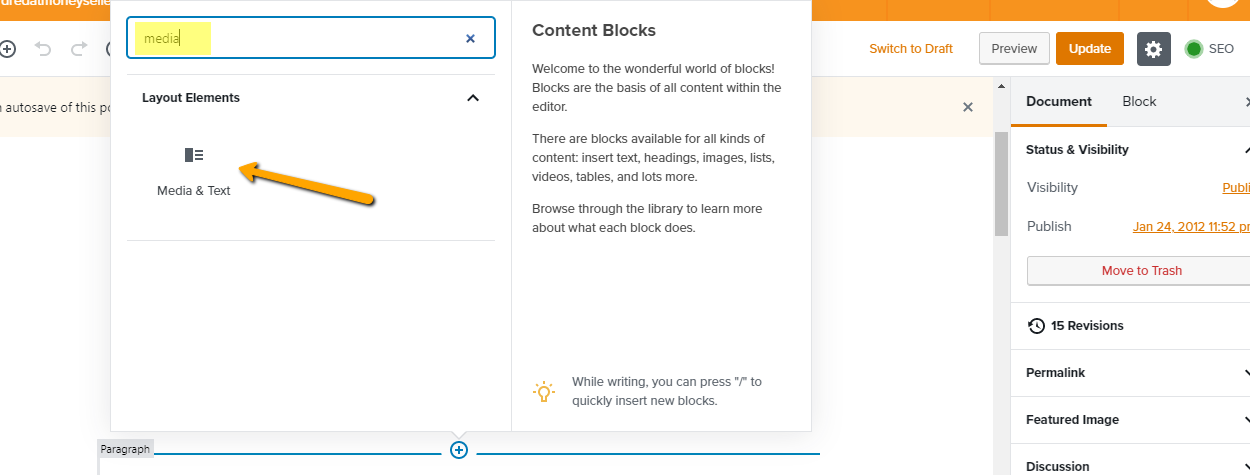
The easiest and fastest way to find your block is to start typing in the search bar above the choices. Media & Text blocks are in the Layout Elements Blocks category. As soon as you see it, click the option to add the block where you selected.
Step 4: Upload Your Image
Please note, the maximum size for your PDF is 8mb. Any larger and the site can not accept it.

Step 5: Choose Your Block’s Alignment Settings
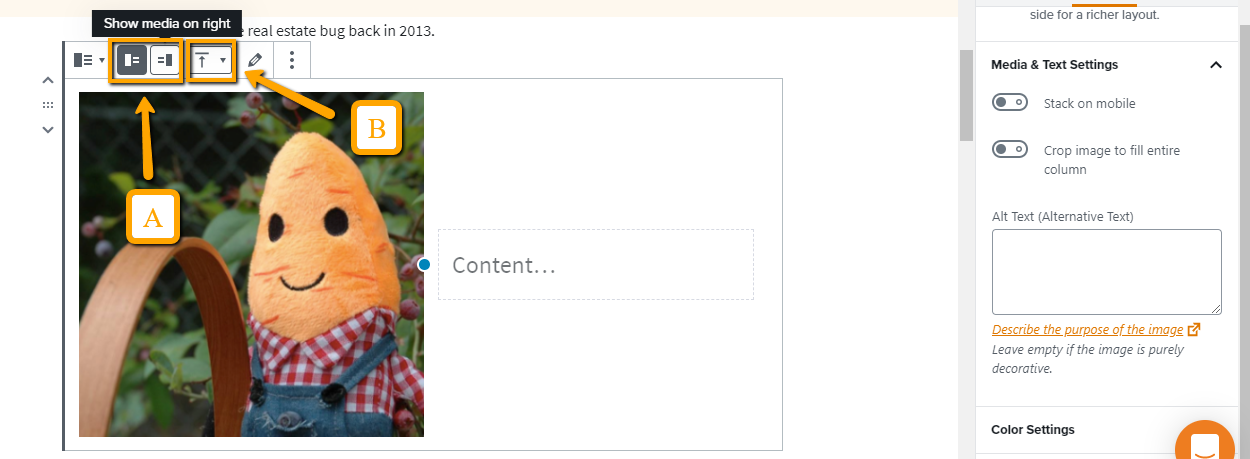
A: Select the horizontal alignment for the image to be placed on the left or right of the written content
B: Select the vertical alignment for the image placement for the content alongside it
Step 6: Choose Media & Text Block Settings
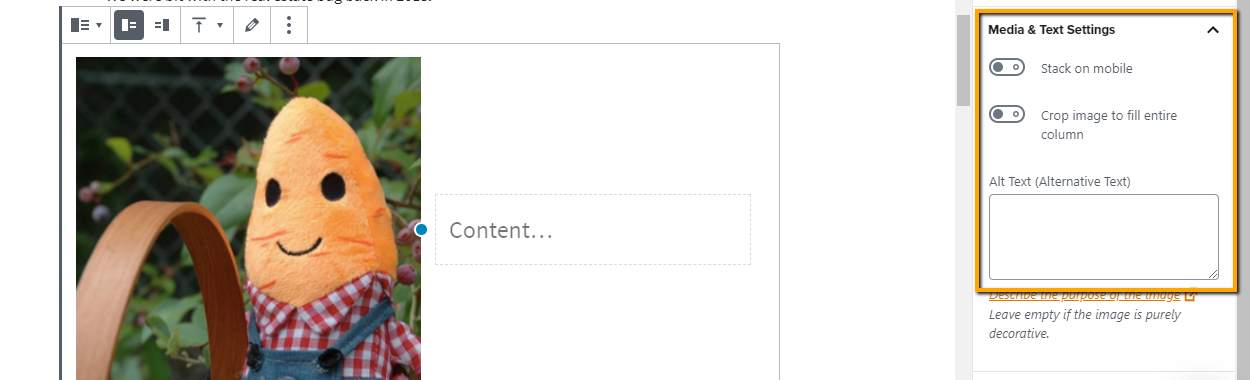
Stack on mobile: Allows the image and content to stack atop each other for easier reader visibility
Crop image to fill entire column: This crops the image to fit the column specifications, regardless of size
Alt text: We recommend giving the image alternative text if it’s a graphic used to display key information. Alternative text is the text read aloud by screen readers and used especially by those with visual impairments. It should definitely remain professional and capitalizing all letters should be avoided. Capitalizing letters will make the screen reader yell at the listener. *grimaced face*. This will also be the text that shows up when a mouse hovers over the image! Google likes this text to be an actual description of the image.
Tool Tip!!! If you later go to the Media Tab and add Alt Text to your images that were loaded in an image block, the Alt Text will not be pulled onto the images that are already on the pages. This is a function of WordPress that we cannot control. Make sure to add the Alt Text when adding the images to your page!!!
Step 7: Add Content and Select your block’s background-color
This option sets the background color of the entire block. You’ll see a few color options available including a spectrum of black through white and variations of your branding colors. Learn how to update your brand colors here

Step 8: Select Preferred Content Block *optional*
If you prefer to have a heading, list, or quote block, you’ll want to transform the paragraph block. Select the backward “P” on the top menu and choose the block you want to use instead of a paragraph block.

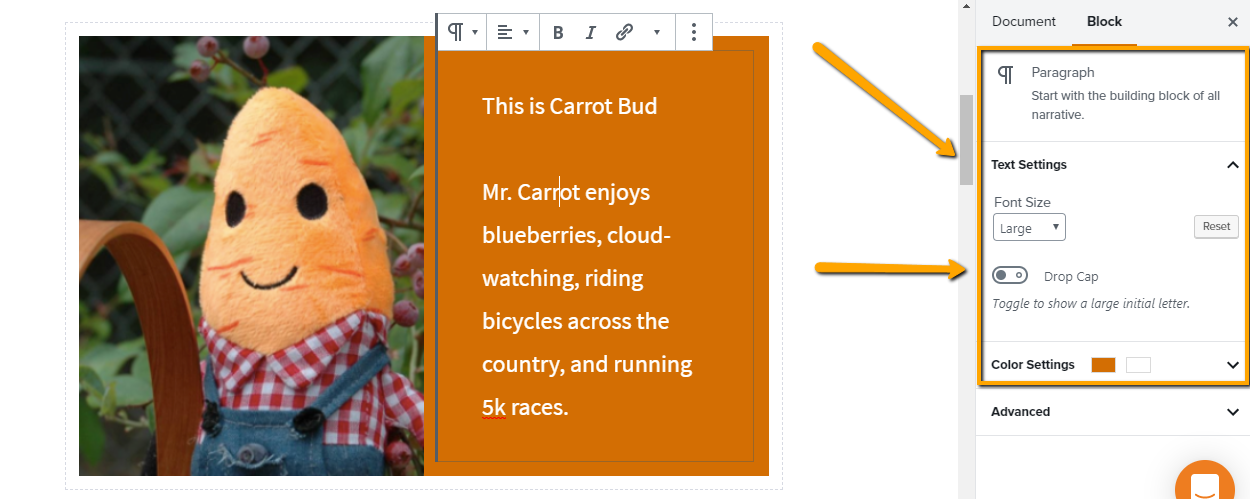
Step 8: Update Content Block Settings on the Right
Typical Features & Styles include:
- Text Settings – these settings apply to all content within the block
- Font sizes – (small, normal, large, larger)
- Drop Cap toggle is a massive first letter indented with normal text following
- Color Settings – Black, grey, white, and your branding colors are available
- Background color of the block
- Text color of all the text in the block
- Learn how to update colors here
- Advanced Settings – developers use this for custom markup (code)
Step 9: Click Update and You’re Done

Conclusion
That’s it! You now know how to set up a Media & Text block. This block is a great tool to use when you need to align an image next to some text, or even a form! Check out the guides below to learn more about block, block patterns and the visual editor!
Learn More
- How to Edit the Cover Block
- How to Edit the Hero Block
- How to Edit the Bio Block
- Pre-Built Block Patterns
New to Carrot?
Welcome!

Here’s our full guide for what to do when getting started with your Carrot website:
Want Us to do Some
Editing for You?
You are busy doing what you do best, running your business. Leave the site work in Carrot’s hands.