Welcome to Carrot! Launching your site will be the very first thing you do after you sign up for a Carrot account.
As you go through the site-creation process, you’ll be prompted to select your business focus, which will help us create website content for you based on the types of leads you’re trying to attract with your site.
Let’s get started!
🥕 Need some help with your new Carrot account? Check out our Getting Started guide or watch the video below, where we’ll give you a tour and walk you through how to kickstart the launch of your site!

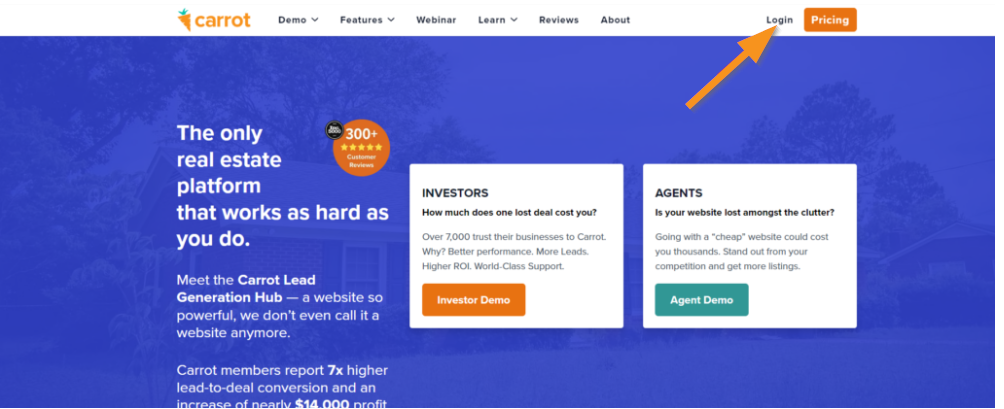
Step 1: Log into your Carrot account
Head over to Carrot.com and log in to your account:
Step 2: Add a new site
Once you’re logged in, navigate to your dashboard and select “Add New Site.” This is where the magic begins!
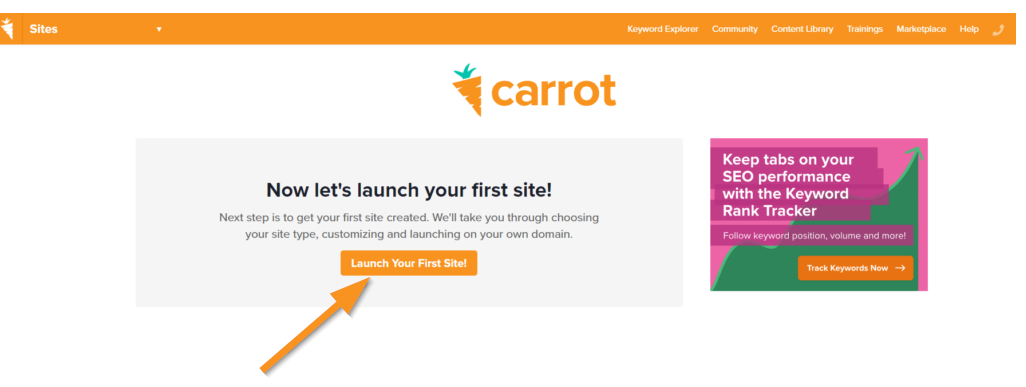
*If this is your first site your screen will look a bit different from this. That’s ok! The steps will be the same after you get started!
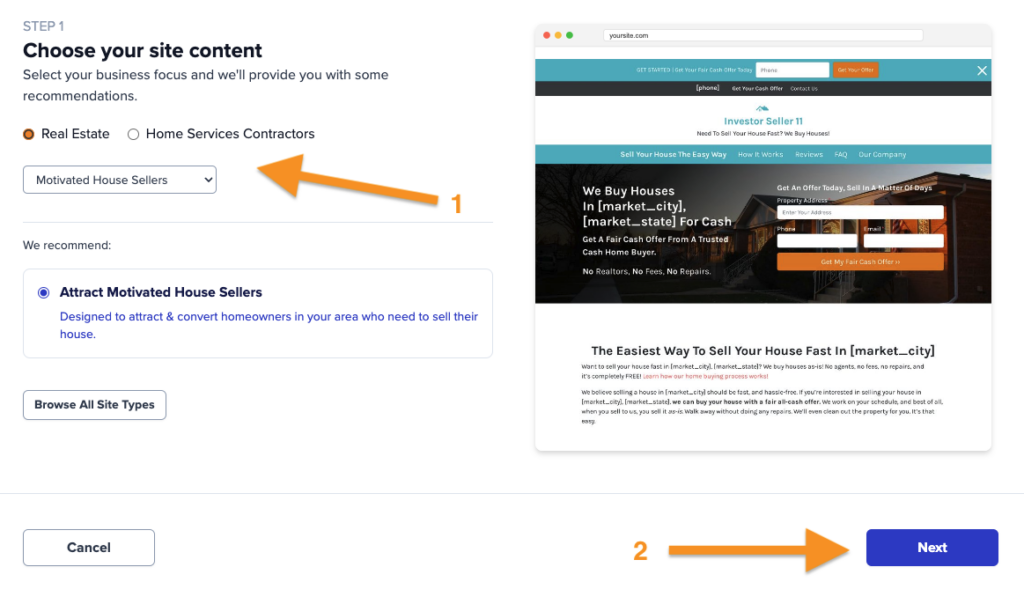
Step 3: Choose your business focus
🚨IMPORTANT: The site type you select here cannot be changed later. Choose carefully based on the types of leads you want to attract.
The content that we generate for your new site will be focused on the types of leads you choose. It’s important to keep the content and audience for each website focused for better results with SEO and converting your leads.
For example, if you’re an investor you might choose a site type focused on Motivated House Sellers. If you’re a real estate agent, you might create a site to attract Retail Buyers or Retail Sellers. A hybrid agent-investor who wants to attract multiple types of sellers would choose Motivated + Retail Sellers (Agent).
Choose carefully! This cannot be changed after you launch your site.
- From the options provided, select your business focus (type of lead you want to attract)
- When you’re happy with your selection, click “Next”:
After hitting “Next”, give us a few moments while we create your new site based on the options you’ve selected.
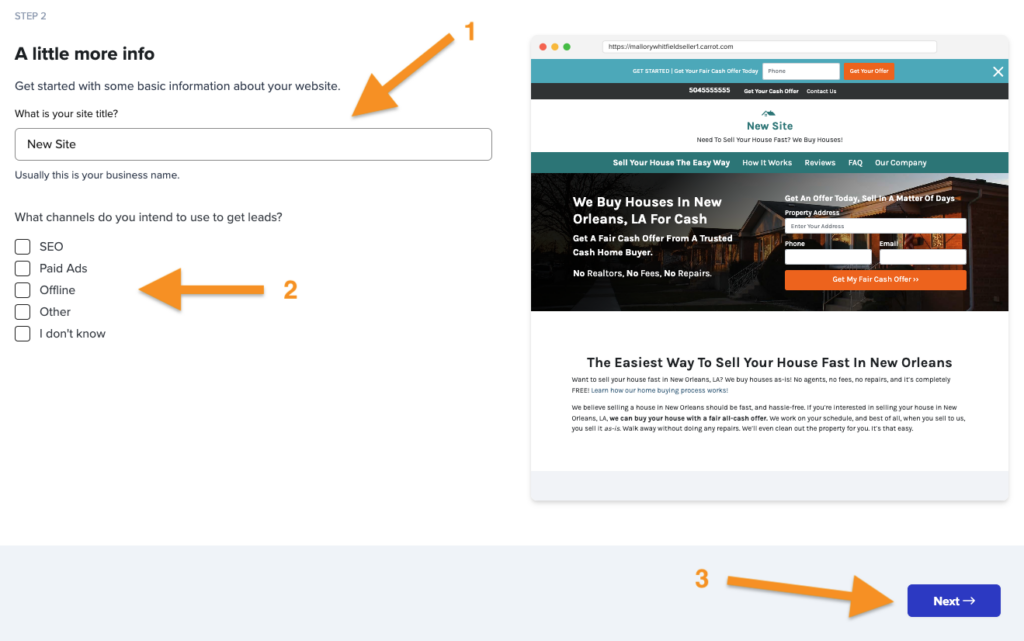
Step 4: Name your site
- Give your new site a name. (Usually this is your business name.) Your site name will appear as your default logo in the header of your site until you attach a logo. You can change the site title any time in your site’s settings.
- You can also provide us with more information about how you’ll be marketing your business. This will help us further customize your site. If you’re not sure yet, simply select “I don’t know.”
- Click “Next” to continue:
Step 5: Select your target market(s)
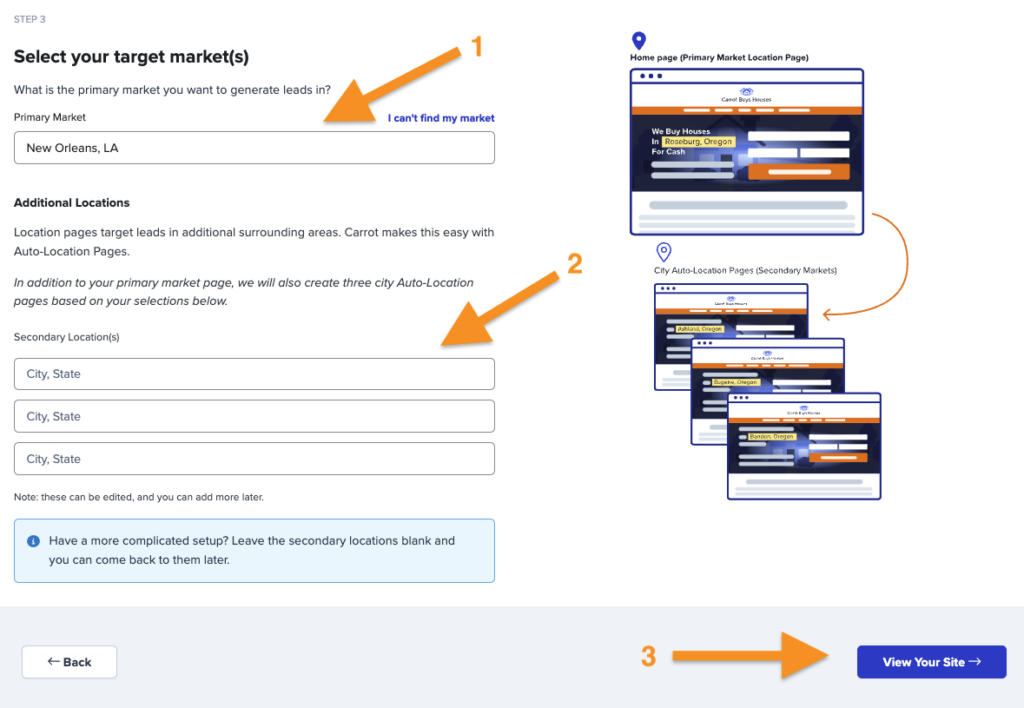
Now it’s time to select the primary local market areas you want to generate leads in.
We’ll create your home page content based on the Primary Market you set, and we’ll create up to three Auto-Location Pages based on other nearby cities you’d like to target.
- Tell us the Primary Market location your business is focused on
- Search for a city via the auto-complete feature or click “I can’t find my market” if your home page will focus on a broader region, neighborhood, or nationwide strategy.
- (Optional) Select up to 3 secondary locations for your business
- Have a more complicated setup? Leave the secondary locations blank and you can come back to them later.
- When you’re ready, click “View Your Site” to continue:
If you want to focus your home page on a primary market that doesn’t appear in the autocomplete results, you can manually choose a different location. The auto-complete is set to pre-populate names of cities, but if you want to focus your home page on a neighborhood or broader region, you can do so.
For example, if you want to set your primary market as “Long Island, NY”, it won’t show up in the autocomplete because it’s not an official city:
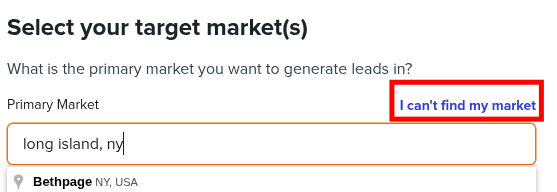
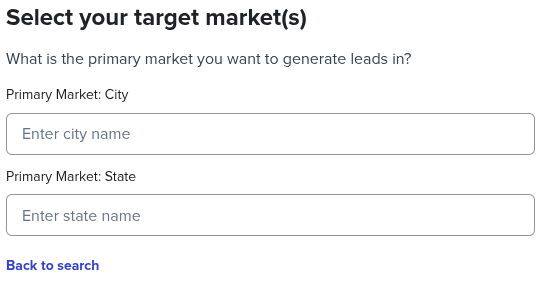
Instead, simply click the blue “I can’t find my market” link that appears, then manually enter your desired city and state values:
🤔 If you’re not sure what Primary Market to focus on, check out this article: Determine The Location Focus of Your Home Page
Step 6: Your Carrot site goes live! 🎉
Nice work! Your site is now created, and you can start making edits to it!
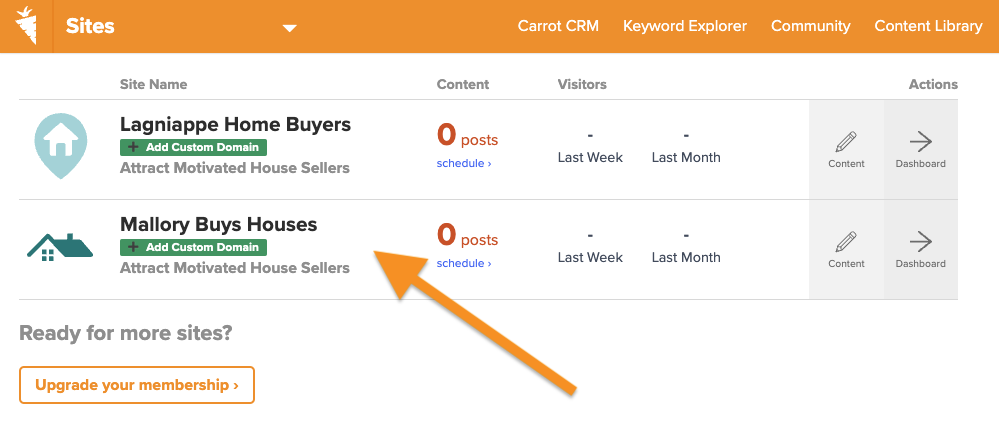
You’ll be able to find any sites you’ve created in your Carrot account dashboard:
How to preview your new site:
Once your site is launched, you can preview it at any time to see what your visitors are seeing. There are a few ways you can preview your site and pages:
- From your account’s dashboard
- By clicking your domain name, once it’s attached
- View individual pages from within the Content Overview
How to view your site from your dashboard
- Log into your Carrot account. Once logged in, you’ll go to your site’s dashboard to view your site if you haven’t attached a domain.
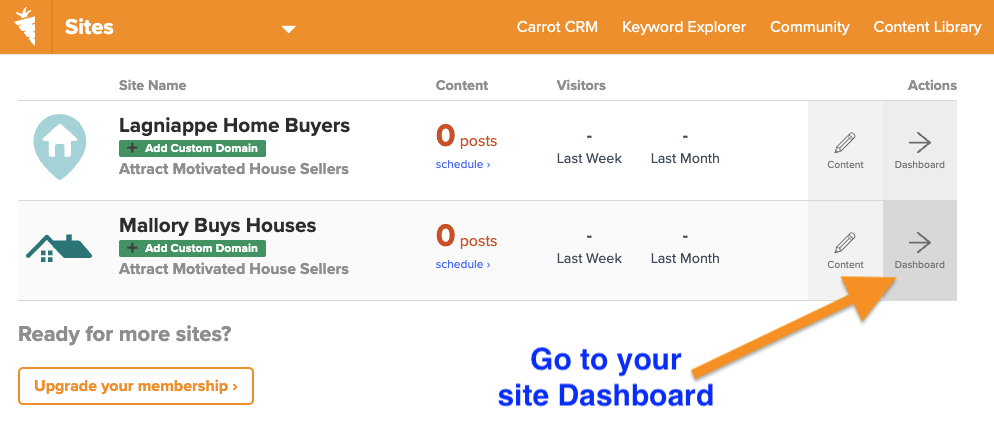
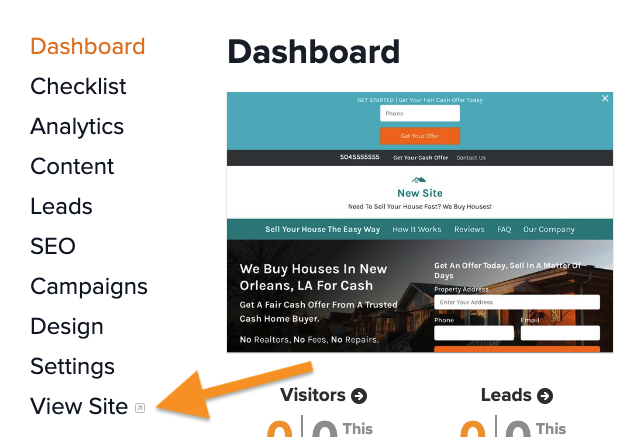
- Then click on the “View Site” link at the bottom of the left side menu to preview your site:
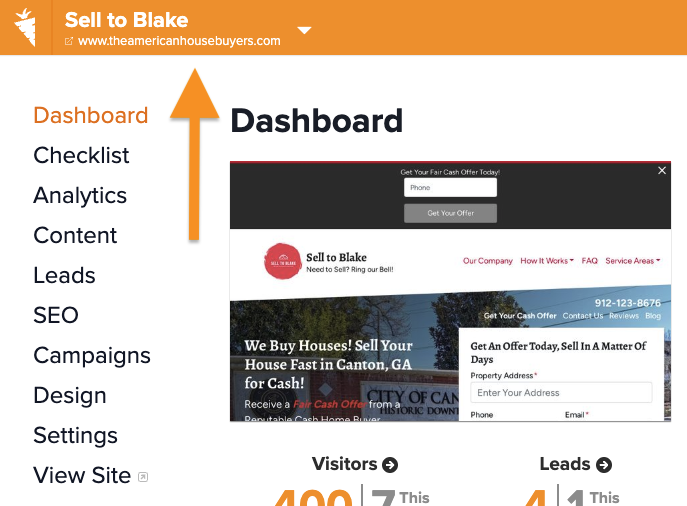
- Once you attach a custom domain name, you’ll see your site’s link below the Site Title in the top left corner of the orange navigation bar. Click the link to view it:
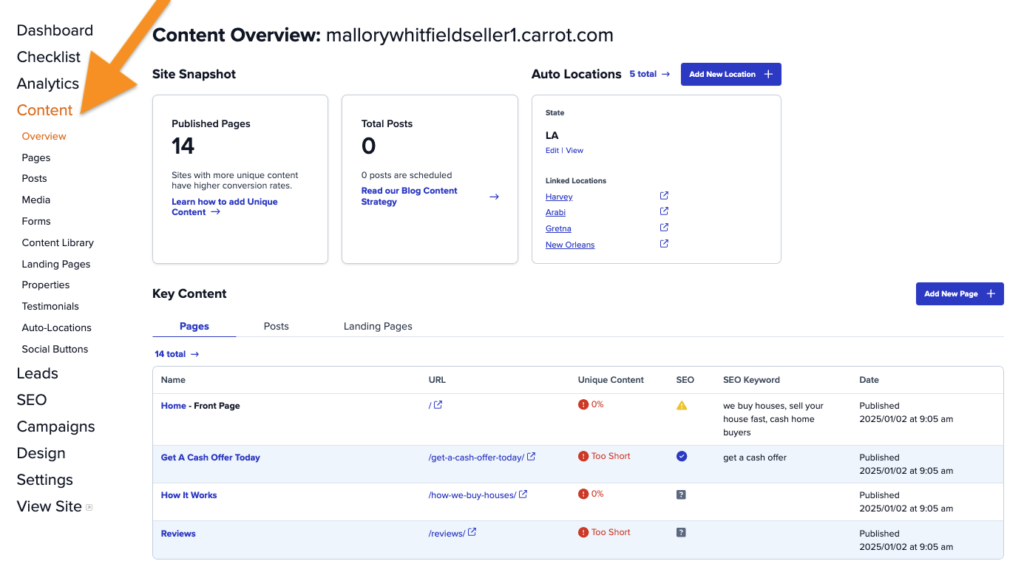
If you want to see specific pages on your site, click “Content” on the left side menu to be taken to your Content Overview, where you can edit and preview blog posts, pages and more:
Now you’re ready to dive into the creative process!
Getting Started: Next Steps
Once you’ve launched your new Carrot site, you’ll want to confirm the content we’ve created for you and start customizing the look of your site. You’ll also want to attach your domain name.
Head to this tutorial for a full walk-through of what to do next: Getting Started with Your Carrot Website
FAQs
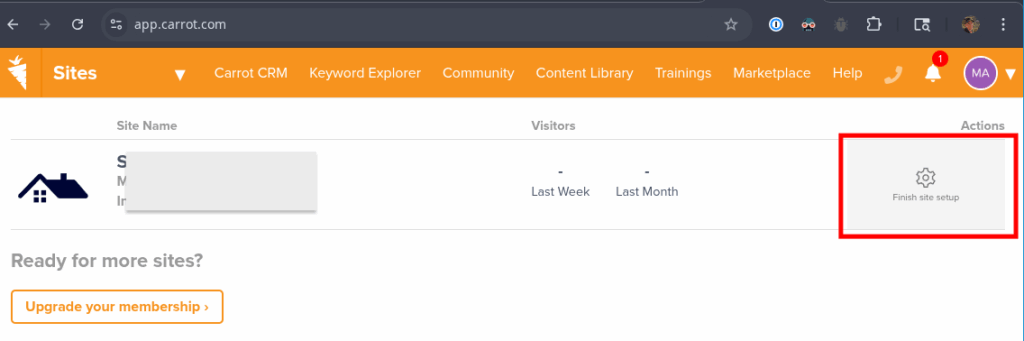
Help! I accidentally closed my browser during site creation!
If you hit the back button or closed your browser during site creation, no worries! Simply login to your Carrot account at https://app.carrot.com/ and click “Finish site setup”, then “Next” to continue where you left off:
What is the purpose of selecting the target market? What if my focus area isn’t listed in the drop-down?
The target market that you choose during site creation is the main geographic area that you do business in. This is the area that the content of your homepage will focus on.
Every business is different, so there’s no one-size-fits-all answer here. Most Carrot members choose a specific city for their home page to focus on.
However, if you want to focus your home page on a primary market that doesn’t appear in the autocomplete results (like a neighborhood, broader geographic region, or nationwide) you can manually choose a different location following Step 5 above.
Need help determining your homepage location strategy? Check out this article: Determine The Location Focus of Your Home Page
New to Carrot?
Welcome!
Here’s our full guide for what to do when getting started with your Carrot website:
Want Us to do Some
Editing for You?
You are busy doing what you do best, running your business. Leave the site work in Carrot’s hands.