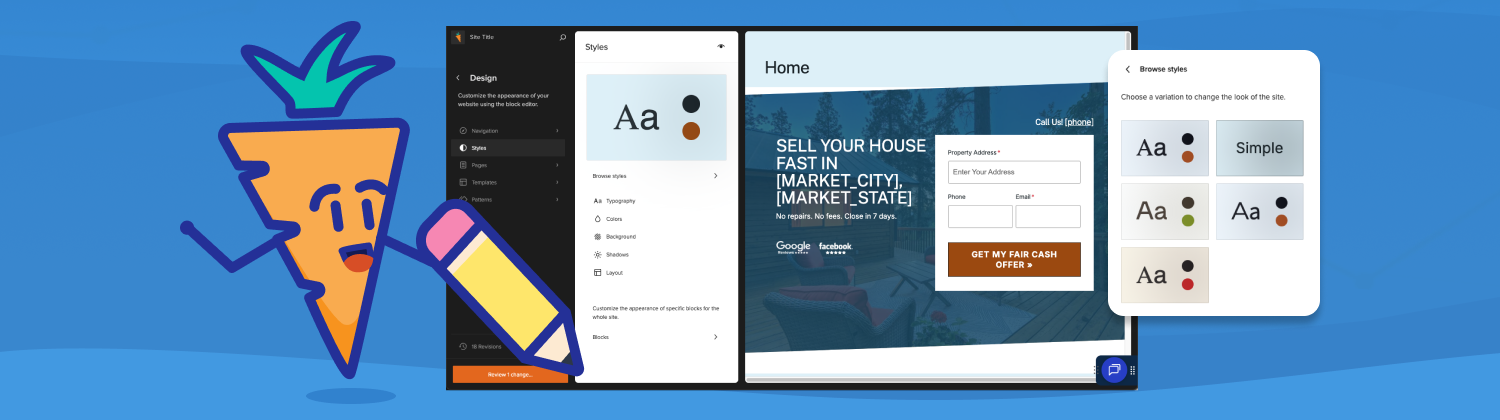
How to Edit Your Header or Footer in the Carrot Editor
Applies to: motivated seller sites published starting November 2025 and any Carrot site published from February 2026 on.
This tutorial shows how to edit your site header or footer using the Carrot Editor.
What counts as the header and footer
- Header: The top of your site with your main navigation
- Footer: The section at the bottom of every page
- Special note: the “Powered By Carrot” text is locked and cannot be removed!
Step 1: Open the page editor
- Navigate to any page on your site
- Click Edit
You’ll be taken into the page editor.
Step 2: Edit the page template
- In the right sidebar, locate the Template section
- Click Edit template
This opens the full page template, which includes:
- Header
- Page content
- Footer
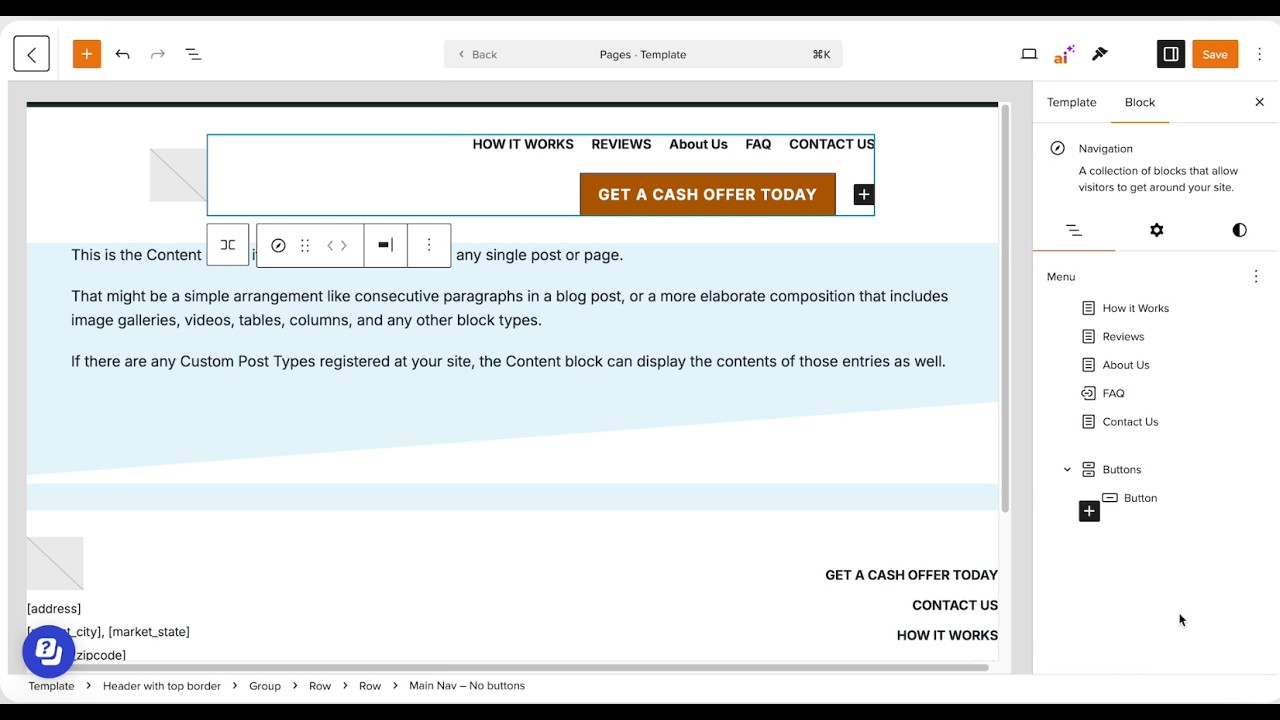
Step 3: Edit the header or footer
- Click directly into any text to edit it
- Click links to change where they go
- Select higher-level blocks to edit entire sections
Common edits:
- Reorder navigation links
- Add or remove menu items
- Create dropdown menus using Add submenu link
Optional: Add a secondary navigation menu
You can add a second navigation row to your header, which is useful for a top utility bar, adding secondary links, or a simplified mobile-visible menu.
To add a secondary navigation:
- In the template editor, click into the header area
- Locate the Site Identity block (this is where your logo lives)
- Click Add before above the Site Identity block
- Search for and insert a Navigation block
- Configure the new menu with the pages you want to link to
This creates a secondary menu row that displays above your logo on desktop.
Tip: Keep the number of items in a secondary menu small. Depending on item count, it may still render on mobile rather than collapsing into the hamburger menu.
Step 4: Replace the header or footer design (optional)
Important! Before making significant layout changes, use the Preview button (tablet and mobile icons in the top toolbar) to see how your header looks on different screen sizes. Your main navigation will collapse into a hamburger menu on mobile (this is expected behavior).
If you want to swap the entire header or footer layout:
- Select the parent block
- Click Replace
- Choose from available built-in designs
You can always switch back if you change your mind.
Step 5: Swap navigation menus
Whenever you have a navigation block selected, you have the option of swapping out with a separate navigation menu. We have a few already pre-built for you to start.
To swap out a menu:
- Click the navigation block
- Select the vertical ellipsis (or three dots) from the Navigation Block settings next to “Menu”
- Choose the Navigation Menu you want to insert/swap
Bonus! Customize navigation layout and appearance
Once a navigation block is selected, you have several styling options in the block toolbar and sidebar:
- Justification — Align menu items left, center, or right using the justify controls in the toolbar
- Spacing — Adjust spacing between individual menu items
- Typography — Adjust font size and weight
Tip: If you want your navigation centered in the header, use the justification control rather than trying to adjust margins manually.
Step 6: Add a button to your navigation
You can add a button to make your header more action-oriented.
Example:
- Add a button block inside the navigation
- Enter your button text (ex: “Get a Cash Offer Today”)
- Link it to the appropriate page
- Remove any duplicate menu links if needed
Tip: Keeping everything on one line is best practice on wider screens.
Step 7: Save and confirm site-wide updates
Click Save.
Any page using this template will update automatically, including:
- Homepage
- Interior pages
- Form pages
Template edits apply site-wide or wherever that template is used.
Optional: Page-specific layouts
If you want a page to look different (like a landing page without a header or footer), you can edit or create a separate template.
Don’t forget your logo!
- The logo area uses the Site Identity block
- Upload your logo once, and it updates everywhere…OR, leverage your Image Audit tool to quickly upload a logo.
- Until a logo is uploaded, your site title will display instead
You can add the Site Identity block anywhere by searching for Logo in the editor.
That’s it.
Edit the template once, and your changes flow across the entire site.