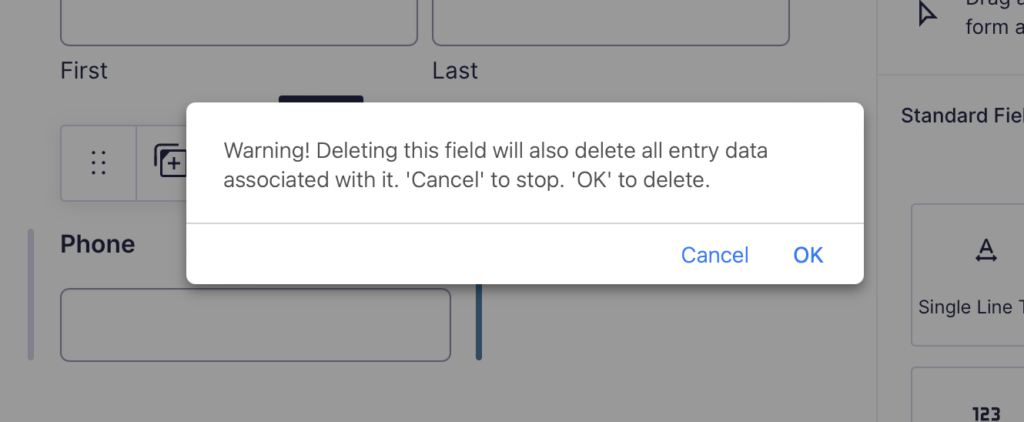
You may see a warning when attempting to delete a form field.
Deleting a field also deletes it from all form entries previously submitted. This may be acceptable in some cases, or you may choose to export your form entries before making this change.
Alternatively, we’ll show you below how to deactivate the field (and replace it if needed) 🎉
ℹ️ Recently enabled the SMS Consent checkbox, but it does not display?
This feature requires a Phone Field (Advanced) in order to display, and you may be using a text field instead. Follow the example below to replace your phone field.
Step 1: Go to Site Dashboard > Content > Forms
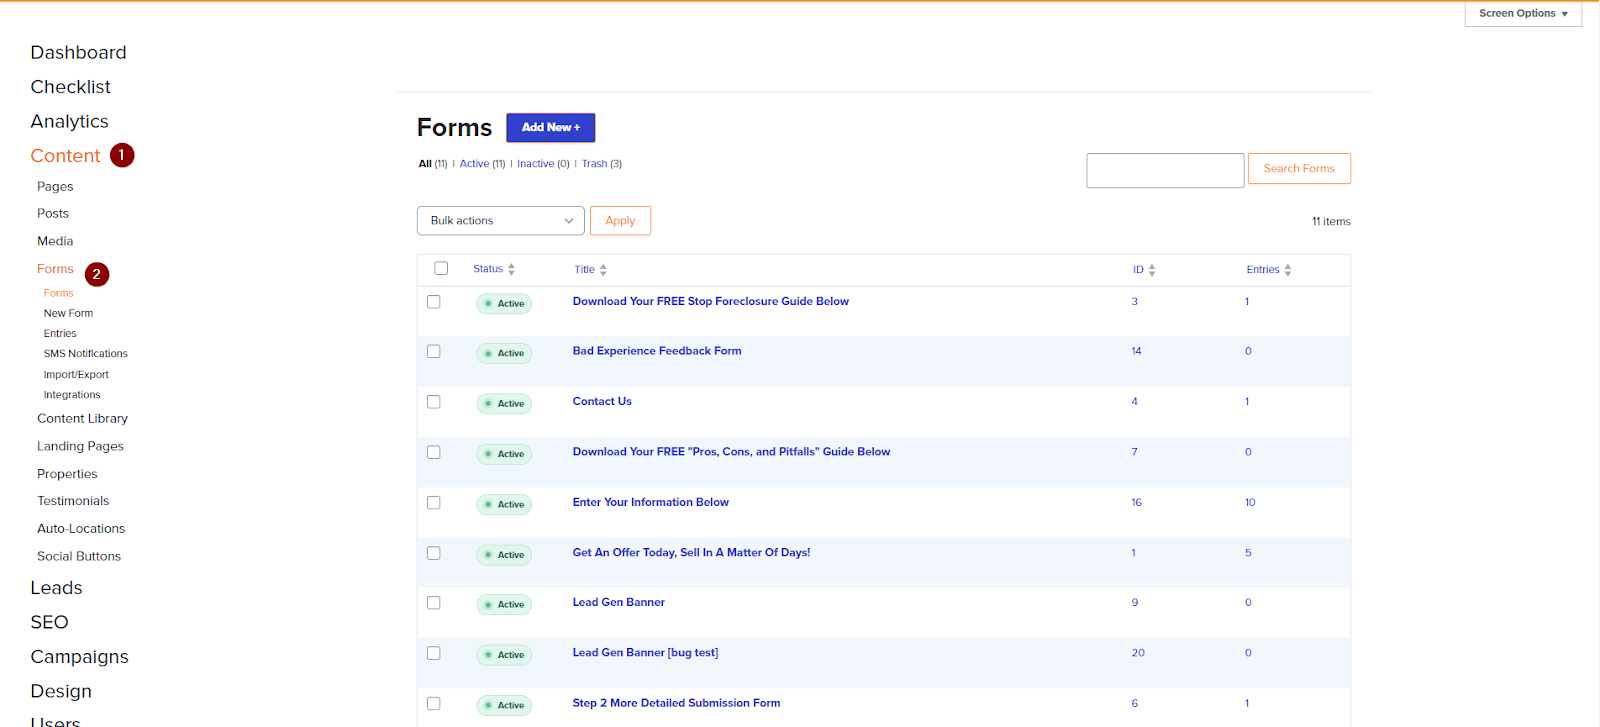
Step 2: Click on the Form You Want to Edit

Step 3: Note Which Field is Not An Advanced Field
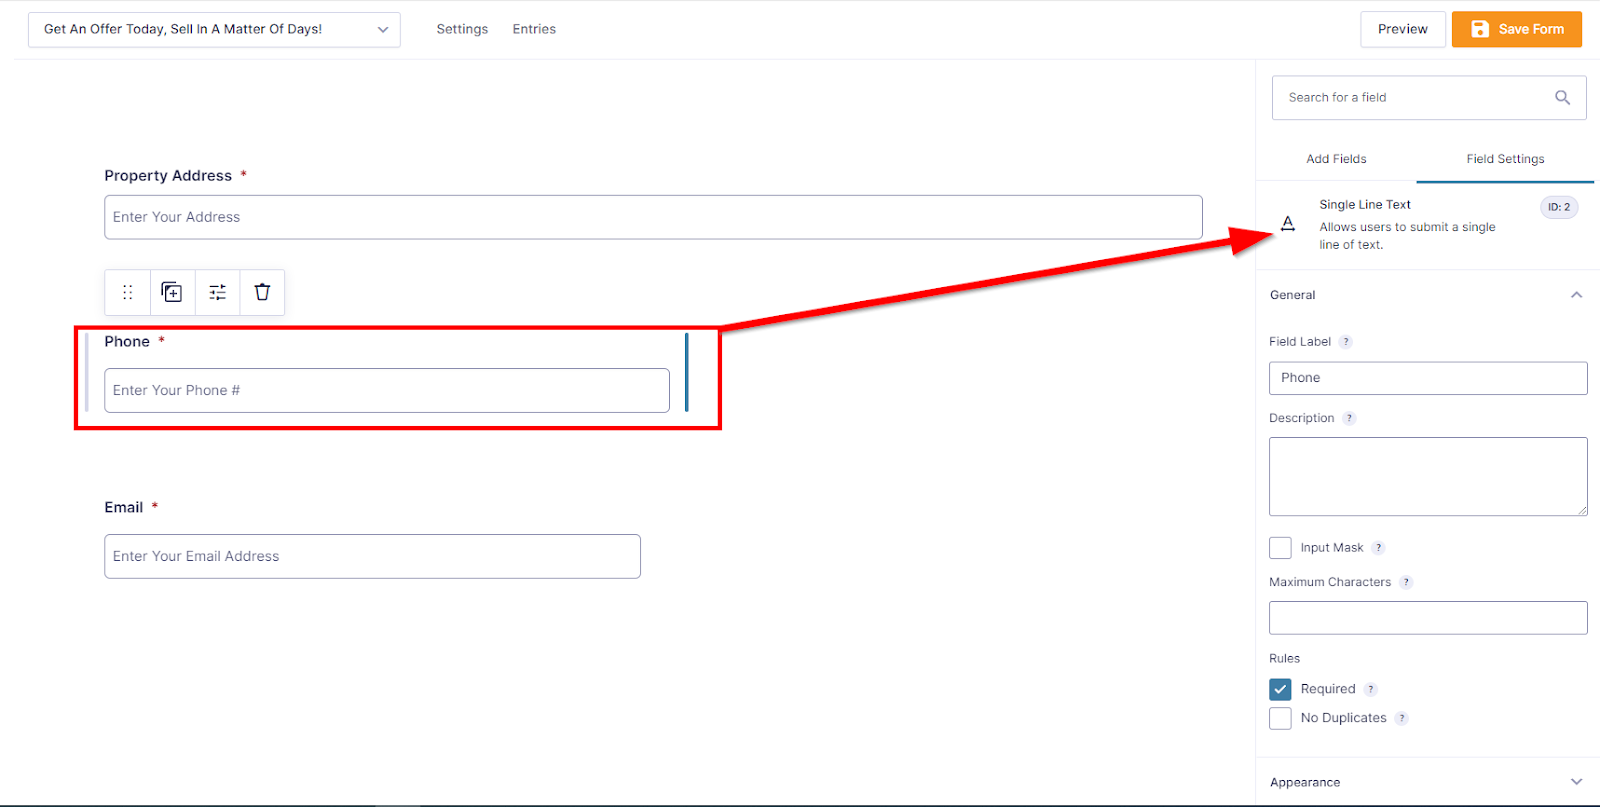
*In this example, the phone field shown here is a single-line text field, not an advanced phone field. Single-line text fields do not have phone number formatting added to them by default.
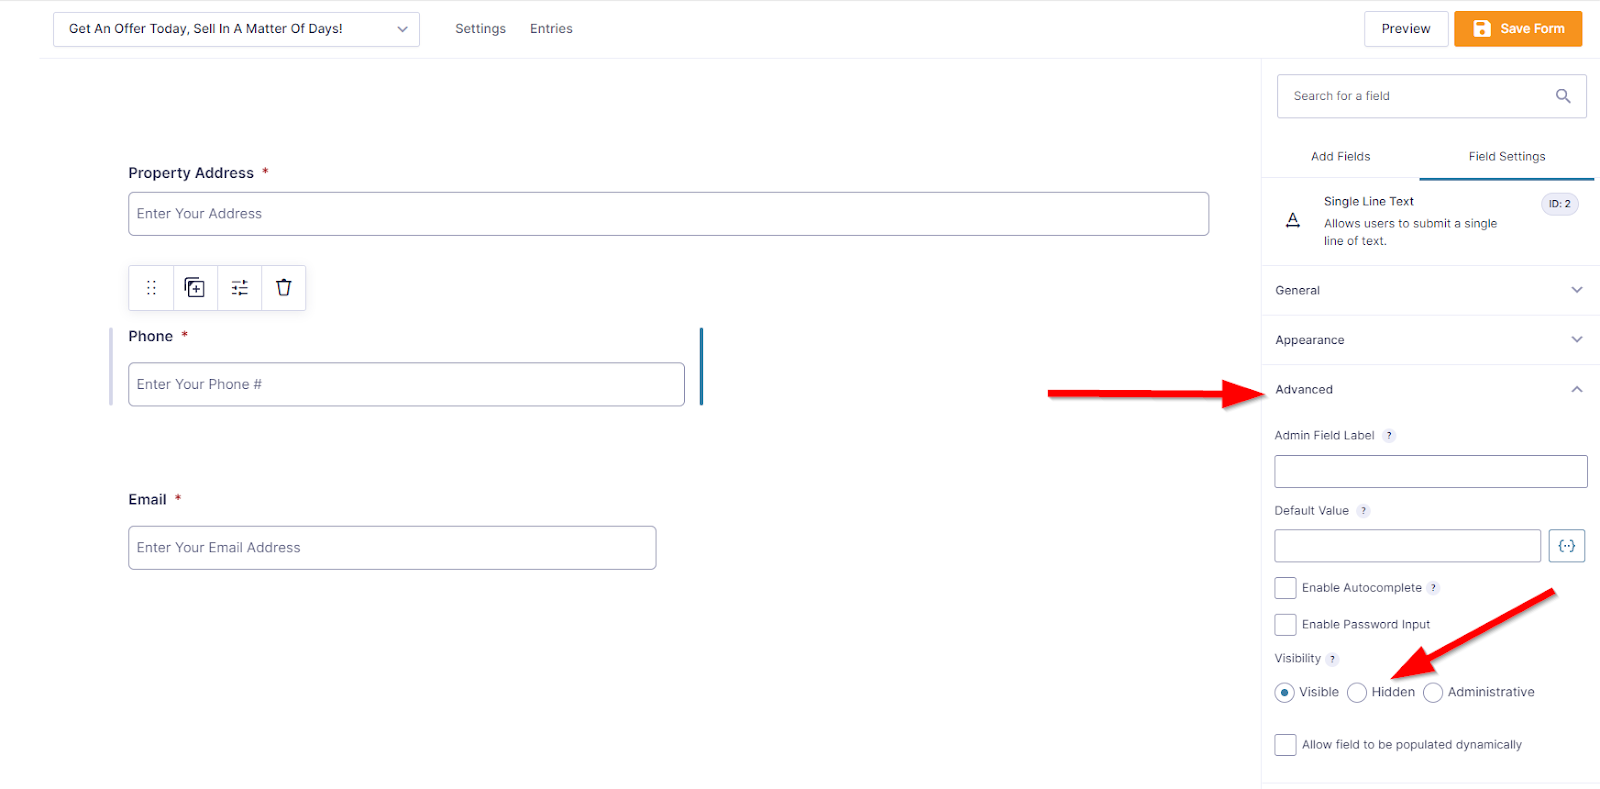
Step 4: Hide the Field
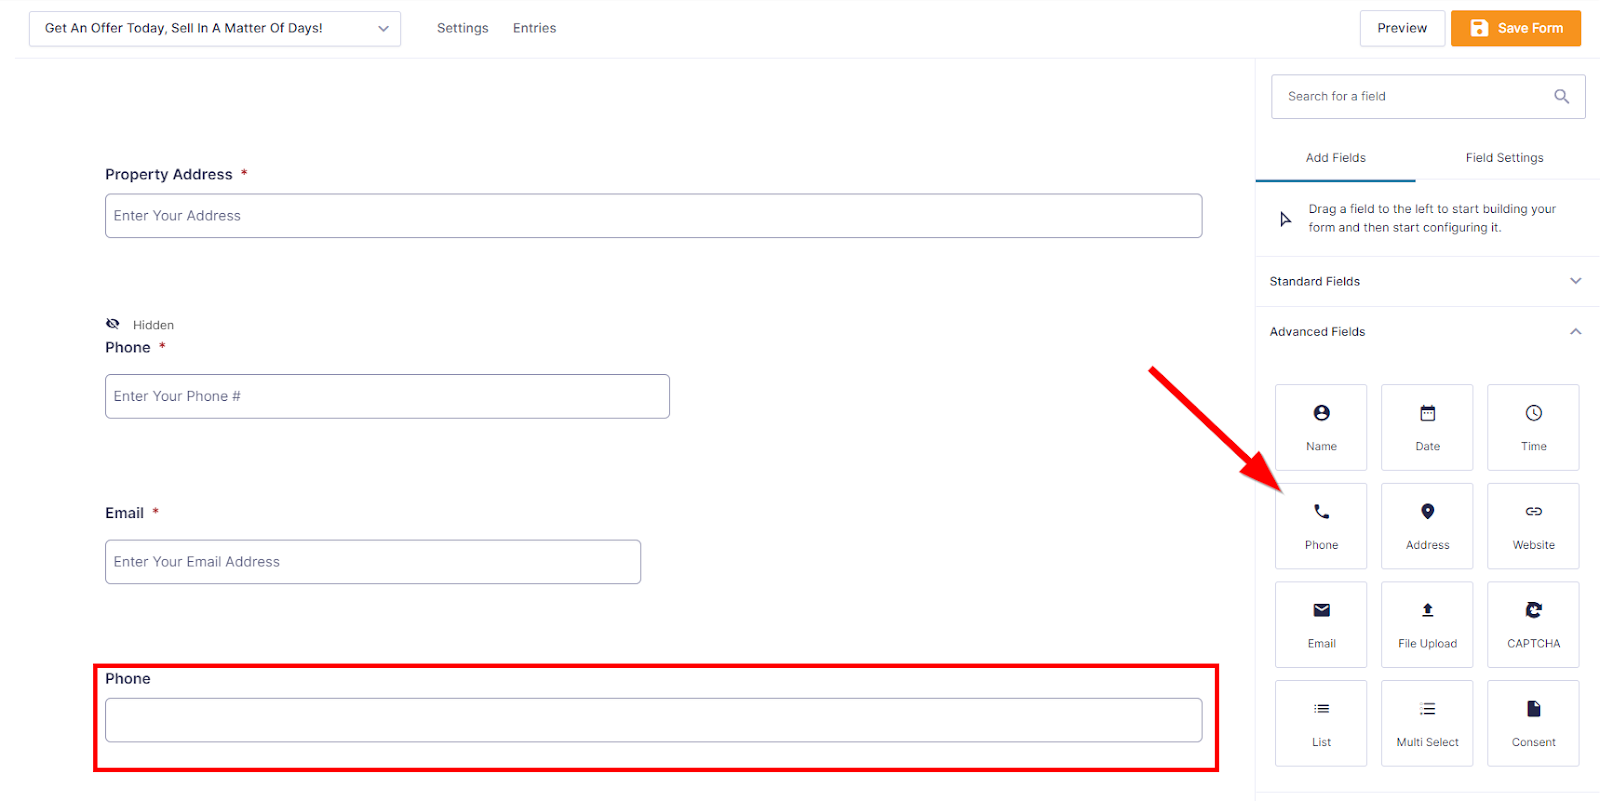
Step 5: Go to Add Fields > Advanced Fields

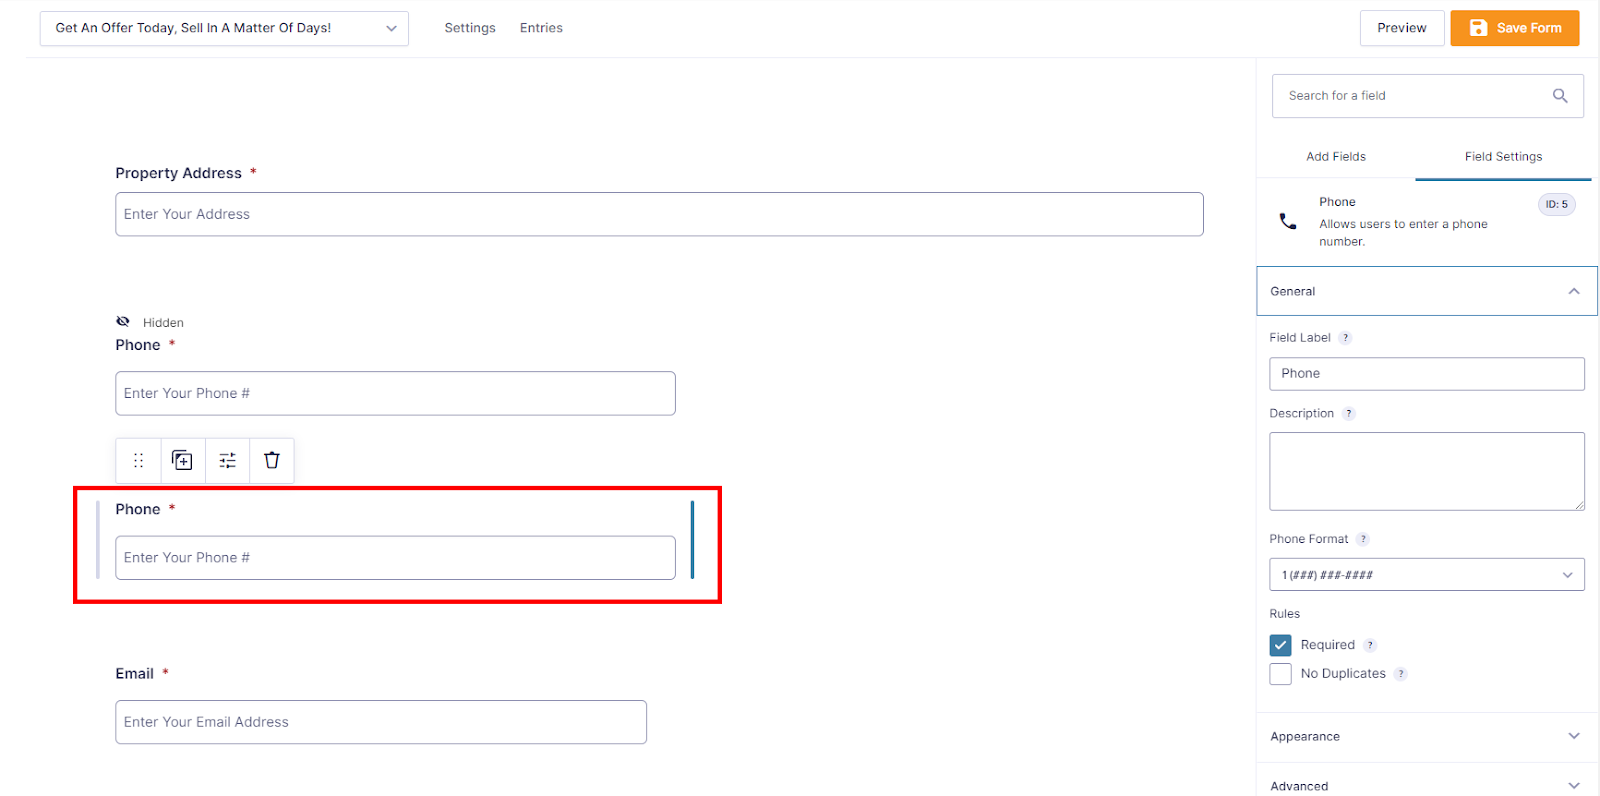
Step 6: Add Your New Field
Step 7: Move and Format Your New Field
When you click on a field, a toolbar will appear above it. The 6 little dots on the very left of the toolbar will allow you to drag the field into the position when you hold-click it. Then from there, you can take note of the general and appearance settings on your previous field, and replicate those on your new field!
Step 8: Save
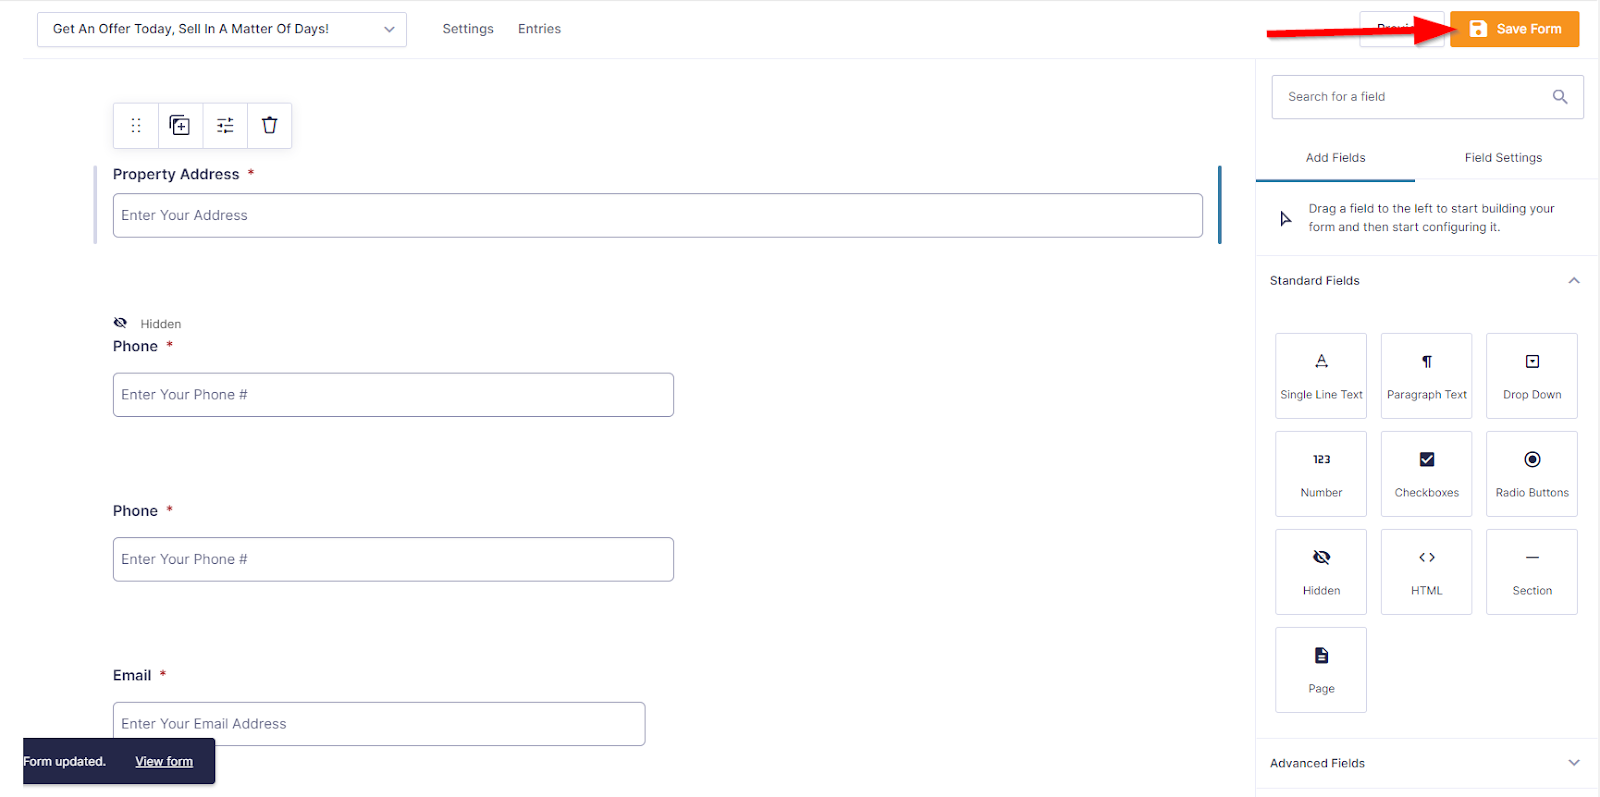
With those simple steps, you’ve converted your field to an advanced field with more specific formatting criteria, while preserving the entries submitted on the previous field!
Learn More
- Forms Overview
- Updating Form Email Notification Settings
- CRM + Form Integrations
- How to Pass Field Data to a Step 2 Form
Close More Deals
with Carrot CRM
Grow your revenue and turn more leads into closed
deals with Carrot’s built-in CRM.
Premium Support
& 1:1 Strategy Calls

Members with our Premium Support Add-On can book
a 1:1 video calls for tech questions & strategic advice.